or Call Us at 1-800-776-2228
or Call Us at 1-800-776-2228
Replacing a screen is easy with the right tools and technique. Learn how to use the Arrow T50X TacMate Staple Gun and the SL24D Staple Lifter to replace a screen on a wooden door frame or window frame. Don’t forget to grab a pair of gloves and safety goggles (optional). State, local and municipal codes vary for home improvements depending upon your location, so please check before proceeding with your residential repair.
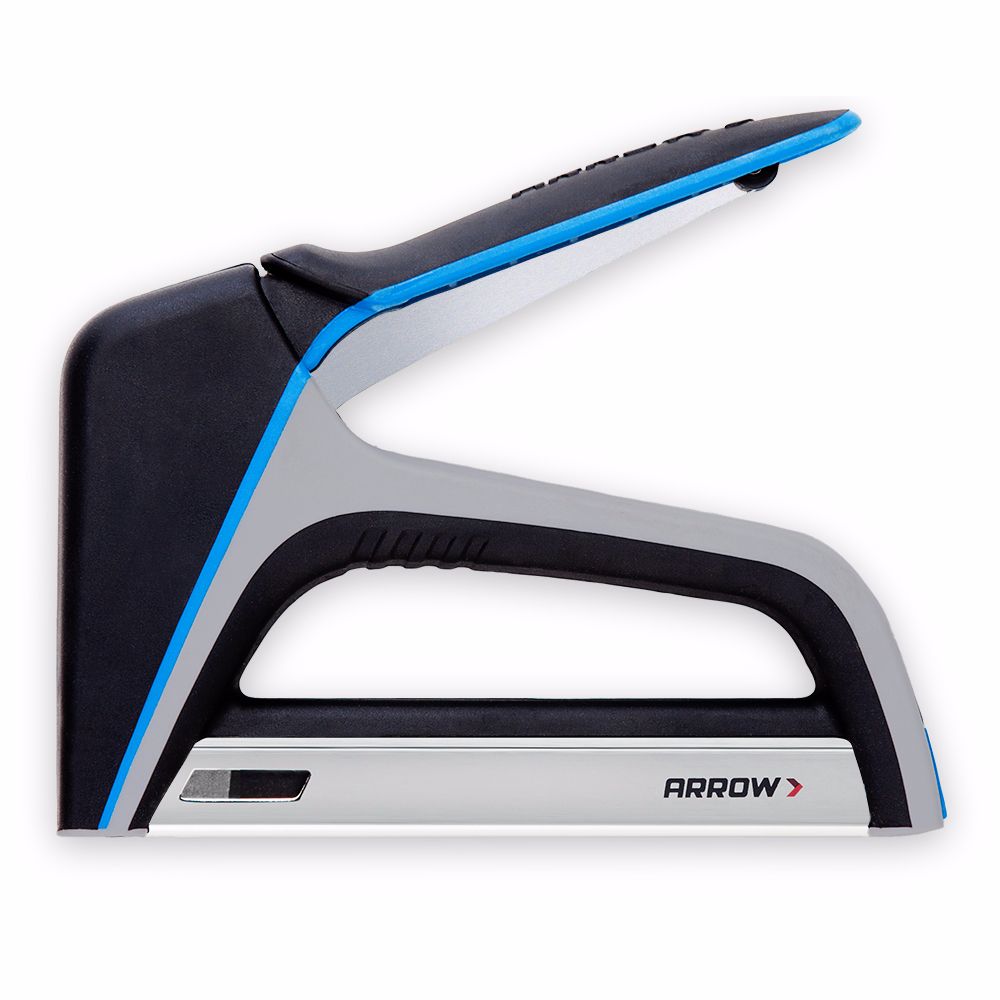
TacMate™ Heavy-Duty Staple Gun
Heavy Duty Staple Gun and Nailer
Make sure to purchase enough new screen to cover the area you’re replacing. Our door had damage to the top section only, so we needed a 2’ x 3’ section.
Make sure to purchase enough new screen to cover the area you’re replacing. Our door had damage to the top section only, so we needed a 2’ x 3’ section.
Remove the door from the frame. Since this door was attached with self-closing door hinges, we used a screwdriver to remove the door from the hinges.
Remove the door from the frame. Since this door was attached with self-closing door hinges, we used a screwdriver to remove the door from the hinges.
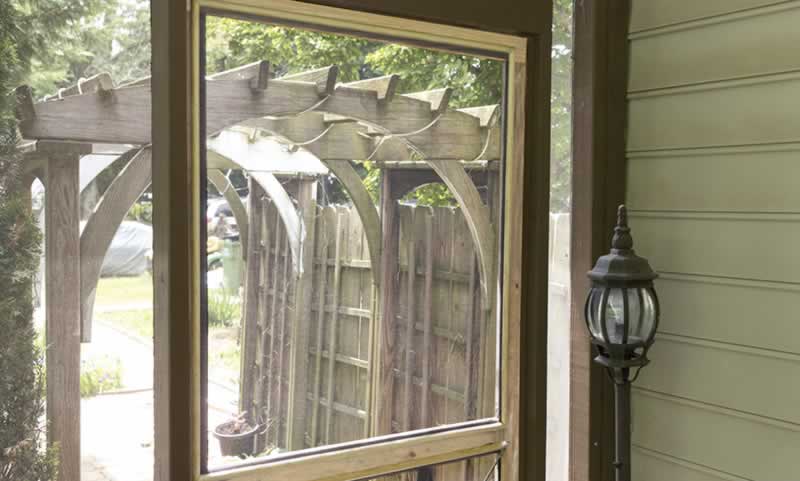
Before replacing the screen, you’ll need to remove the wood molding that conceals the staples. Gently insert the pry bar behind the retaining strips. If the strip is intact, be careful not to break it during the removal process. If one of your strips is already damaged, you will learn how to replace it in a later step.
Before replacing the screen, you’ll need to remove the wood molding that conceals the staples. Gently insert the pry bar behind the retaining strips. If the strip is intact, be careful not to break it during the removal process. If one of your strips is already damaged, you will learn how to replace it in a later step.
Use the Arrow SL24D Staple Lifter to remove all of the staples securing the old screen to the frame. We chose this tool over a screwdriver or pliers because staples are removed most easily when they are lifted straight up across the crown of the staple. Once all staples are removed, discard the damaged screen.
Use the Arrow SL24D Staple Lifter to remove all of the staples securing the old screen to the frame. We chose this tool over a screwdriver or pliers because staples are removed most easily when they are lifted straight up across the crown of the staple. Once all staples are removed, discard the damaged screen.
Measure for the section of screen needed to replace the damaged portion. Be sure to measure the area precisely for a professional finish.
Measure for the section of screen needed to replace the damaged portion. Be sure to measure the area precisely for a professional finish.
Mark the measurements on the new screen. Add 4-6 inches to the length and width. (We will explain why later). Cut to size with the utility knife.
Mark the measurements on the new screen. Add 4-6 inches to the length and width. (We will explain why later). Cut to size with the utility knife.
Use the Arrow T50X TacMate Staple Gun to staple the screen to the two strips of scrap wood: One to either the left or right side of the screen and the other to the top or bottom of the screen. This will be used to stretch the screen because it must be stretched very tightly during installation to avoid a saggy end result. Arrow Tip: Smooth out the screen as you staple to avoid a wrinkled screen.
Use the Arrow T50X TacMate Staple Gun to staple the screen to the two strips of scrap wood: One to either the left or right side of the screen and the other to the top or bottom of the screen. This will be used to stretch the screen because it must be stretched very tightly during installation to avoid a saggy end result. Arrow Tip: Smooth out the screen as you staple to avoid a wrinkled screen.
Flip the screen over so that it lays flat against the part of the frame where you’ll be stapling. The wood strips should extend beyond the area on the door where the screen will be stapled.
Flip the screen over so that it lays flat against the part of the frame where you’ll be stapling. The wood strips should extend beyond the area on the door where the screen will be stapled.
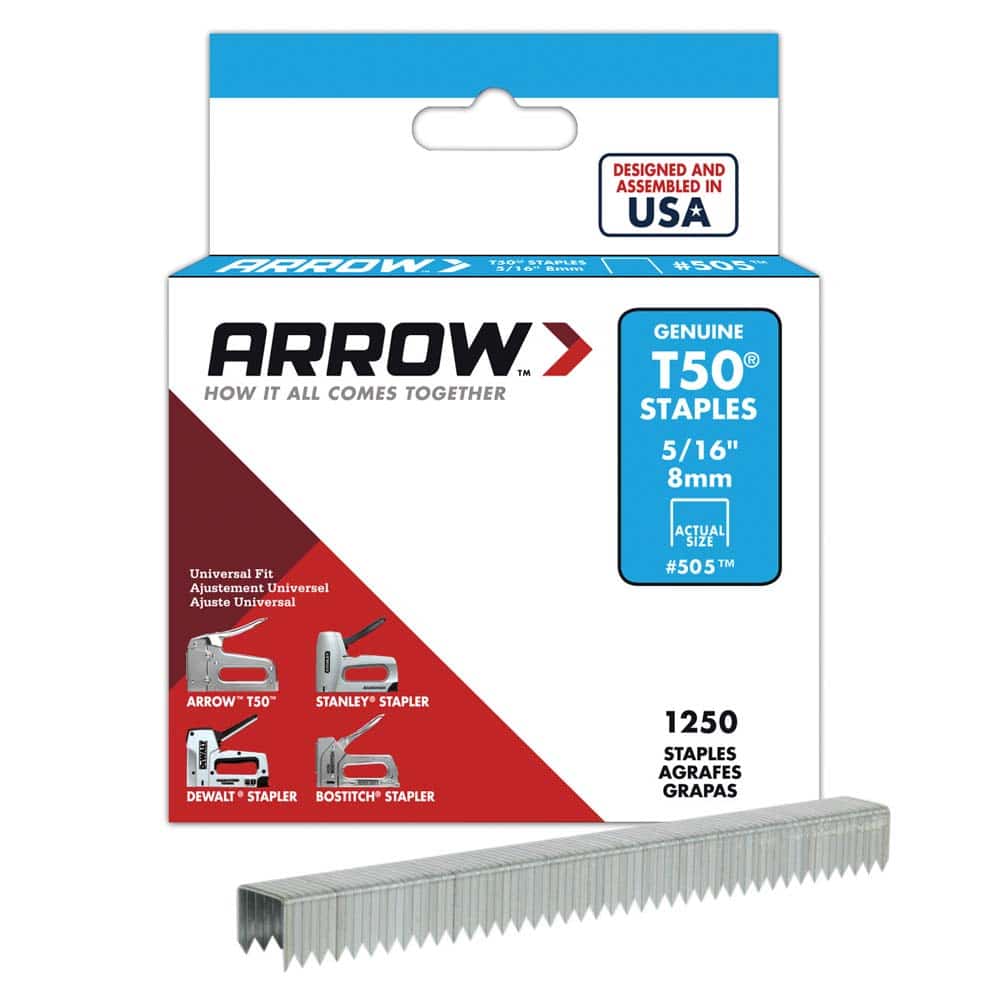
Use the TacMate Staple Gun and the T50 staples to fasten the two unattached sides to the door. Place a staple every 2-3 inches, continuing to smooth out the screen while stapling. Remember to make sure the edge of the screen and the staples are located within the area that will be covered by the retaining strip. Marking the area on the door will help to keep the staples in the correct place.
Use the TacMate Staple Gun and the T50 staples to fasten the two unattached sides to the door. Place a staple every 2-3 inches, continuing to smooth out the screen while stapling. Remember to make sure the edge of the screen and the staples are located within the area that will be covered by the retaining strip. Marking the area on the door will help to keep the staples in the correct place.
Pull the strips of scrap wood away from the door to stretch the screen tight. When the screen is tight and wrinkle-free, staple the two remaining edges as shown in the previous step.
Pull the strips of scrap wood away from the door to stretch the screen tight. When the screen is tight and wrinkle-free, staple the two remaining edges as shown in the previous step.
Cut the excess screen and the pieces of scrap wood from the main screen with the utility knife. Remember to cut within the area that will be covered by the retaining strip. Discard the scrap pieces.
Cut the excess screen and the pieces of scrap wood from the main screen with the utility knife. Remember to cut within the area that will be covered by the retaining strip. Discard the scrap pieces.
The wood molding retaining strips will keep the screen securely in place while also hiding the staples and the screen’s edges. If you need to replace any strips, use the damaged molding as a template to mark cut lines on replacement strips.
The wood molding retaining strips will keep the screen securely in place while also hiding the staples and the screen’s edges. If you need to replace any strips, use the damaged molding as a template to mark cut lines on replacement strips.
Use the saw to cut both sides of the strip at a 45-degree angle, using the markings from the previous strip.
Use the saw to cut both sides of the strip at a 45-degree angle, using the markings from the previous strip.
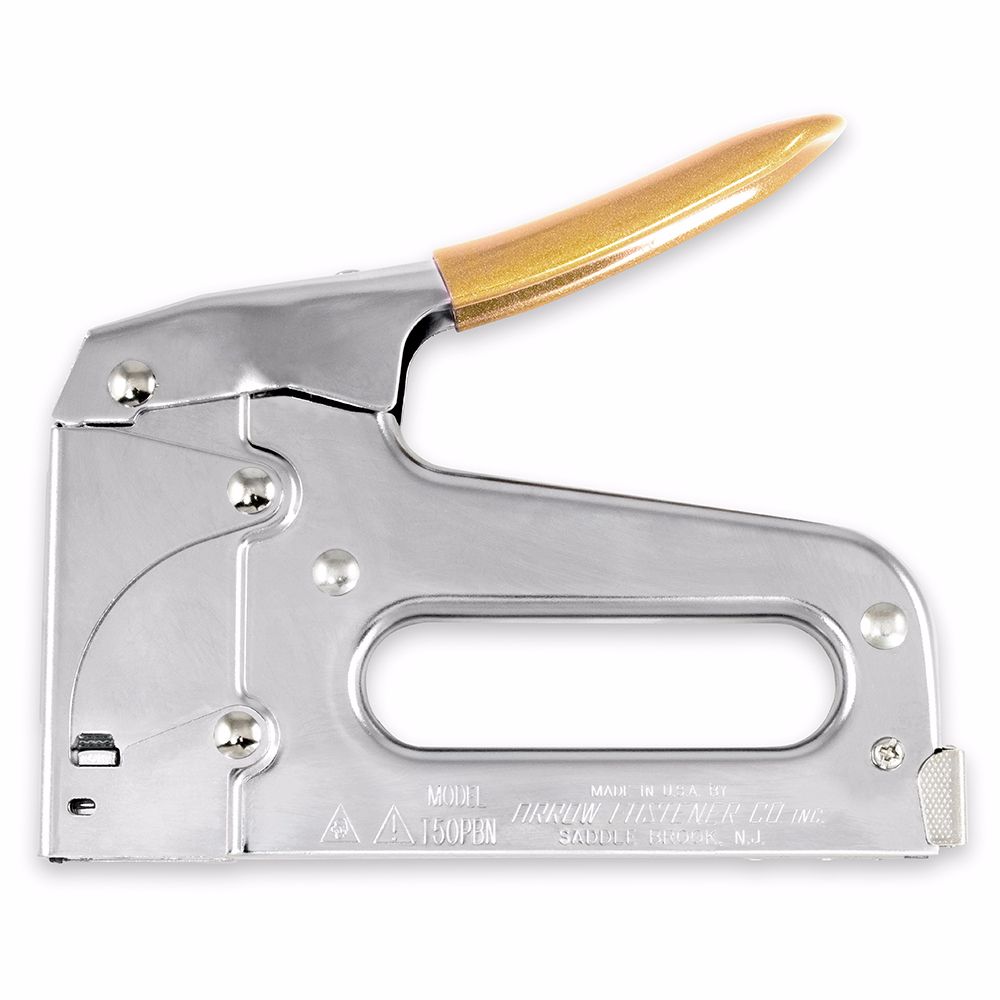
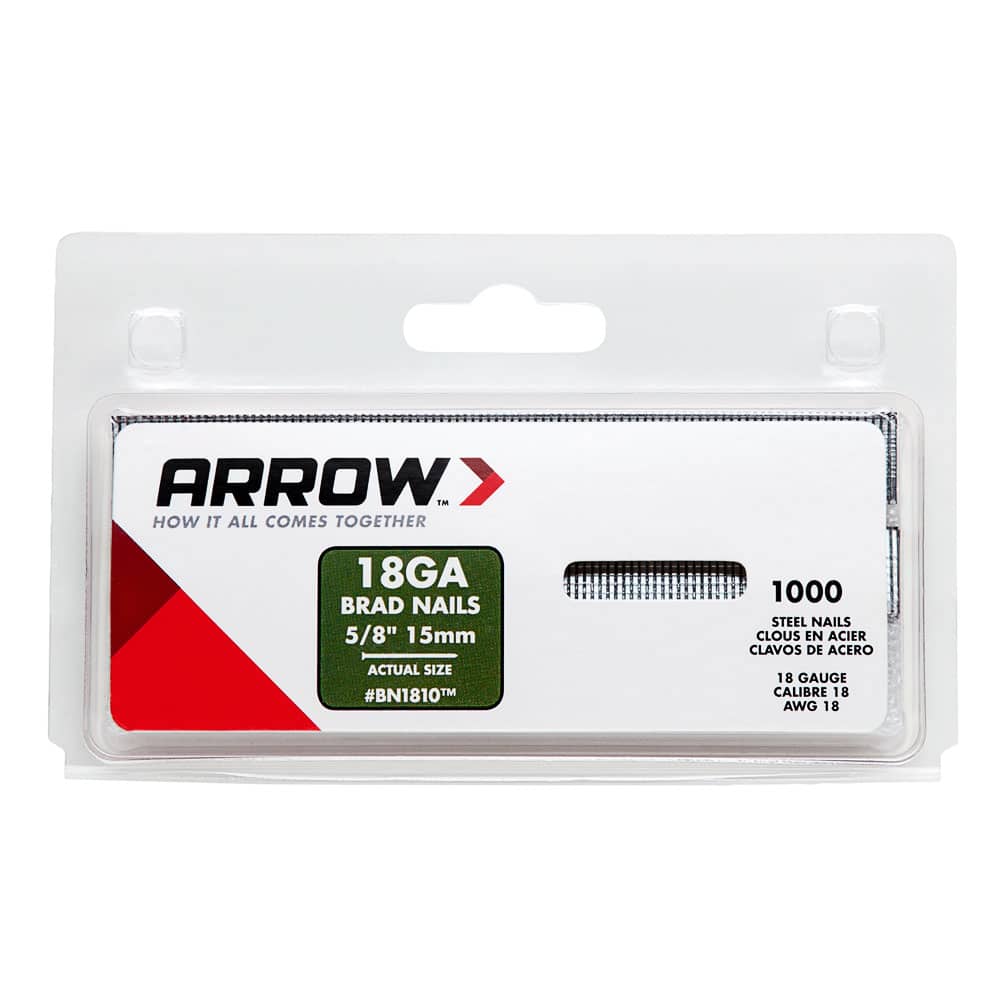
Our strips were nailed to the doorway, so we used the Arrow T50PBN Staple Gun & Nailer and Arrow brad nails to reattach all of the retaining strips, placing a brad nail every 5-6 inches.
Our strips were nailed to the doorway, so we used the Arrow T50PBN Staple Gun & Nailer and Arrow brad nails to reattach all of the retaining strips, placing a brad nail every 5-6 inches.
Reattach the door to the frame. Now enjoy the summer breezes knowing those pesky insects won’t bother you!
Reattach the door to the frame. Now enjoy the summer breezes knowing those pesky insects won’t bother you!
We’d love to see how your repaired screen door project turned out! Share your project pictures on Facebook, Instagram or Twitter by using #MadeWithArrow or tagging Arrow Fastener.
Get Arrow tips, tricks, projects and promos in your inbox!
Hey there! We’ve updated our Privacy and Cookie Policies at the request of some of our friends in Europe. Click Accept to let us know you’re okay with the updates. Thanks!
View Cookie Policy Accept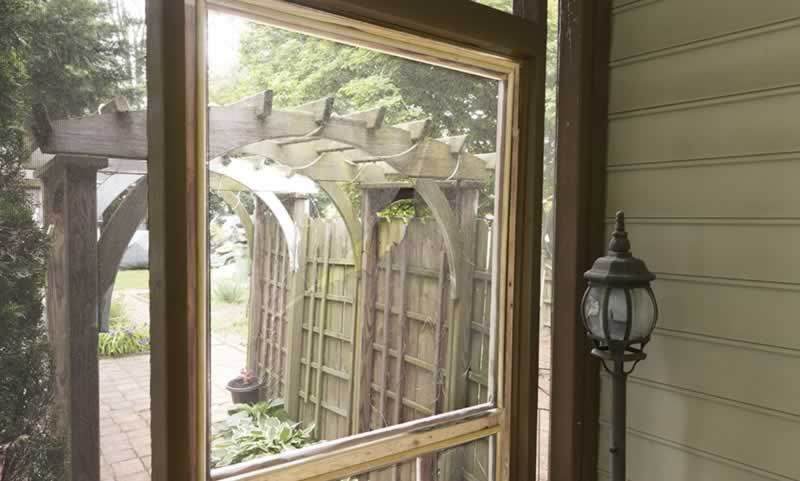