or Call Us at 1-800-776-2228
or Call Us at 1-800-776-2228
Transform your walls by adding elegant shadow box trim and chair rail for a total wall makeover. Whatever your skill level, this budget-friendly DIY project can be tackled easily over the weekend by using the handy Arrow PT18G Pneumatic Brad Nailer and PT23G Pneumatic Pin Nailer. Appropriate personal protective equipment such as safety goggles, gloves and hearing protection should be worn at all times.

Pneumatic Brad Nailer
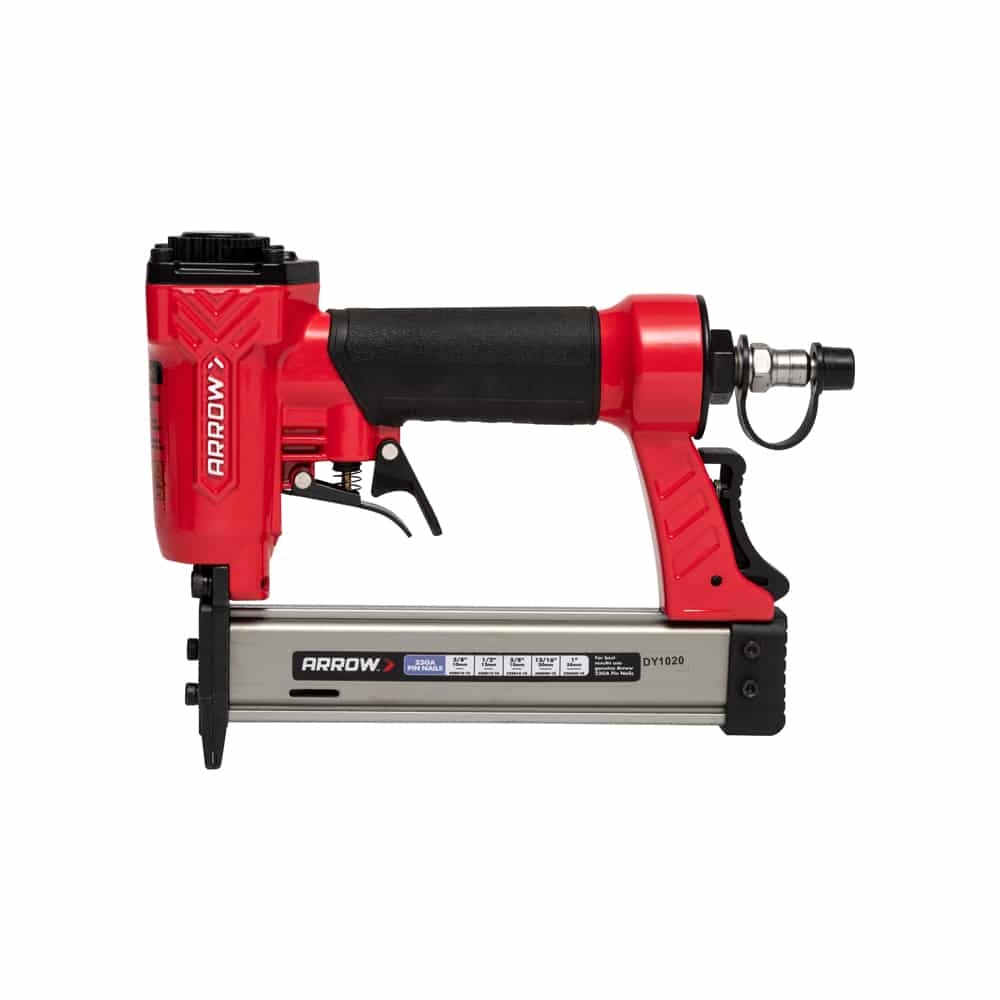
Pneumatic Pin Nailer
The first thing we did was measure the walls chosen and decide on a layout. We positioned a chair rail 36” from the floor; added an additional 2” to the existing baseboard; spaced out 10 shadow box trim frames over 4 walls. (Since we didn’t want to rip out or replace the existing baseboards, we added a piece of trim molding to them.)
The first thing we did was measure the walls chosen and decide on a layout. We positioned a chair rail 36” from the floor; added an additional 2” to the existing baseboard; spaced out 10 shadow box trim frames over 4 walls. (Since we didn’t want to rip out or replace the existing baseboards, we added a piece of trim molding to them.)
Transfer that design to the wall using a pencil, ruler and level. Draw on the wall with light marks, using the level for accuracy. This is your guide and a great way to discover any mistakes or discrepancies in the measurements.
Transfer that design to the wall using a pencil, ruler and level. Draw on the wall with light marks, using the level for accuracy. This is your guide and a great way to discover any mistakes or discrepancies in the measurements.
Next, measure the marks on the wall again, and then make the materials for the baseboard addition from untreated, white pine 1 x 2s. The shadow box trim frames were all pre-cut and joined with glue at each corner. All pieces were then painted. Allow paint to dry completely.
Next, measure the marks on the wall again, and then make the materials for the baseboard addition from untreated, white pine 1 x 2s. The shadow box trim frames were all pre-cut and joined with glue at each corner. All pieces were then painted. Allow paint to dry completely.
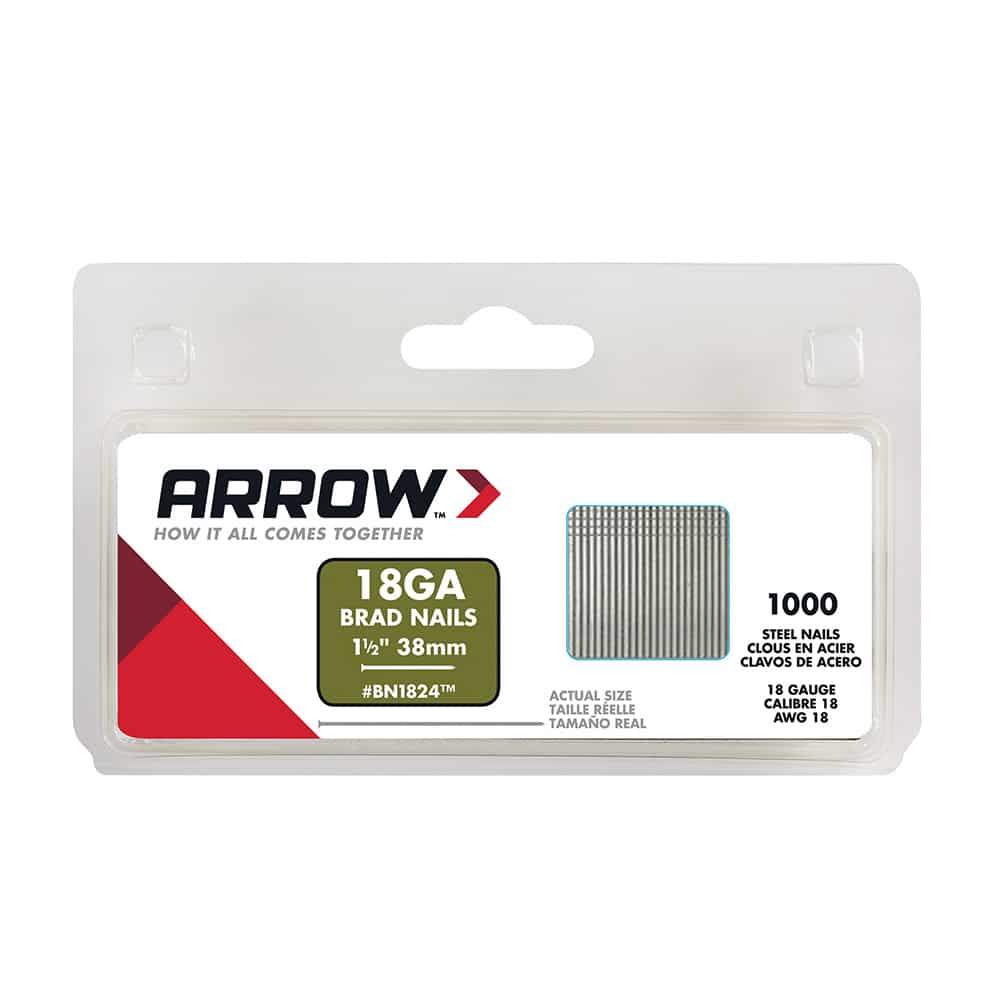
We are now ready to attach the 2” addition above the existing baseboard. Use the Arrow Pneumatic Brad Nailer to secure. Place a Brad nail every 8” to 10” until secure. Repeat process for remaining walls.
We are now ready to attach the 2” addition above the existing baseboard. Use the Arrow Pneumatic Brad Nailer to secure. Place a Brad nail every 8” to 10” until secure. Repeat process for remaining walls.
Next, attach the shadow box trim. Run a bead of glue along the entire backside of the first frame. Place level on the top, adjust and hold in place with one hand. Secure using the Arrow PT23G Pneumatic Pin Nailer. Since glue is being used, it is not important to hit a stud. Once the glue is dry, the shadow box trim will not come loose. Place a pin nail approximately every 5” or 6”. Repeat process for remaining shadow box trim frames.
Next, attach the shadow box trim. Run a bead of glue along the entire backside of the first frame. Place level on the top, adjust and hold in place with one hand. Secure using the Arrow PT23G Pneumatic Pin Nailer. Since glue is being used, it is not important to hit a stud. Once the glue is dry, the shadow box trim will not come loose. Place a pin nail approximately every 5” or 6”. Repeat process for remaining shadow box trim frames.
After all the shadow box trim frames have been secured to the wall, attach the bottom piece of the two-piece chair rail. Use the Arrow Pneumatic Brad Nailer to secure. Place a brad nail every 8” to 10” until secure. Repeat process for remaining walls.
After all the shadow box trim frames have been secured to the wall, attach the bottom piece of the two-piece chair rail. Use the Arrow Pneumatic Brad Nailer to secure. Place a brad nail every 8” to 10” until secure. Repeat process for remaining walls.
Use the Arrow PT23G Pneumatic Pin Nailer to attach the second piece of chair rail. Repeat process for remaining walls.
Use the Arrow PT23G Pneumatic Pin Nailer to attach the second piece of chair rail. Repeat process for remaining walls.
After all the materials have been attached to the wall, fill in the brad nail holes with wood putty. Then touch-up with a small brush. There is no need to fill the pin nail holes, just go over them with the paint brush and a dab of paint.
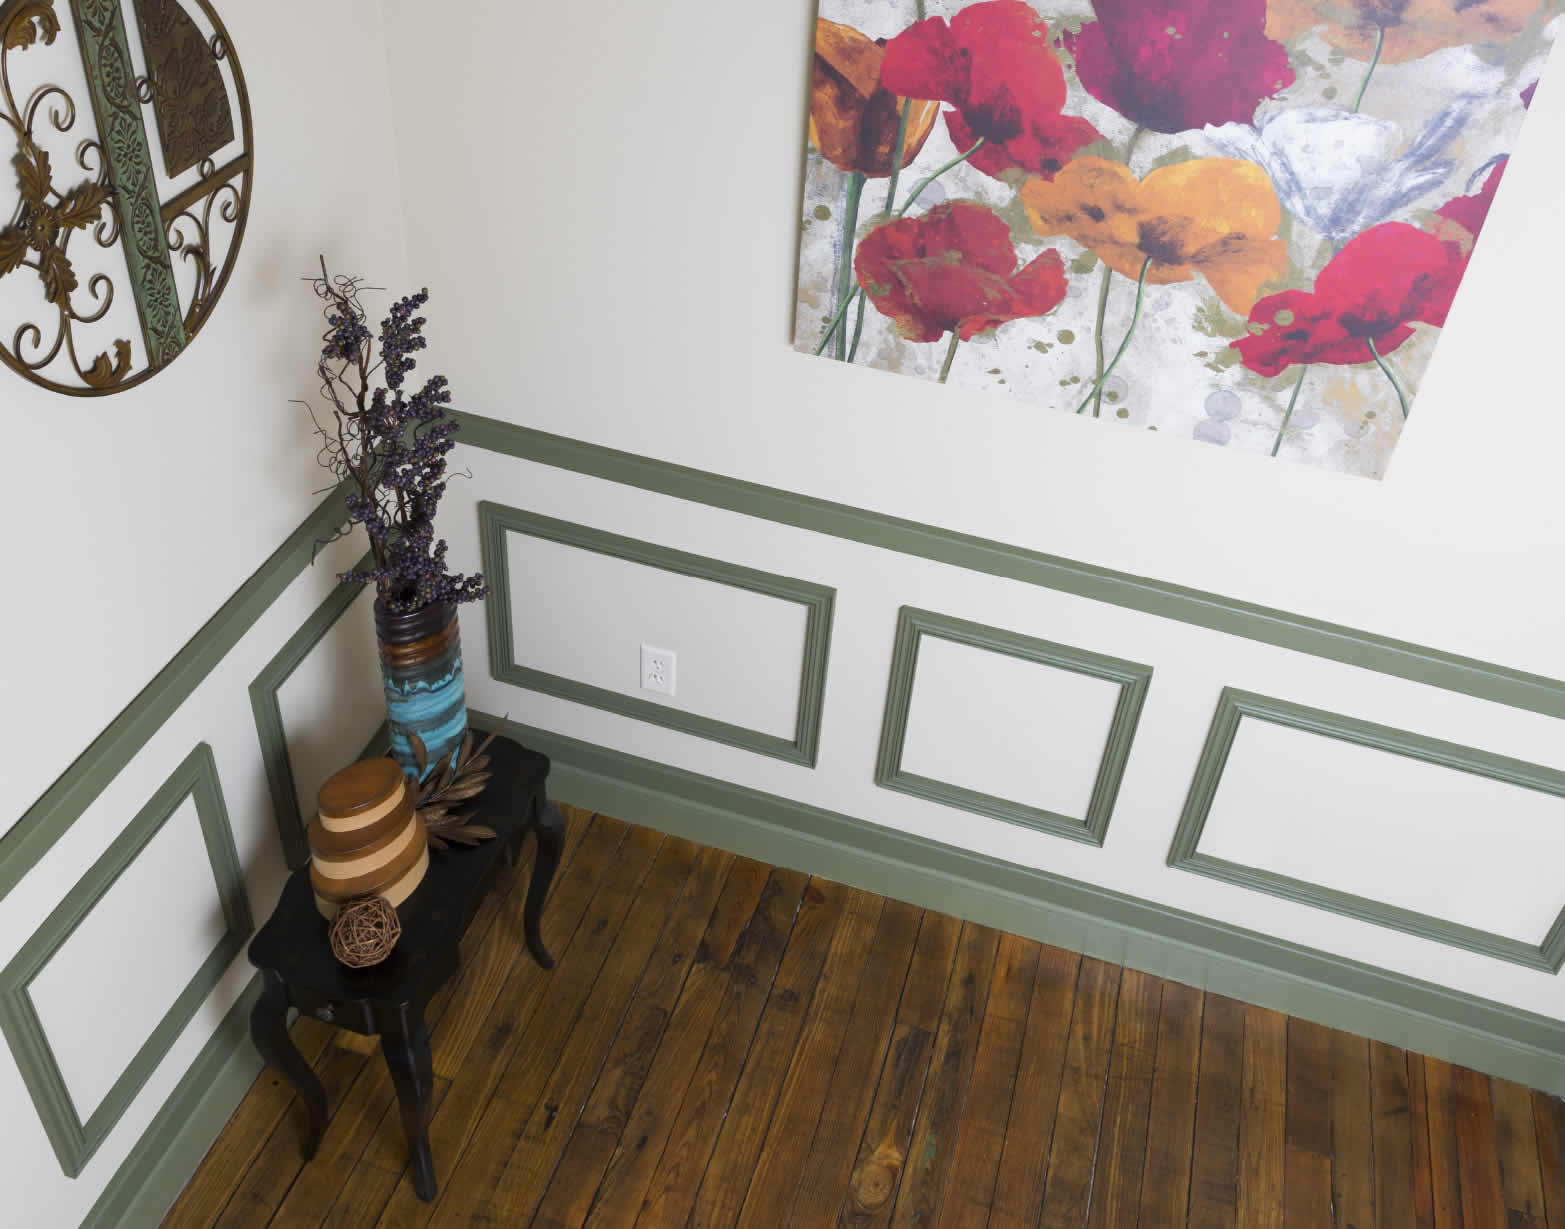
Now stand back and be amazed.
After all the materials have been attached to the wall, fill in the brad nail holes with wood putty. Then touch-up with a small brush. There is no need to fill the pin nail holes, just go over them with the paint brush and a dab of paint.
Now stand back and be amazed.
We’d love to see how your wall makeover project turned out! Share your results with us on Facebook, Instagram or Twitter by tagging #MadeWithArrow.
Get Arrow tips, tricks, projects and promos in your inbox!
Hey there! We’ve updated our Privacy and Cookie Policies at the request of some of our friends in Europe. Click Accept to let us know you’re okay with the updates. Thanks!
View Cookie Policy Accept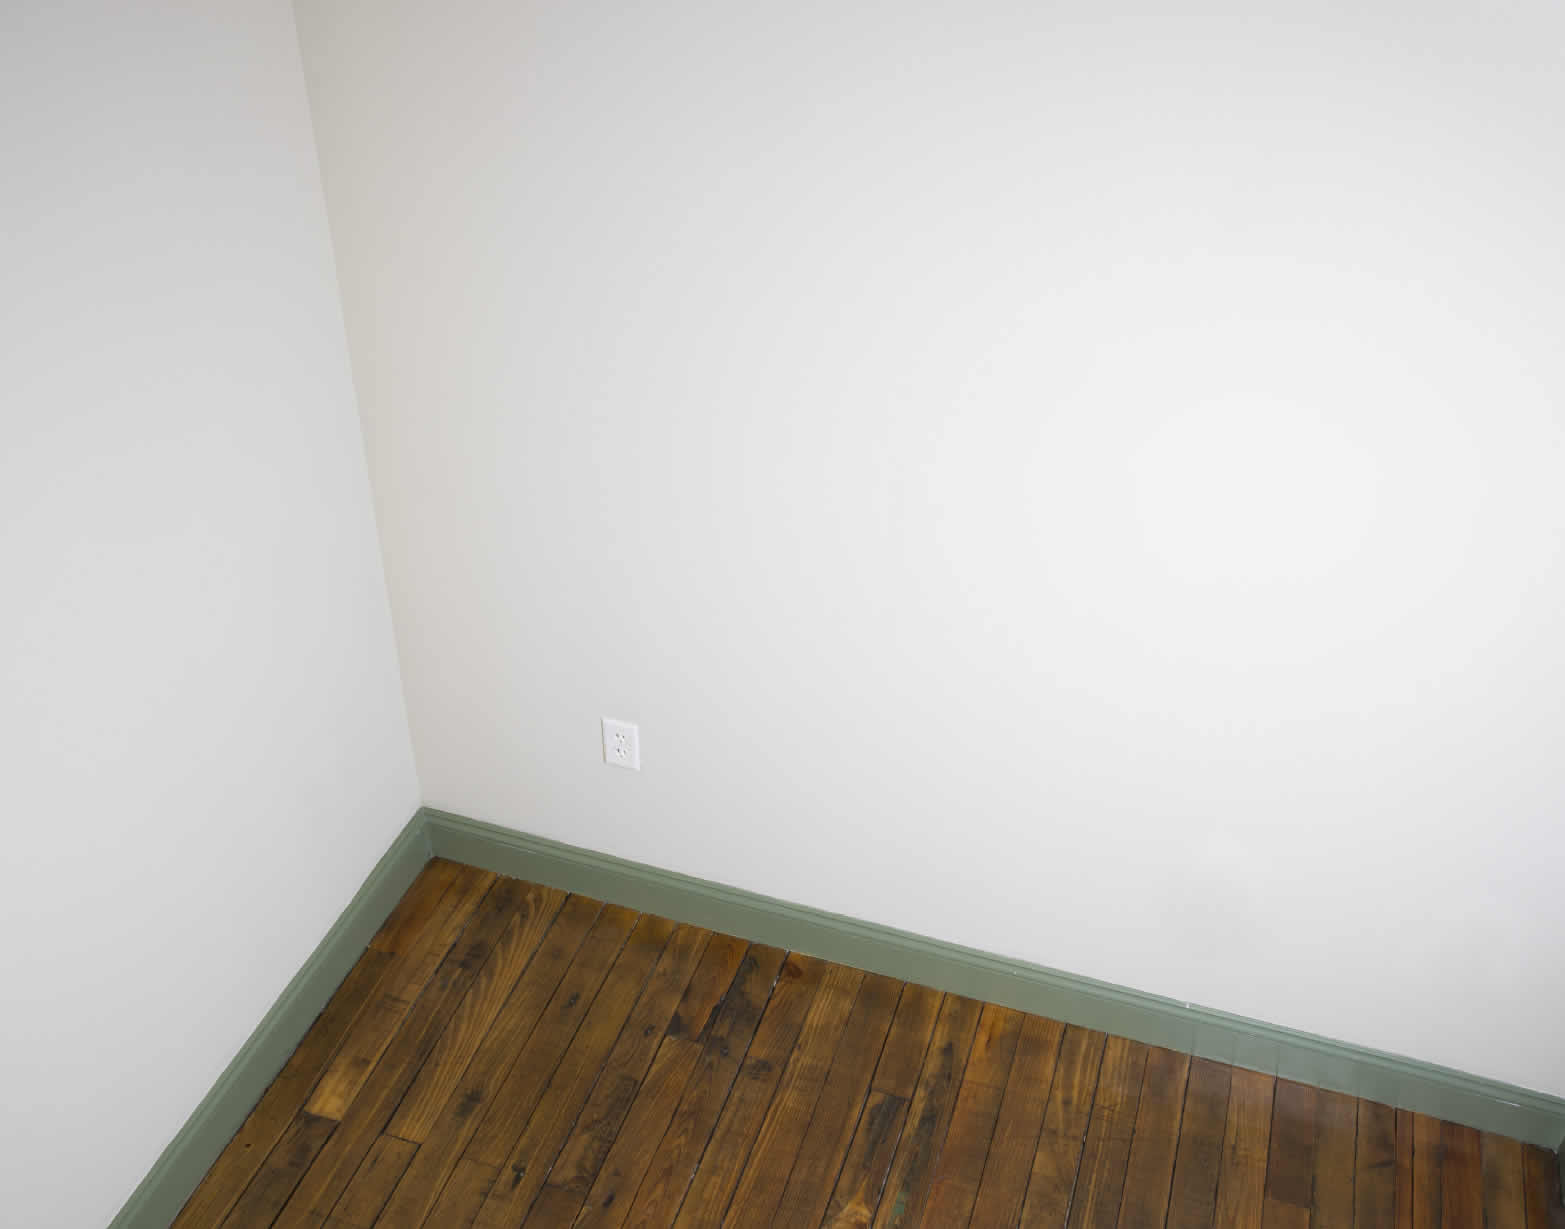