or Call Us at 1-800-776-2228
or Call Us at 1-800-776-2228
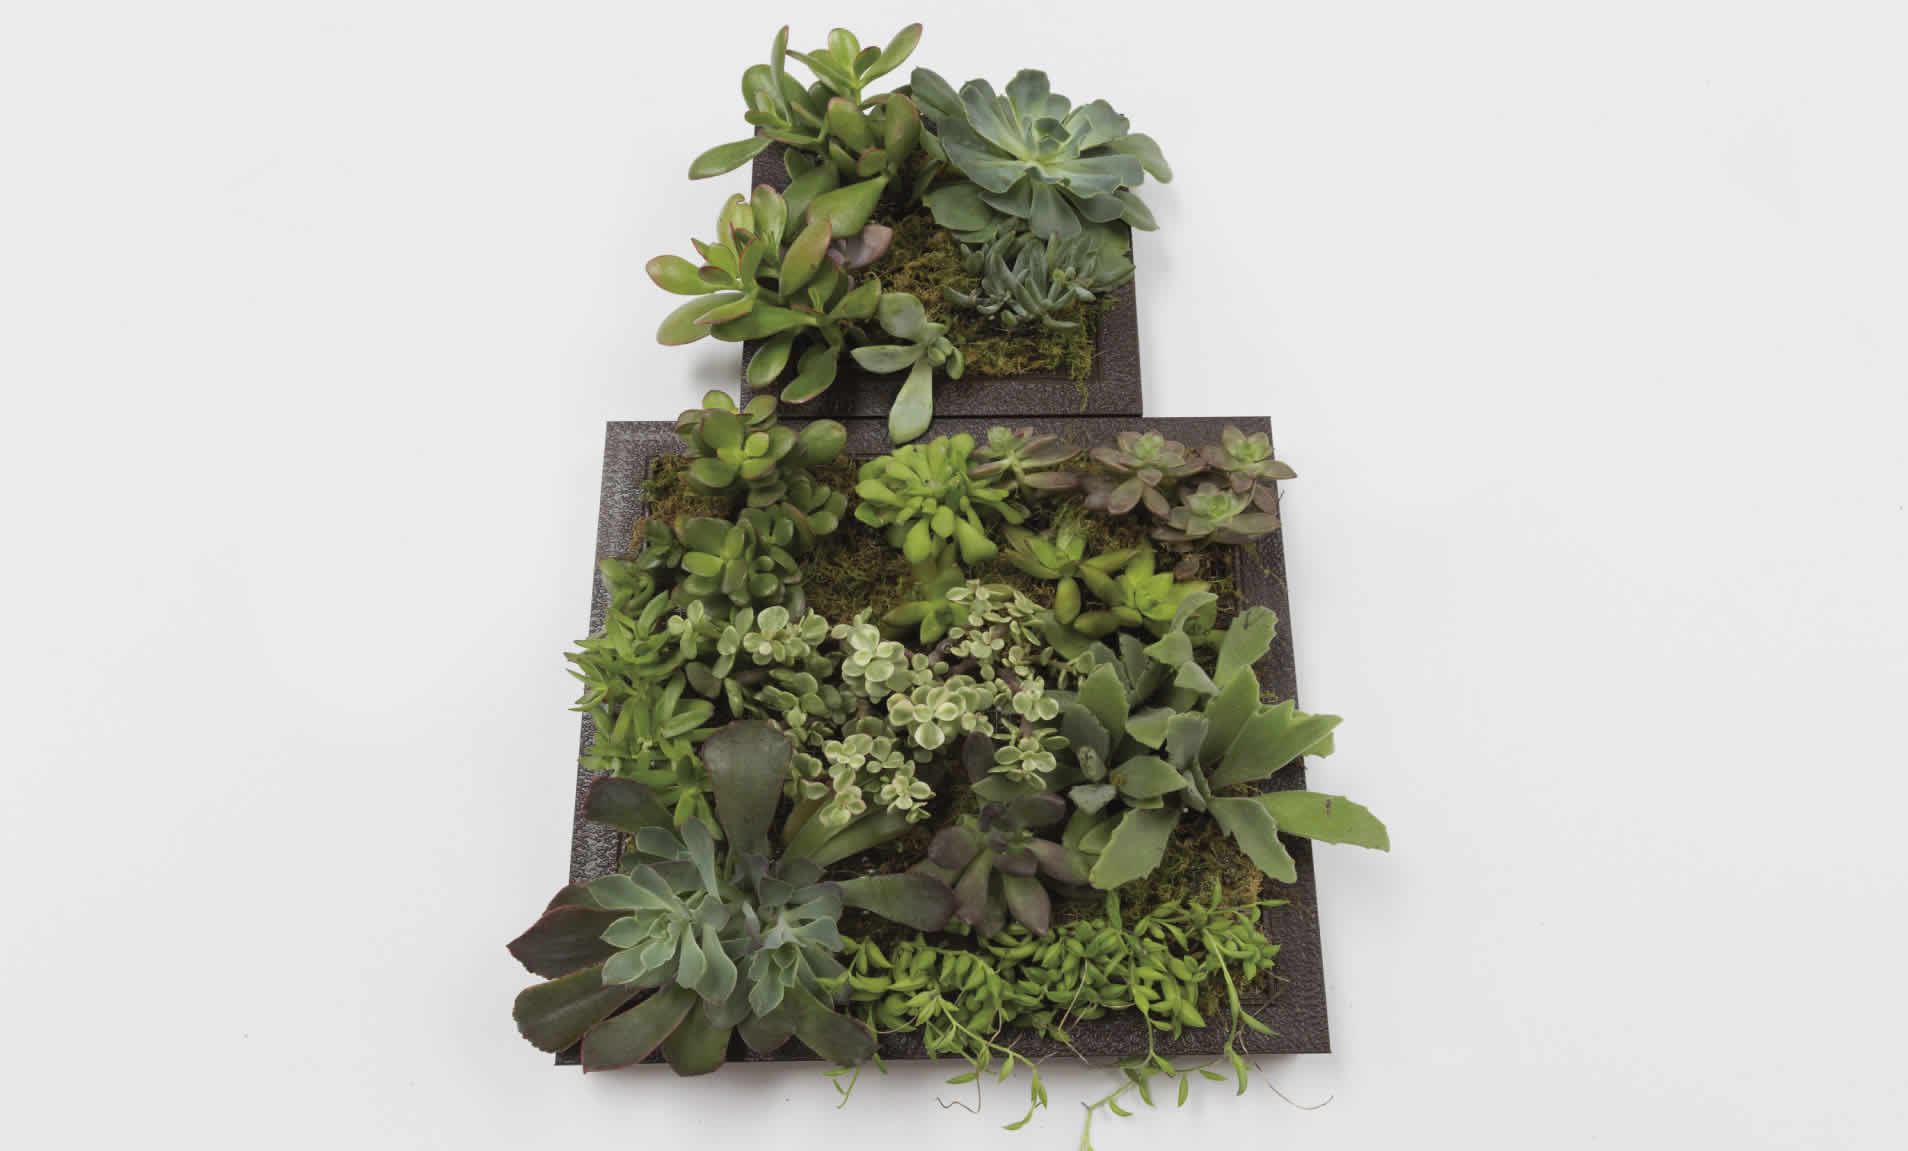
Decorate your home this fall by bringing the outside indoors with a Vertical Succulent Garden. This easy DIY project can be as small or as large as you like, and uses Arrow’s T50AC Professional Electric Staple Gun & Nailer and GT20DT Dual Temperature Glue Gun. For our hanging garden, we repurposed two shadow box picture frames. Remember to grab garden gloves and safety goggles before jumping into this project! Hearing protection is recommended as well.
Professional Electric Staple Gun and Nailer

Dual Temp Glue Gun

First, take out all materials from the shadow box frame, and remove hardware from the back and inside of the box. This hardware can be discarded.
First, take out all materials from the shadow box frame, and remove hardware from the back and inside of the box. This hardware can be discarded.
Next, paint the frames with your desired paint color in a well-ventilated area. Make sure to let the frames dry the recommended amount of time stated in the paint instructions.
Next, paint the frames with your desired paint color in a well-ventilated area. Make sure to let the frames dry the recommended amount of time stated in the paint instructions.
Using the cutters, cut two pieces of wire mesh to fit the size of your frames. Then cut about 1” diagonally into each of the 4 corners to make fitting the mesh into the back of the frame easier.
Using the cutters, cut two pieces of wire mesh to fit the size of your frames. Then cut about 1” diagonally into each of the 4 corners to make fitting the mesh into the back of the frame easier.
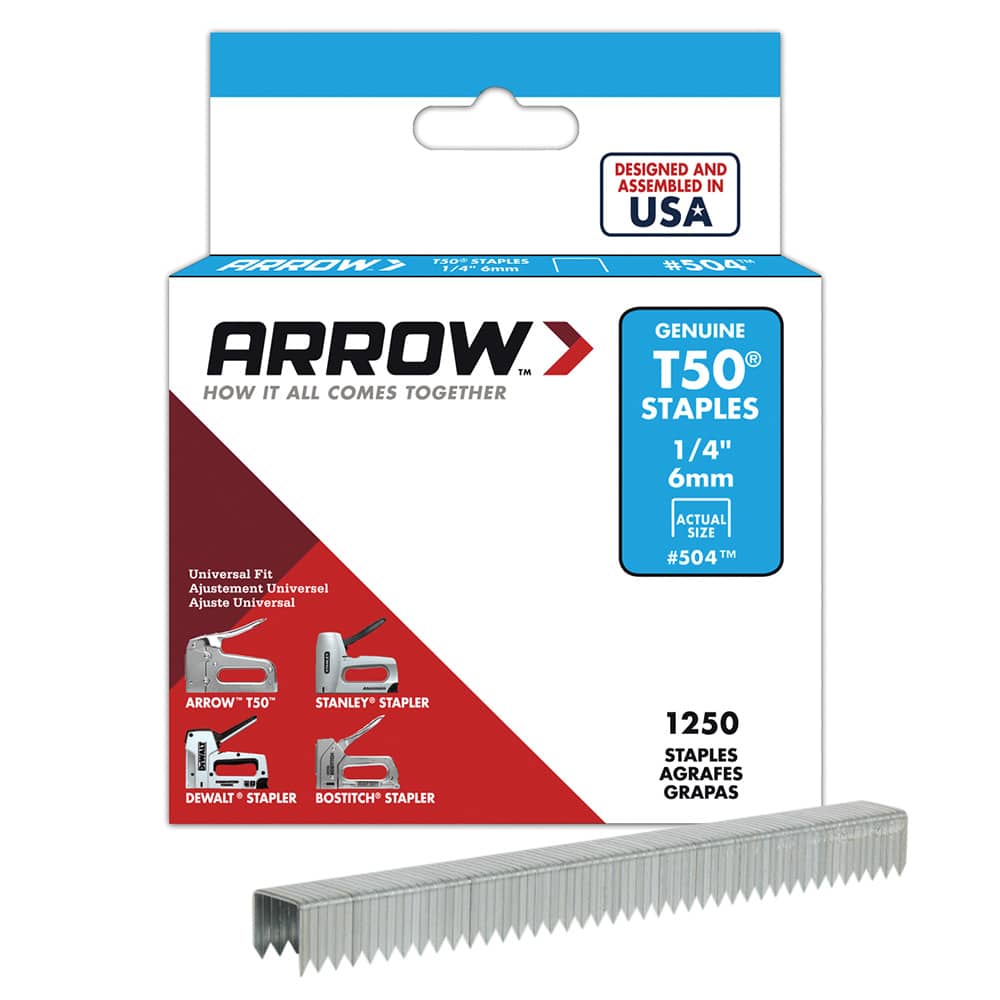
Now that your mesh is cut, use the T50AC and the 1/4” staples to staple the wire mesh to the sides of the shadow box frame. We chose the 1/4” staples for this project because we’re working with a hard wood and a thin mesh, and you should always choose the shortest staple needed to fasten your materials. Continue stapling until all four sides are secure, and repeat for second frame.
Now that your mesh is cut, use the T50AC and the 1/4” staples to staple the wire mesh to the sides of the shadow box frame. We chose the 1/4” staples for this project because we’re working with a hard wood and a thin mesh, and you should always choose the shortest staple needed to fasten your materials. Continue stapling until all four sides are secure, and repeat for second frame.
Next, use your screwdriver to attach the 1/4” plywood to the back of each frame with 2 screws per side, and 8 screws total for the frame back. Since we’re using self-drilling screws, there’s no need to pre-drill holes!
Next, use your screwdriver to attach the 1/4” plywood to the back of each frame with 2 screws per side, and 8 screws total for the frame back. Since we’re using self-drilling screws, there’s no need to pre-drill holes!
Once the backs are screwed in, attach the two frames together with the mending braces and 4 more screws.
Once the backs are screwed in, attach the two frames together with the mending braces and 4 more screws.
Now you’re ready to attach the hanging hardware. Using 2 screws attach both D-rings to the back of the larger frame, near the top. Then secure the picture frame wire to the D-rings.
Now you’re ready to attach the hanging hardware. Using 2 screws attach both D-rings to the back of the larger frame, near the top. Then secure the picture frame wire to the D-rings.
Then use the GT20DT glue gun to adhere the bumpers to the back of the frame, gluing one on each bottom corner. These bumpers keep the frames a safe distance from the wall. They should keep the frame 1/4” – 1/2” from the wall. Set the finished frames aside.
Then use the GT20DT glue gun to adhere the bumpers to the back of the frame, gluing one on each bottom corner. These bumpers keep the frames a safe distance from the wall. They should keep the frame 1/4” – 1/2” from the wall. Set the finished frames aside.
Time for planting! Grab a bucket and mix together the cactus, palm and citrus soil, the perlite, the sand and the indoor potting soil in the measurements described in the supplies intro section.
Time for planting! Grab a bucket and mix together the cactus, palm and citrus soil, the perlite, the sand and the indoor potting soil in the measurements described in the supplies intro section.
Place the joined frames on a flat surface and use the trowel to fill both frames completely with the potting mixture. Then use the medium-sized brush to wipe away any soil on the frames.
Place the joined frames on a flat surface and use the trowel to fill both frames completely with the potting mixture. Then use the medium-sized brush to wipe away any soil on the frames.
Set the potted succulent or succulents on top of the mesh and trace around the bottom of the plant with a marker. Continue to do this until the desired amount of plants have been marked on the mesh for placement.
Set the potted succulent or succulents on top of the mesh and trace around the bottom of the plant with a marker. Continue to do this until the desired amount of plants have been marked on the mesh for placement.
Now cut around the marks to create an opening for each succulent, and place the succulent into the holes.
Now cut around the marks to create an opening for each succulent, and place the succulent into the holes.
After the succulents have been placed in the frame, use the dowel to add sheet moss to any areas of exposed soil for a fuller, more finished look. Use the small brush to wipe away any soil on top of the plants. Let the succulent garden lay flat for one week before hanging.
After the succulents have been placed in the frame, use the dowel to add sheet moss to any areas of exposed soil for a fuller, more finished look. Use the small brush to wipe away any soil on top of the plants. Let the succulent garden lay flat for one week before hanging.
To take care of your vertical succulent garden, remove it from the wall once a month. Then water the plants and lay flat, allowing the garden to dry overnight before hanging again. You can also spritz it with a spray bottle or hang it in the bathroom to get year-round steam from the shower.
To take care of your vertical succulent garden, remove it from the wall once a month. Then water the plants and lay flat, allowing the garden to dry overnight before hanging again. You can also spritz it with a spray bottle or hang it in the bathroom to get year-round steam from the shower.
We’d love to see how your DIY Vertical Succulent Garden project looks! Share your hanging garden with us on Facebook, Instagram or Twitter by using #MadeWithArrow or tagging Arrow Fastener.
Get Arrow tips, tricks, projects and promos in your inbox!
Hey there! We’ve updated our Privacy and Cookie Policies at the request of some of our friends in Europe. Click Accept to let us know you’re okay with the updates. Thanks!
View Cookie Policy Accept