or Call Us at 1-800-776-2228
or Call Us at 1-800-776-2228
Build your own tool organizer using Arrow’s PT18G Pneumatic Brad Nailer and Arrow PT50 Pneumatic Staple Gun. We designed our tool organizer to fit Arrow staple guns and staples so that from light-duty jobs to heavy-duty projects, all of our favorite staplers would be in one place. However, you can use this organizer to house a variety of tools. Appropriate personal protective equipment such as safety goggles, gloves and hearing protection should be worn at all times.

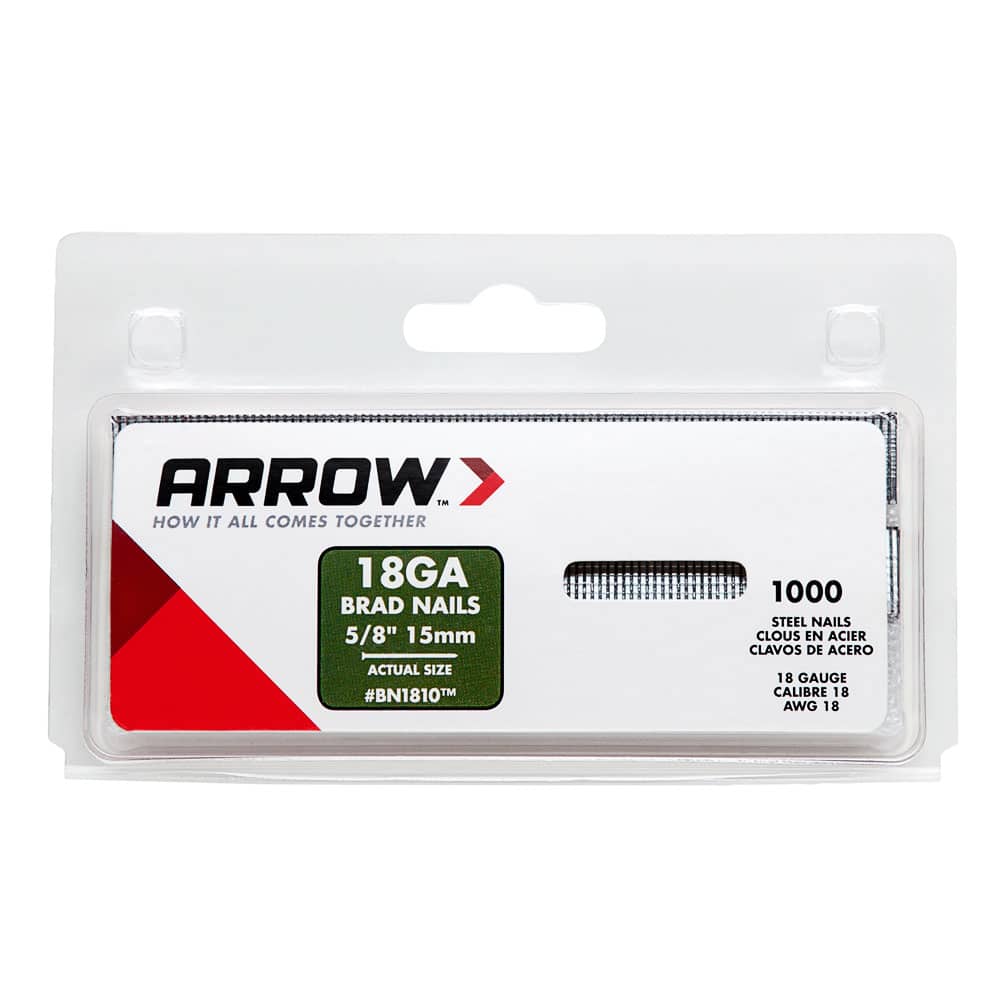
Pneumatic Brad Nailer
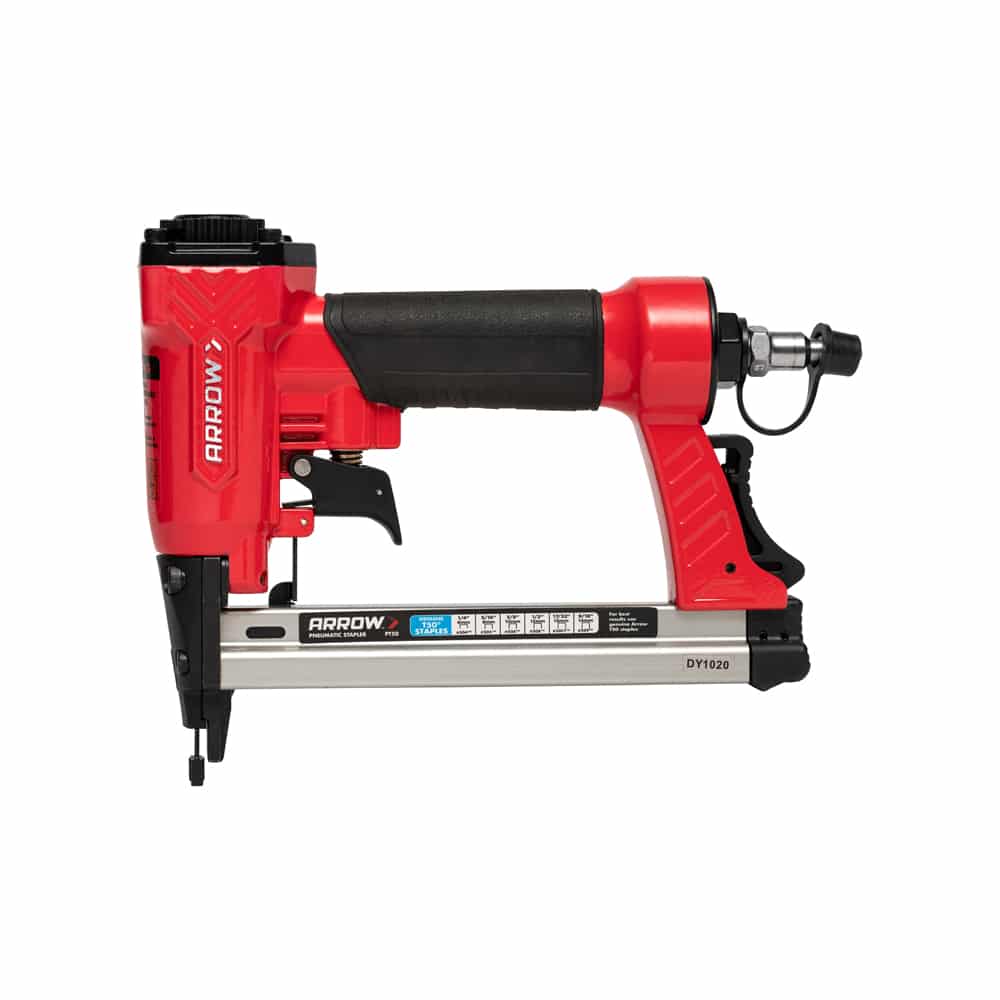
Pneumatic Staple Gun
Attach shelf supports to the sides of the organizer. Place the two sides on a flat surface beside each other. Use square to keep in alignment. Measure down from the top, 3-3/8” and 10-3/4”; draw guidelines from side to side. Glue shelf supports below each guideline and 3/8” in from the back; secure in place with the Arrow PT50 Pneumatic Staple Gun. Wipe away any excess glue and set aside.
Attach shelf supports to the sides of the organizer. Place the two sides on a flat surface beside each other. Use square to keep in alignment. Measure down from the top, 3-3/8” and 10-3/4”; draw guidelines from side to side. Glue shelf supports below each guideline and 3/8” in from the back; secure in place with the Arrow PT50 Pneumatic Staple Gun. Wipe away any excess glue and set aside.
Attach shelf spacers to one shelf. Measure across shelf every 2”. Draw a guideline for accuracy. Glue spacers to the left of each guideline and 3/8” in from back; secure in place with the Arrow PT50. Wipe away any excess glue and set aside.
Attach shelf spacers to one shelf. Measure across shelf every 2”. Draw a guideline for accuracy. Glue spacers to the left of each guideline and 3/8” in from back; secure in place with the Arrow PT50. Wipe away any excess glue and set aside.
Attach the sides to the back. Lightly glue the long edge of the back. Stand the back and one side upright. Use the angle bracket and 2 clamps to hold in place. Secure with the Arrow PT18G Pneumatic Brad Nailer. Repeat on the opposite side.
Attach the sides to the back. Lightly glue the long edge of the back. Stand the back and one side upright. Use the angle bracket and 2 clamps to hold in place. Secure with the Arrow PT18G Pneumatic Brad Nailer. Repeat on the opposite side.
Attach shelf supports to the back. Use the side supports as your guide. Glue and secure with the Arrow PT50.
Attach shelf supports to the back. Use the side supports as your guide. Glue and secure with the Arrow PT50.
Dry fit the shelves, adjusting if necessary. Lightly glue along the joints of the shelf supports on the back and the sides. Set shelf in place and secure with the Arrow PT18G. Repeat for the second shelf. (Use the square to draw a guide line down the side for accuracy.)
Dry fit the shelves, adjusting if necessary. Lightly glue along the joints of the shelf supports on the back and the sides. Set shelf in place and secure with the Arrow PT18G. Repeat for the second shelf. (Use the square to draw a guide line down the side for accuracy.)
Attach the organizer top. Glue and secure with the Arrow PT18G.
Attach the organizer top. Glue and secure with the Arrow PT18G.
Place and attach the shaker pegs. For the left peg, measure in from left 4” and down 4”; drill a hole all the way through. For the right peg, measure in from the right 5-1/2” and down 2-1/2”; drill a hole all the way through. Dry fit the pegs until they stick out the back, making any necessary adjustments. Glue pegs and allow to dry for at least one hour.
Place and attach the shaker pegs. For the left peg, measure in from left 4” and down 4”; drill a hole all the way through. For the right peg, measure in from the right 5-1/2” and down 2-1/2”; drill a hole all the way through. Dry fit the pegs until they stick out the back, making any necessary adjustments. Glue pegs and allow to dry for at least one hour.
Remove any excess peg from the back using the flush cut saw.
Remove any excess peg from the back using the flush cut saw.
Use the sandpaper to sand any rough edges.
Use the sandpaper to sand any rough edges.
Attach the D-rings to back of organizer. Pre-drill holes and secure in place with screws. If you want to, you can now paint or stain the tool organizer.
Attach the D-rings to back of organizer. Pre-drill holes and secure in place with screws. If you want to, you can now paint or stain the tool organizer.
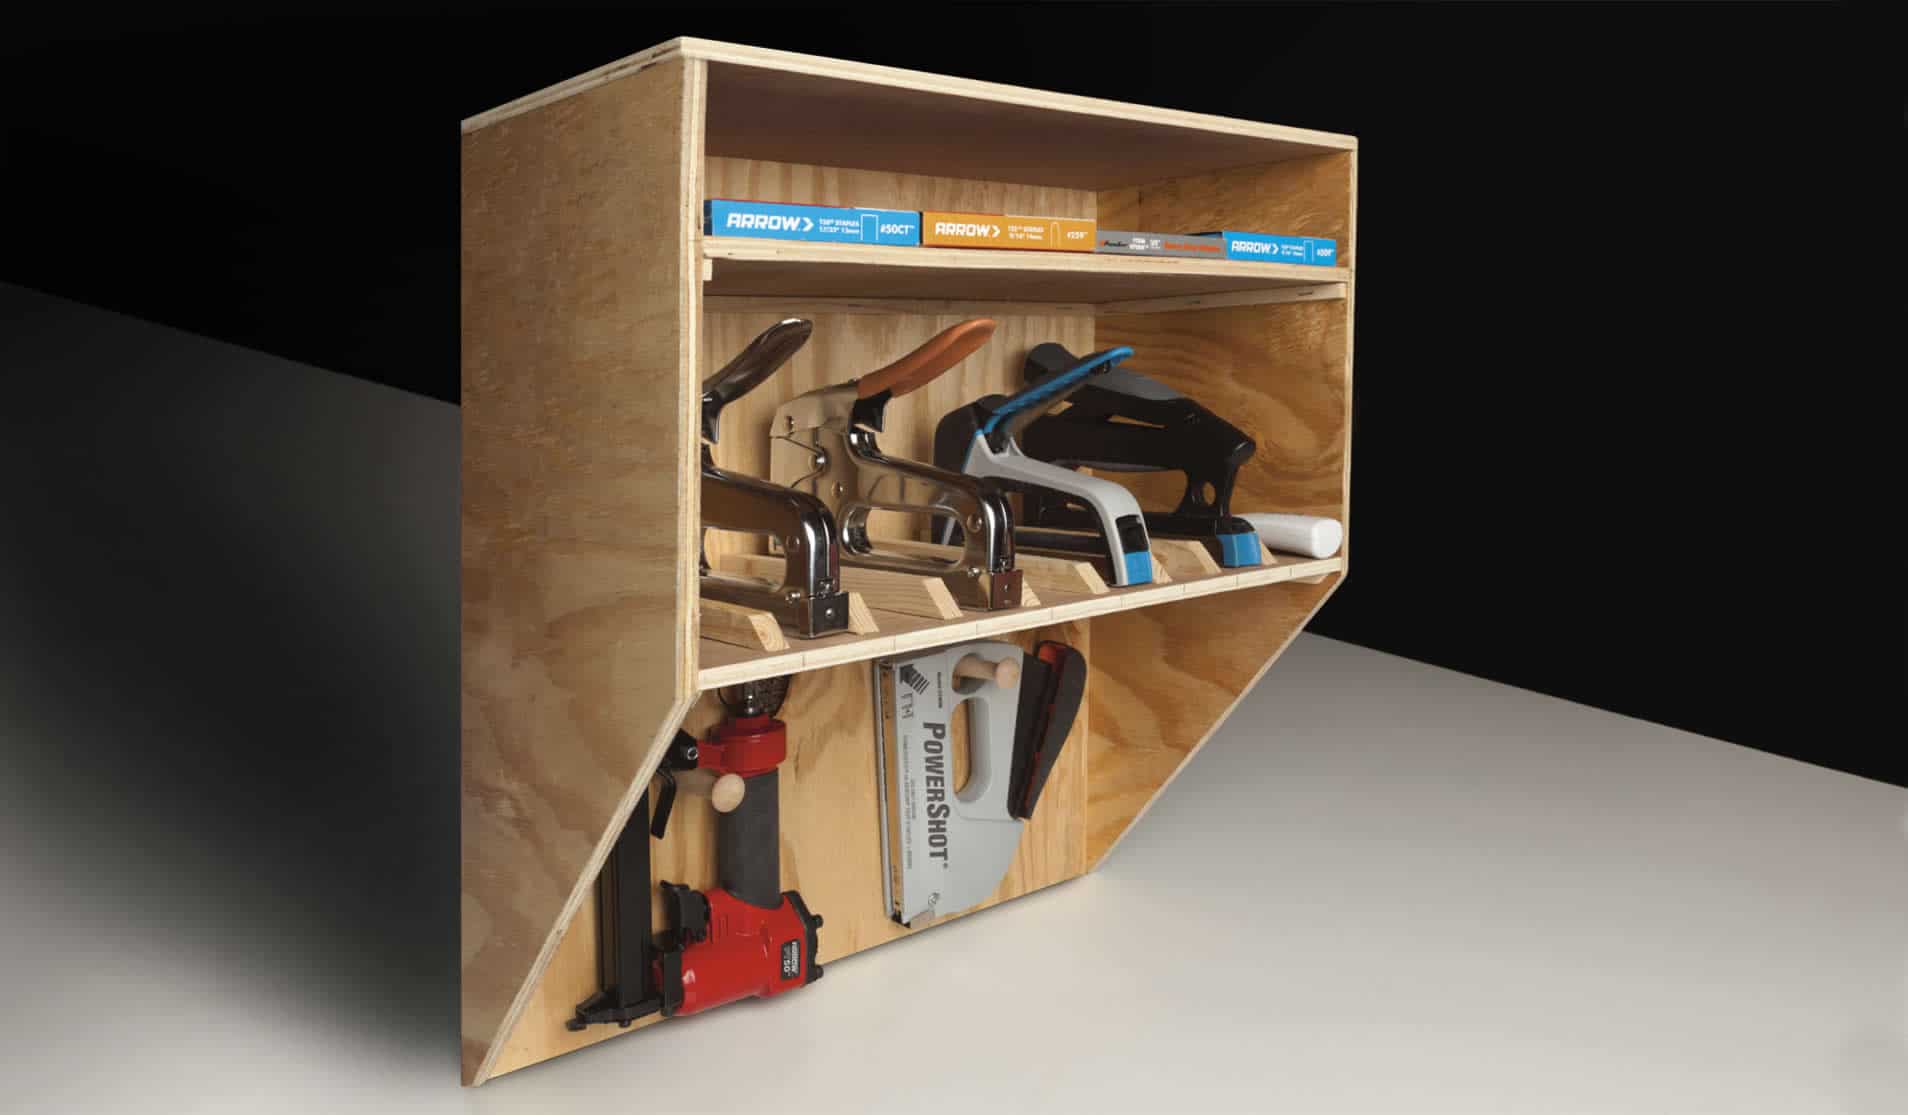
You are now ready to hang your staple gun tool organizer and fill it with all of your favorite Arrow staple guns or hand tools. We placed the Arrow PT50 on the left peg and the PowerShot 5700 Forward Action Staple Gun & Nailer on the right. This organizer can also store the Arrow SL24D Staple Lifter and all the staples you’ll need to get the job done.
You are now ready to hang your staple gun tool organizer and fill it with all of your favorite Arrow staple guns or hand tools. We placed the Arrow PT50 on the left peg and the PowerShot 5700 Forward Action Staple Gun & Nailer on the right. This organizer can also store the Arrow SL24D Staple Lifter and all the staples you’ll need to get the job done.
We’d love to see how your DIY Tool Organizer project turned out! Share your results with us on Facebook, Instagram or Twitter by tagging Arrow Fastener and using #MadeWithArrow.
Get Arrow tips, tricks, projects and promos in your inbox!
Hey there! We’ve updated our Privacy and Cookie Policies at the request of some of our friends in Europe. Click Accept to let us know you’re okay with the updates. Thanks!
View Cookie Policy Accept