or Call Us at 1-800-776-2228
or Call Us at 1-800-776-2228
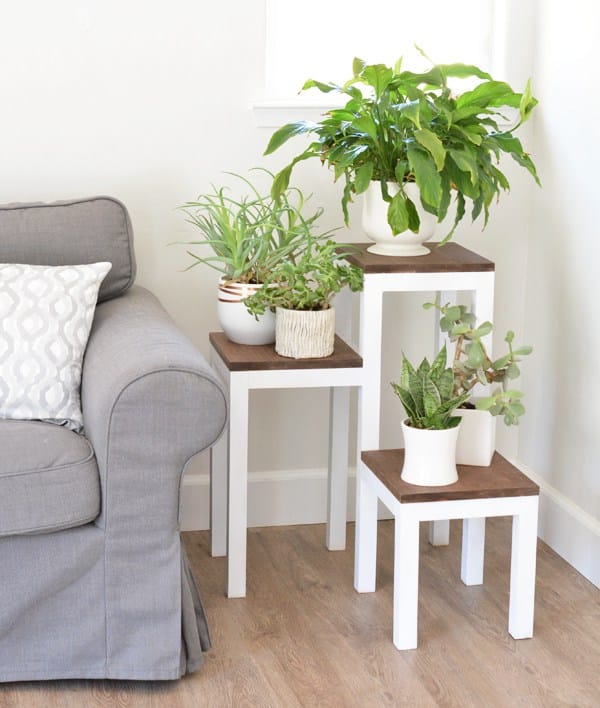
Every house has a corner that needs to be decorated. Fill that space with greenery by building a DIY tiered plant stand. This wood-and-white plant stand sits nicely in a corner, adding a fresh dose of botanicals to your space. It’s also handy as a perch for your coffee cup!
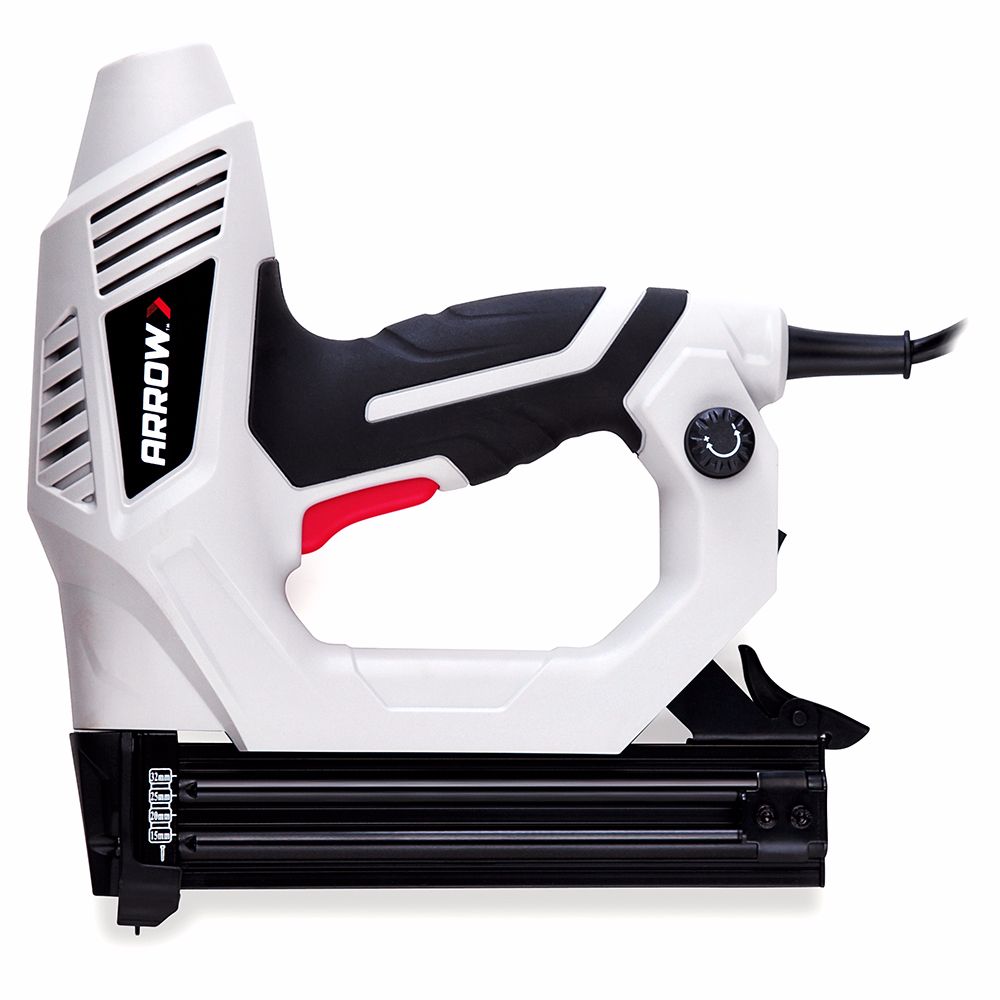
Professional Electric Nailer
Cut 24” x 3/4” poplar boards in half to form the tops with a miter saw. Sand away any rough spots and stain with color of choice. Walnut stain was used for this project.
Cut 24” x 3/4” poplar boards in half to form the tops with a miter saw. Sand away any rough spots and stain with color of choice. Walnut stain was used for this project.
Cut legs for all three tiers. Note that the diagram below shows only the leg height; it does not show the supports underneath.
Cut legs for all three tiers. Note that the diagram below shows only the leg height; it does not show the supports underneath.
Cut stabilizing frame pieces with 2×2” wood for underneath to support the three tops. Use the legs in corners as your guide for the length of the cuts and mark them with a sharpie. Cut four pieces for each tier. The first thing you’ll construct is the top tier. Using a clamp, secure the stabilizing support pieces to the stained top tier piece. Drill pilot holes and secure four legs to support pieces (A1 – A4) with 2-1/2” wood screws.
Cut stabilizing frame pieces with 2×2” wood for underneath to support the three tops. Use the legs in corners as your guide for the length of the cuts and mark them with a sharpie. Cut four pieces for each tier. The first thing you’ll construct is the top tier. Using a clamp, secure the stabilizing support pieces to the stained top tier piece. Drill pilot holes and secure four legs to support pieces (A1 – A4) with 2-1/2” wood screws.
The supports for the medium and lowest tier look different underneath. Each one of these tiers has only two legs, so the support pieces attach to two of the legs of both this tier and the highest A tier.
Cut the same four pieces as you did for the top tier (just like A1-A4 above). However, one of the pieces for the B tier and C tier will act as a leg stabilizer and it will be attached to the top A tier. Notice the C1, C2, and C3 tiers attach to the stained board above and also its two legs. The unmarked support piece (the one that’s the same size as C2) will act as sheer to stabilize the tallest A tier and actually attach in between the legs of that tallest A tier.
Drill pilot holes before screwing tiers together. Assemble A first, then B then C, then attach B to A and C to A to complete the tiers.
Patch the gaps created by the wood screws with spackling. Sand any residue when the spackling is dry. Tape off the top of the stained wood on the tallest tier to protect it, then spray paint base.
Patch the gaps created by the wood screws with spackling. Sand any residue when the spackling is dry. Tape off the top of the stained wood on the tallest tier to protect it, then spray paint base.
Using the Arrow’s ET200BN, secure wood tops to middle and lower tiers.
Using the Arrow’s ET200BN, secure wood tops to middle and lower tiers.
Once the spray paint is dry, add a coat of clear wax or polycrylic to protect the stained tops.
Once the spray paint is dry, add a coat of clear wax or polycrylic to protect the stained tops.
Enjoy your new tiered plant stand!
Get Arrow tips, tricks, projects and promos in your inbox!
Hey there! We’ve updated our Privacy and Cookie Policies at the request of some of our friends in Europe. Click Accept to let us know you’re okay with the updates. Thanks!
View Cookie Policy Accept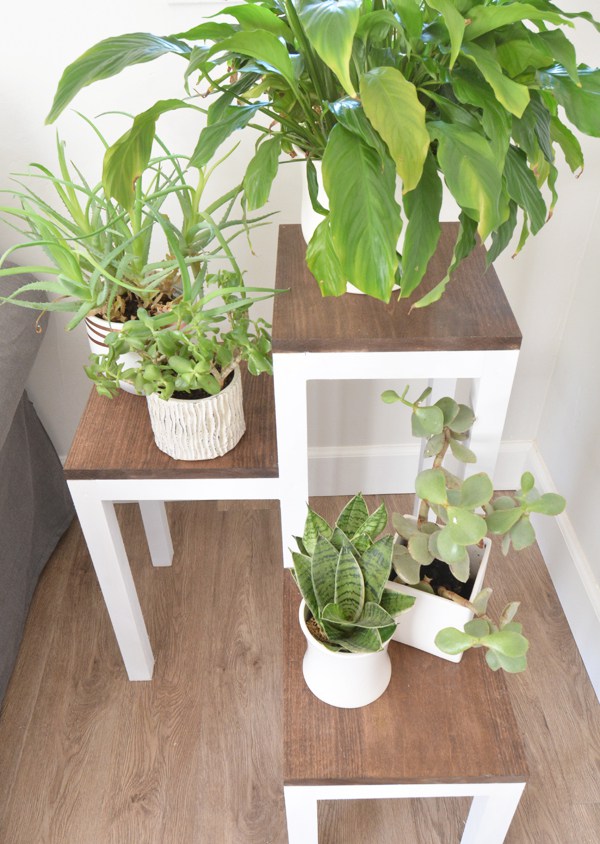