or Call Us at 1-800-776-2228
or Call Us at 1-800-776-2228
Repurpose an old nightstand or sideboard into a fun piece of furniture by building a sliding barn door with Arrow’s ET200BN Professional Electric Brad Nailer. This upcycled cabinet can bring an extra measure of style and functionality to your entryway, bathroom, bedroom or even the kitchen. As always, remember to wear safety goggles when working with the brad nailer. Gloves and ear protection are recommended as well.
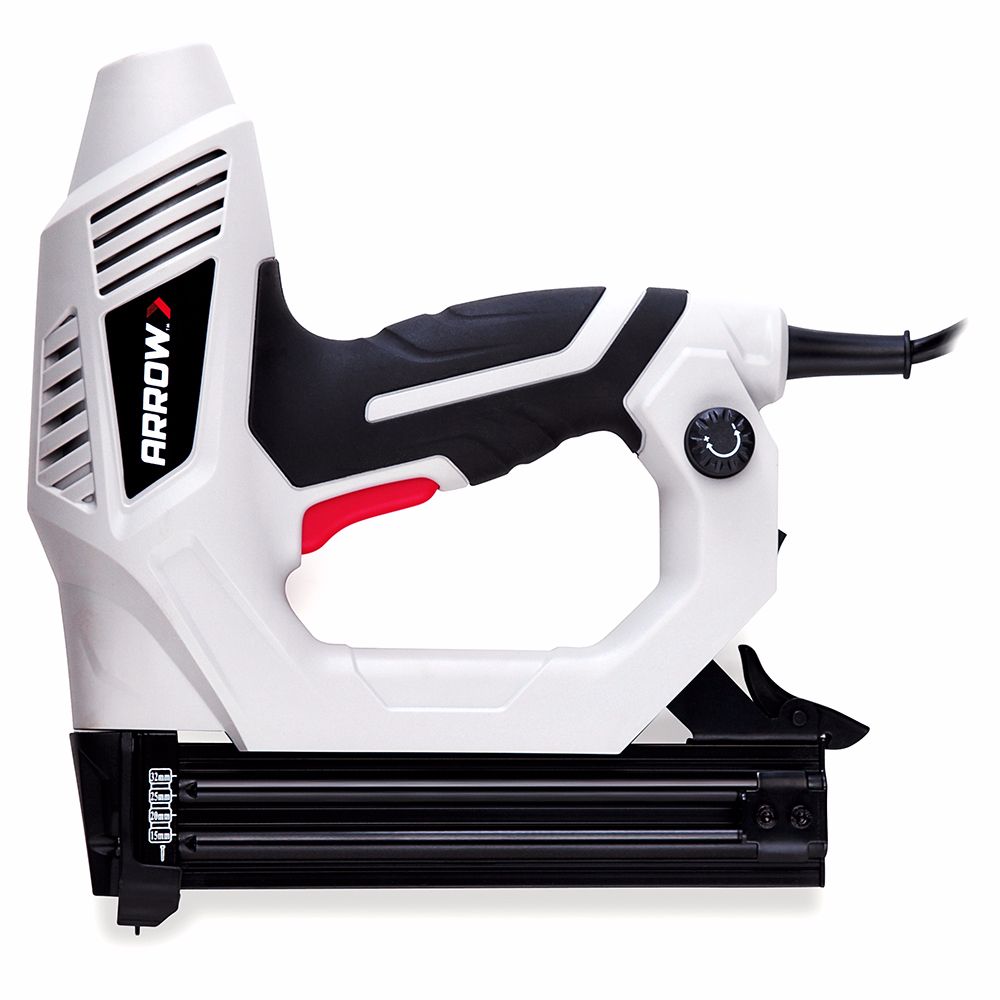
Professional Electric Nailer
First, remove the furniture’s doors and any shelves from the inside of the sideboard or cabinet. Also remove all hardware from the piece. Make sure you have a solid area to affix the hardware so that the door weight can be supported.
First, remove the furniture’s doors and any shelves from the inside of the sideboard or cabinet. Also remove all hardware from the piece. Make sure you have a solid area to affix the hardware so that the door weight can be supported.
Time to start the makeover! We decided to paint the outside of our cabinet a rich brown with the inside color a light blue to reflect more light.
Time to start the makeover! We decided to paint the outside of our cabinet a rich brown with the inside color a light blue to reflect more light.
Next, decide where you want to attach the track. We placed ours at the top of the cabinet, with the track running the full length of the front. To fasten the track, follow the instructions given with your kit. For ours, we used a power drill with a 1/4” brad point drill bit to make pilot holes for the lag bolts.
Next, decide where you want to attach the track. We placed ours at the top of the cabinet, with the track running the full length of the front. To fasten the track, follow the instructions given with your kit. For ours, we used a power drill with a 1/4” brad point drill bit to make pilot holes for the lag bolts.
Now, for the barn door! Measure the cabinet to get the desired size of your door. We built our door to cover one of the cabinet openings. Depending on the size of your cabinet and the size of the barn door kit you choose, you might use one or two doors. To make ours, we cut the pieces from 1” x 6” classic center beaded tongue-and-groove. Arrow Tip: First, cut a piece of cardboard to the desired door size. Then cut the boards to that size. You can do these cuts yourself or go to your local home improvement center for a custom cut.
Now, for the barn door! Measure the cabinet to get the desired size of your door. We built our door to cover one of the cabinet openings. Depending on the size of your cabinet and the size of the barn door kit you choose, you might use one or two doors. To make ours, we cut the pieces from 1” x 6” classic center beaded tongue-and-groove. Arrow Tip: First, cut a piece of cardboard to the desired door size. Then cut the boards to that size. You can do these cuts yourself or go to your local home improvement center for a custom cut.
Next, assemble the door by sliding the tongue into the groove until all the pieces are together.
Next, assemble the door by sliding the tongue into the groove until all the pieces are together.
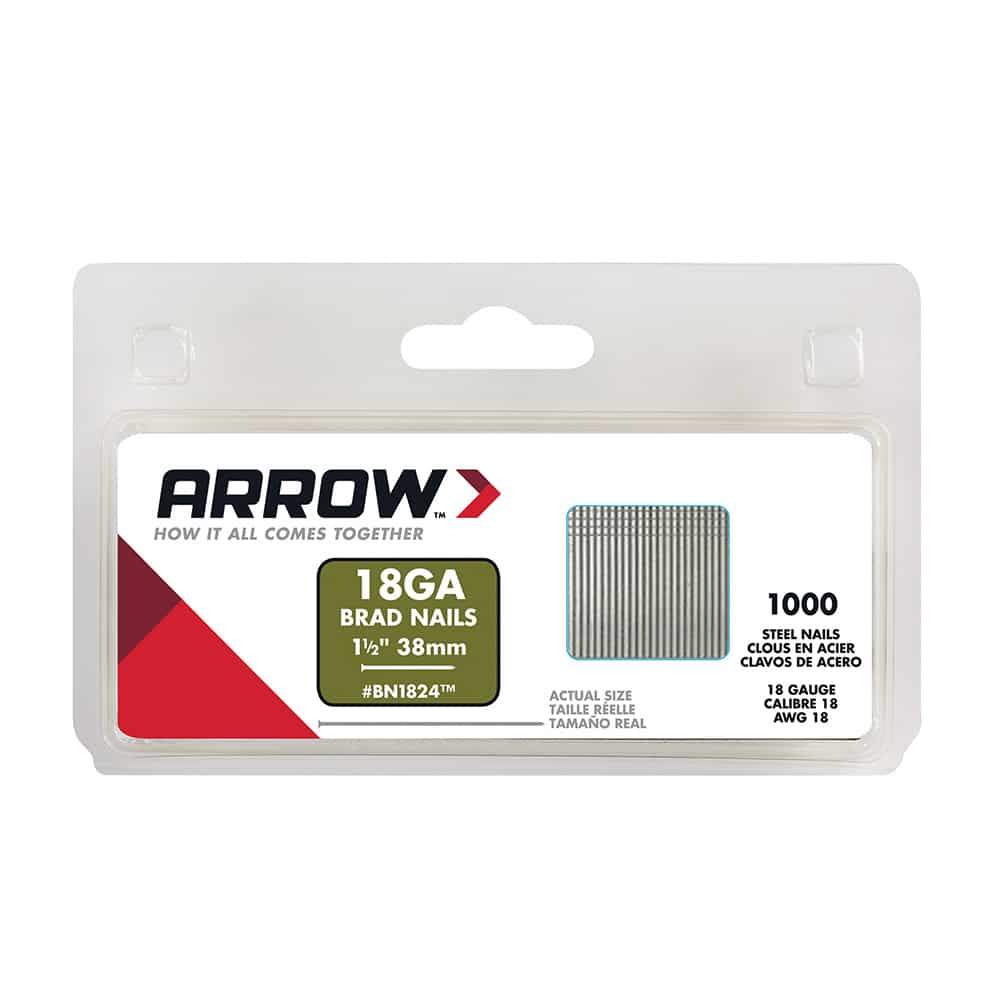
Measure your assembled door to determine the lengths needed for the three-piece wooden “Z” door brace. Then cut to your measurements or have the cuts made from the 1/2” x 3/4” pine strips. Using the tape measure and pencil, mark the desired placement of the “Z” brace. Place the cut strips on the door and secure with Arrow’s ET200BN Professional Electric Brad Nailer and 1” brad nails.
Measure your assembled door to determine the lengths needed for the three-piece wooden “Z” door brace. Then cut to your measurements or have the cuts made from the 1/2” x 3/4” pine strips. Using the tape measure and pencil, mark the desired placement of the “Z” brace. Place the cut strips on the door and secure with Arrow’s ET200BN Professional Electric Brad Nailer and 1” brad nails.
Now that your door is completed, paint or stain it with the color of your choice. We went with slightly darker blue to add a pop of color while still complementing the lighter blue inside.
Now that your door is completed, paint or stain it with the color of your choice. We went with slightly darker blue to add a pop of color while still complementing the lighter blue inside.
Let your door dry the amount of time recommended on your paint or stain. Then attach the rollers to the door. Refer to the instructions given with your kit. We drilled holes for the brackets and then attached them to the door with the supplied hardware using the combination wrench, tightening the nuts to the carriage bolts. Set to the side.
Let your door dry the amount of time recommended on your paint or stain. Then attach the rollers to the door. Refer to the instructions given with your kit. We drilled holes for the brackets and then attached them to the door with the supplied hardware using the combination wrench, tightening the nuts to the carriage bolts. Set to the side.
Time for the finishing touch! Measure the bottom part of your sideboard or nightstand to add a baseboard. Then cut your board to size. For our baseboard, we chose another piece of 1” x 6” classic center beaded tongue-and-groove.
Time for the finishing touch! Measure the bottom part of your sideboard or nightstand to add a baseboard. Then cut your board to size. For our baseboard, we chose another piece of 1” x 6” classic center beaded tongue-and-groove.
Next, paint the baseboard with the same paint or stain used on the outside of your furniture piece.
Next, paint the baseboard with the same paint or stain used on the outside of your furniture piece.
Once the baseboard dries, attach it to the bottom of the cabinet using the ET200BN nailer and 1” brad nails.
Once the baseboard dries, attach it to the bottom of the cabinet using the ET200BN nailer and 1” brad nails.
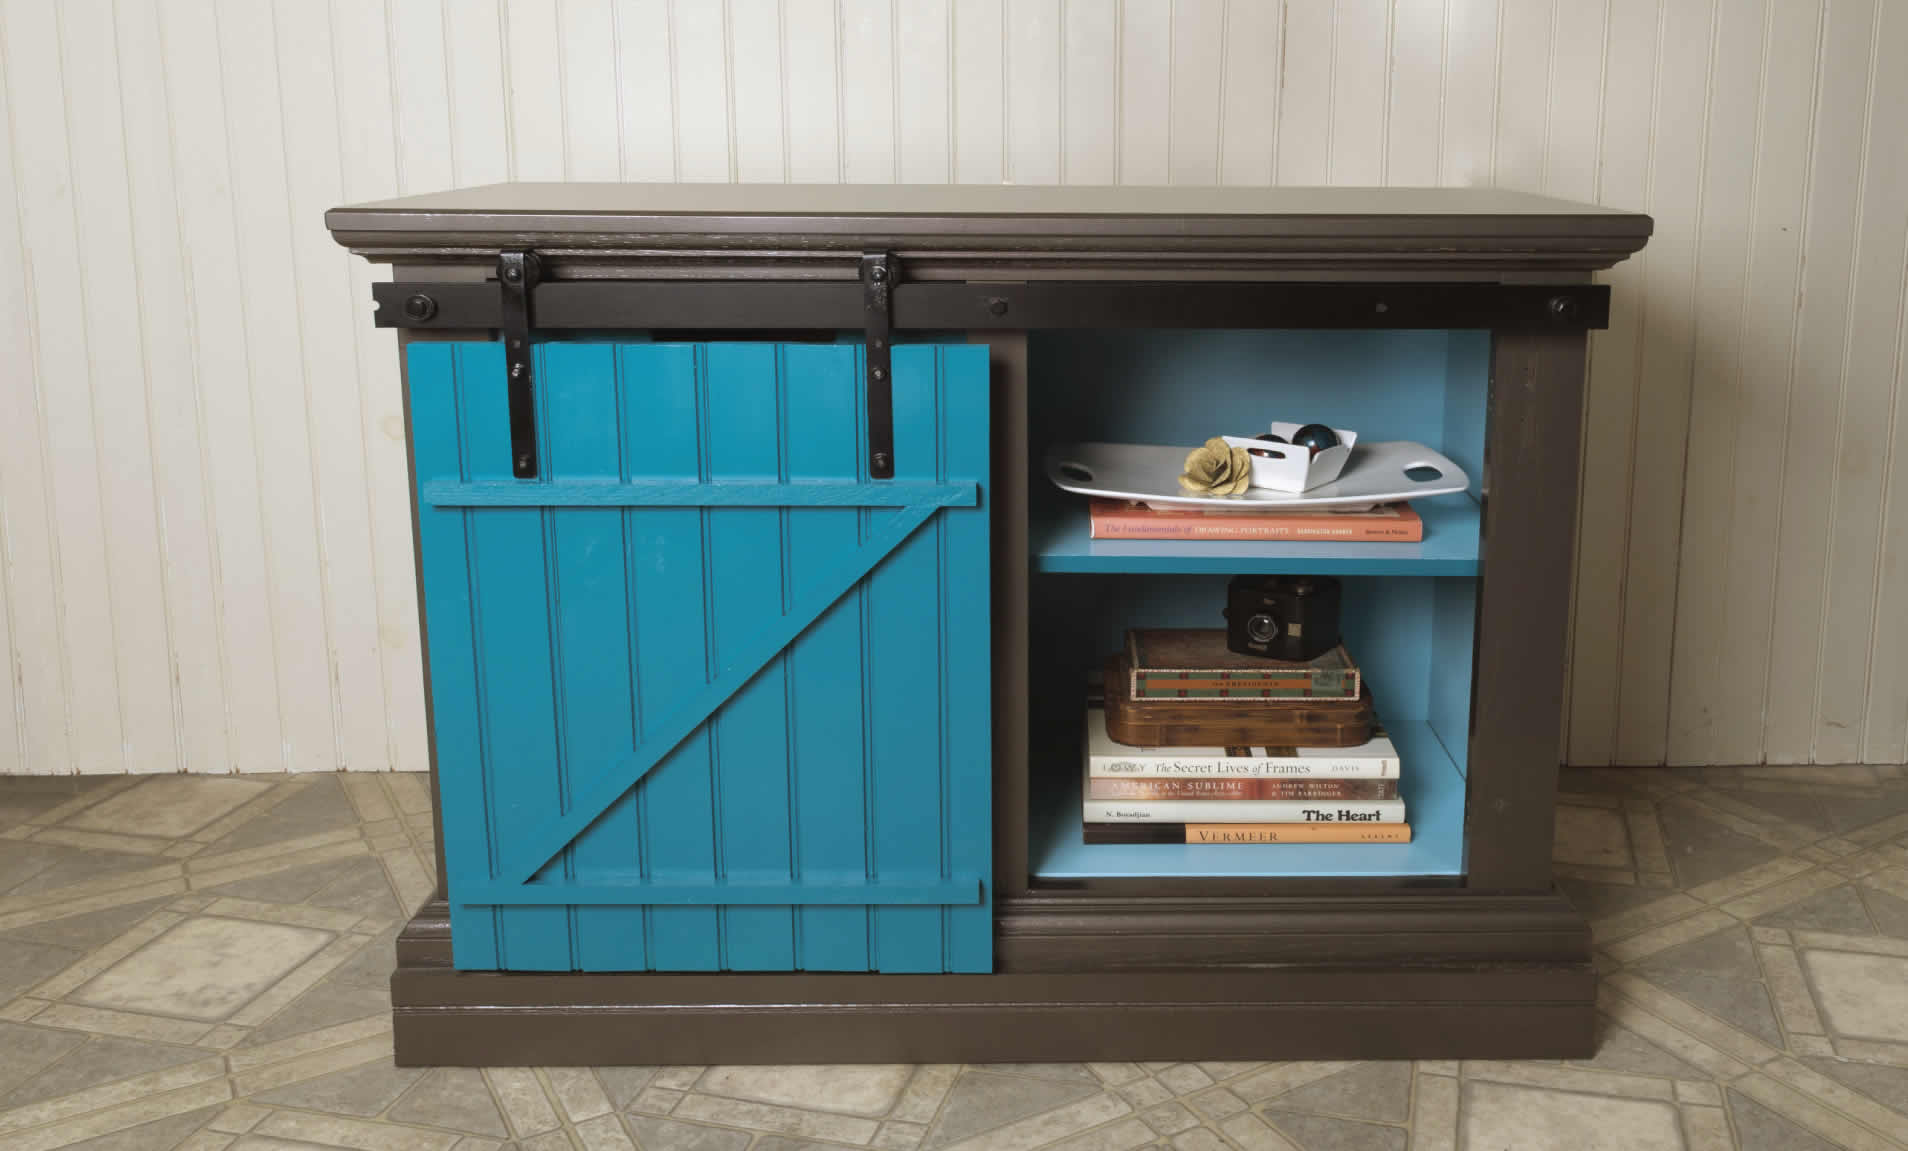
Finally, place the shelves back into the sideboard, and hang the door with rollers on the track. Now you can add some home décor or use for storage!
Finally, place the shelves back into the sideboard, and hang the door with rollers on the track. Now you can add some home décor or use for storage!
We’d love to see how your upcycled sliding barn door cabinet turned out! Share your project on Facebook, Instagram or Twitter by using #MadeWithArrow or tagging Arrow Fastener.
Get Arrow tips, tricks, projects and promos in your inbox!
Hey there! We’ve updated our Privacy and Cookie Policies at the request of some of our friends in Europe. Click Accept to let us know you’re okay with the updates. Thanks!
View Cookie Policy Accept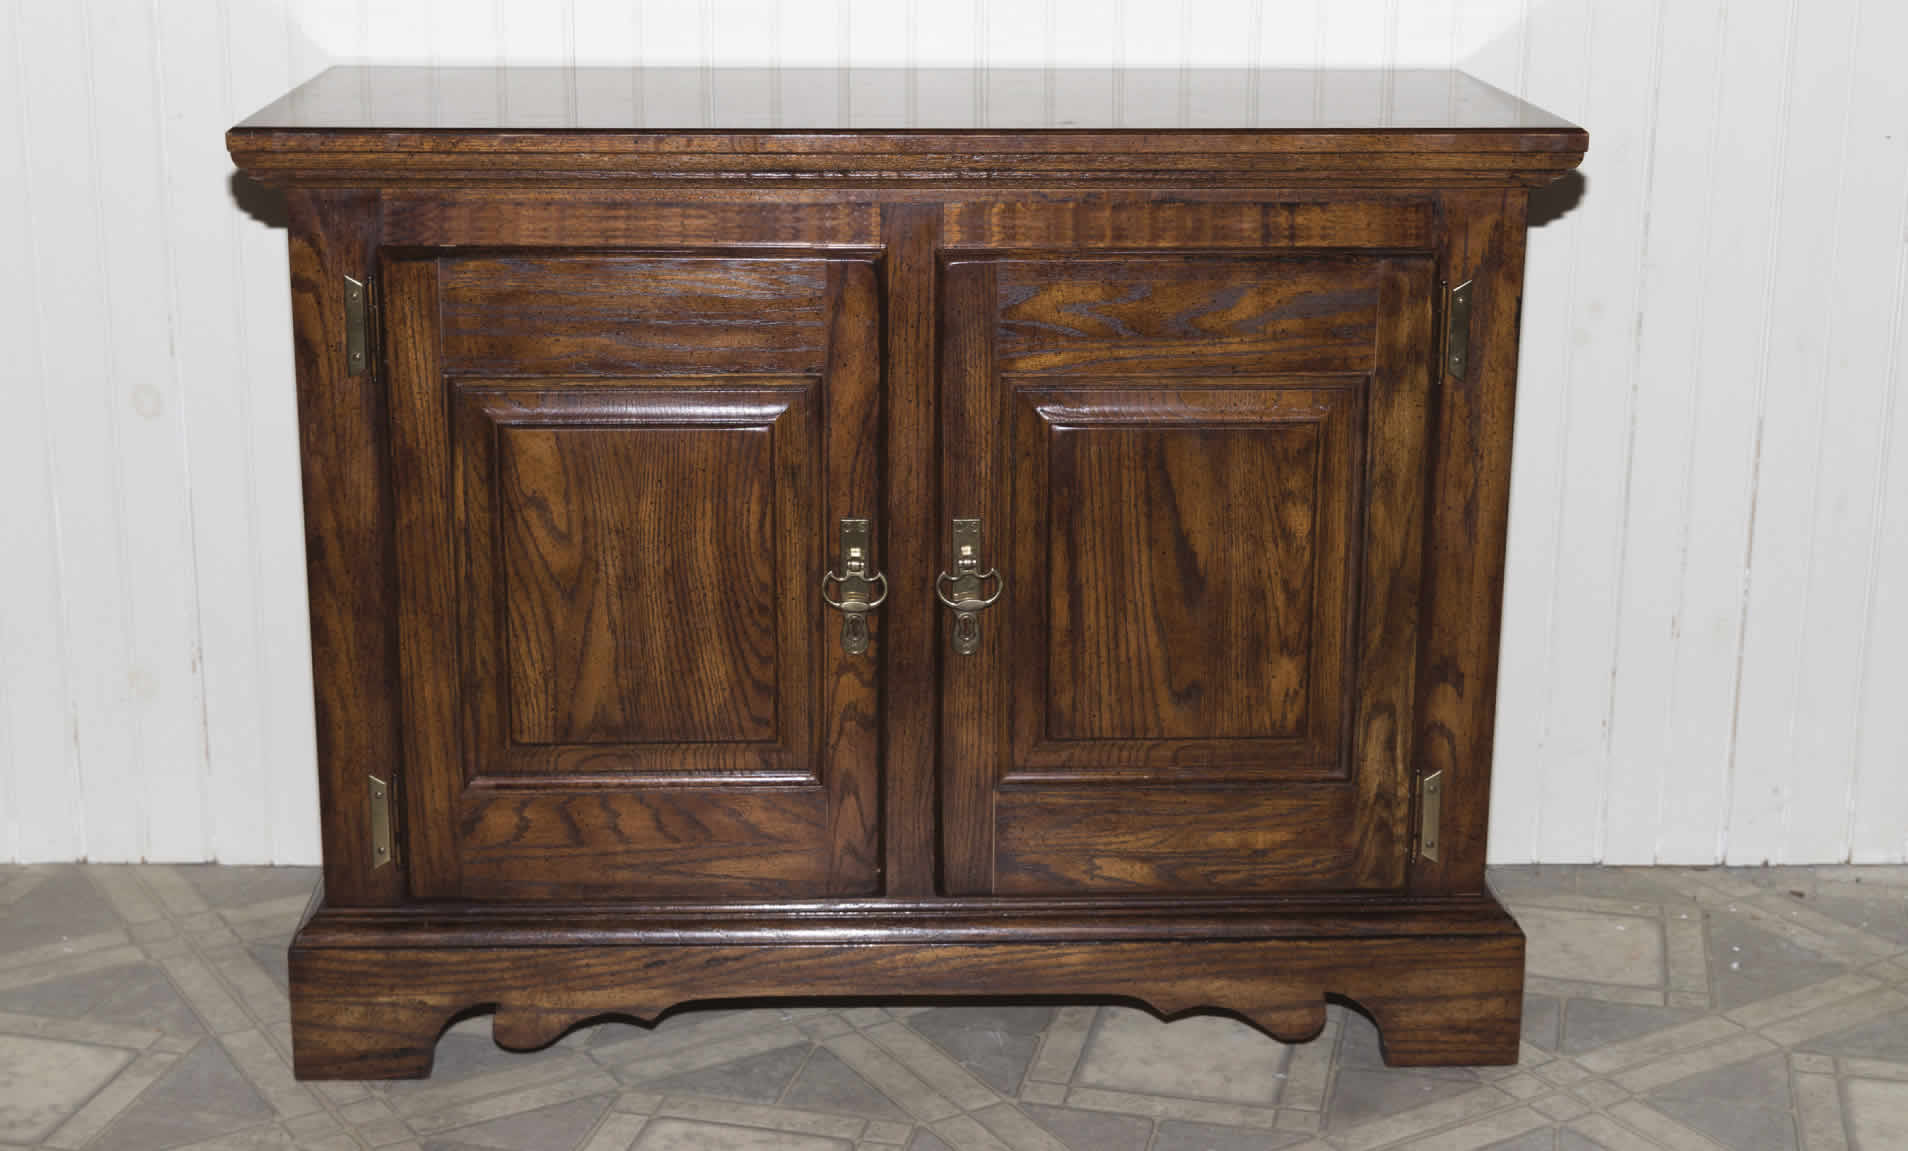