or Call Us at 1-800-776-2228
or Call Us at 1-800-776-2228
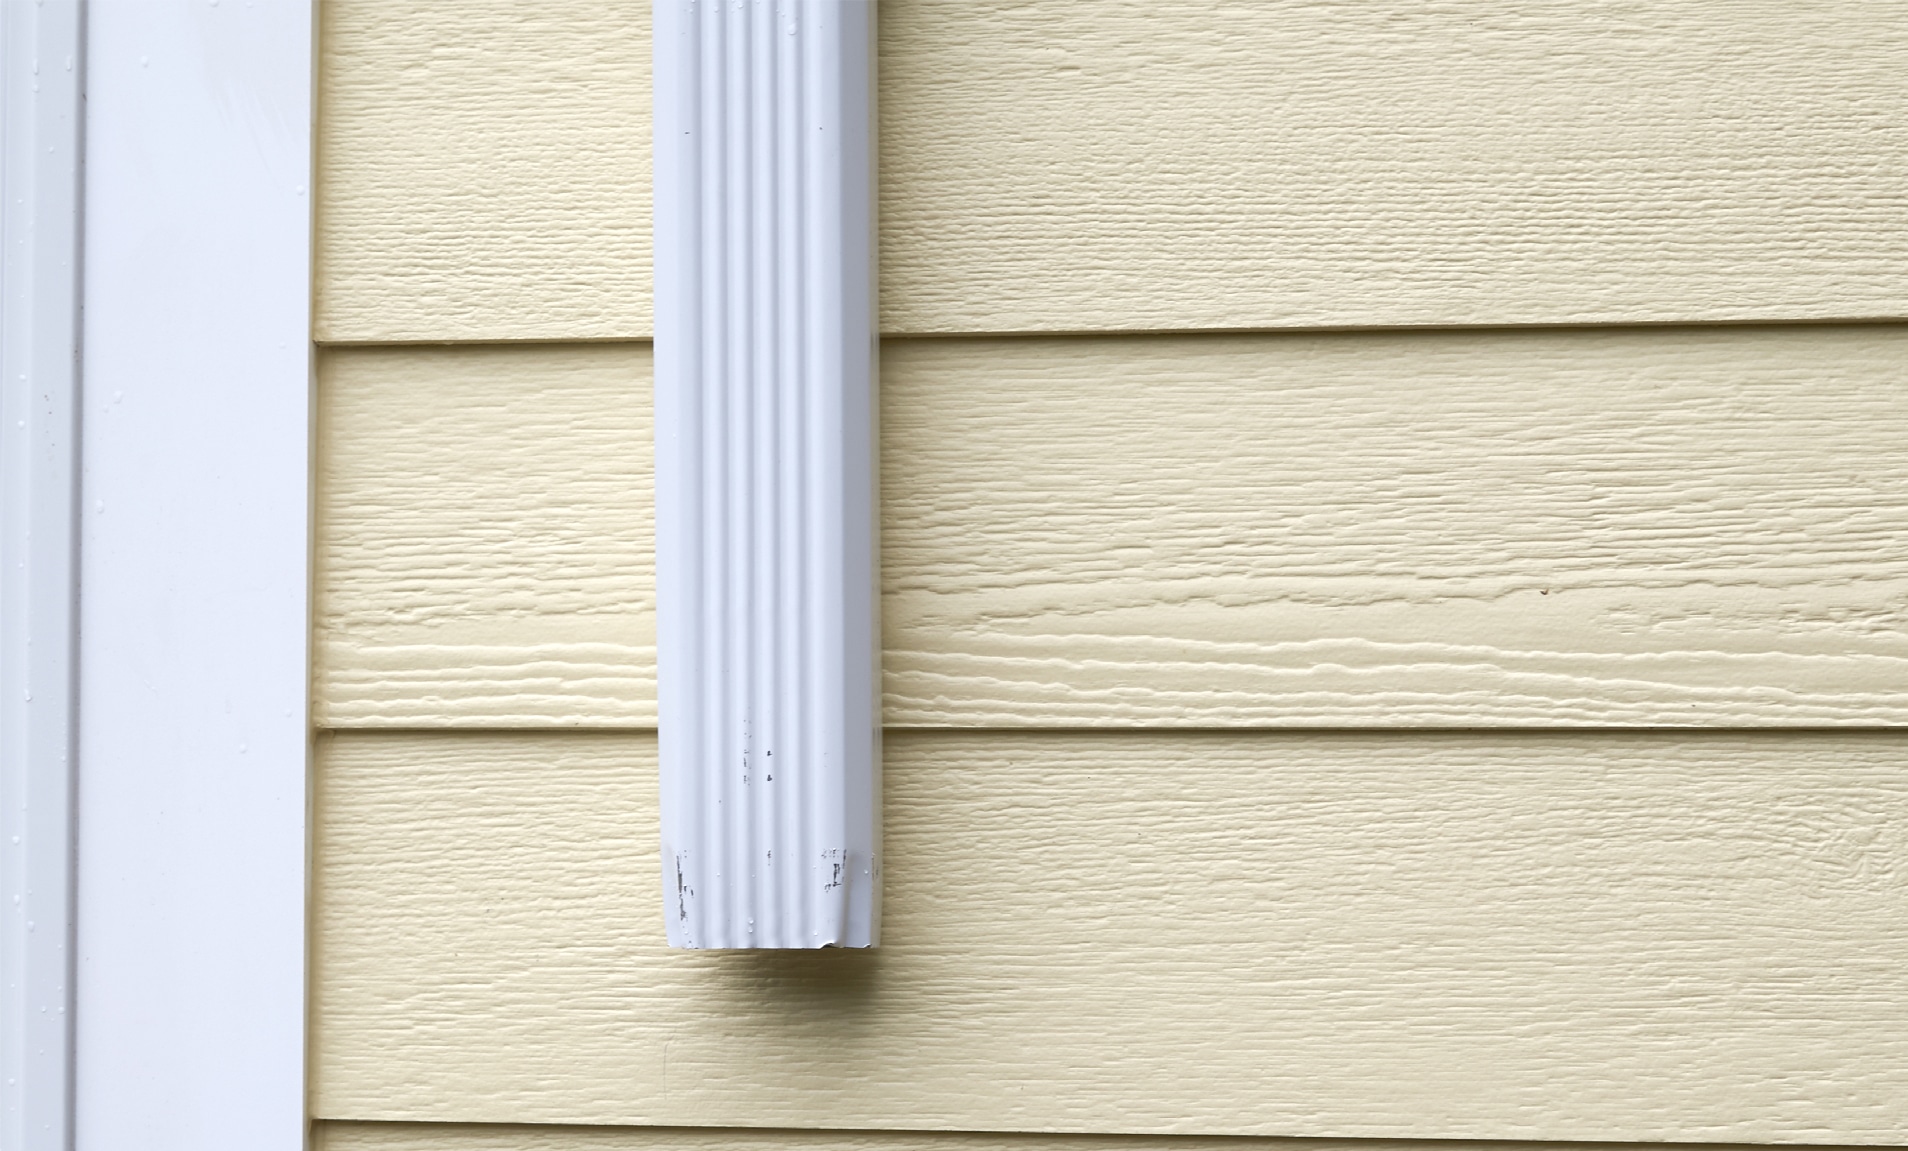
Repairing your home’s downspout can seem challenging at first. Using a rivet tool, however, can simplify this daunting home improvement project into a workable task. Here’s how you can use Arrow’s RH200S Heavy Duty Rivet Tool to attach replacement sections to damaged downspouting on your house.
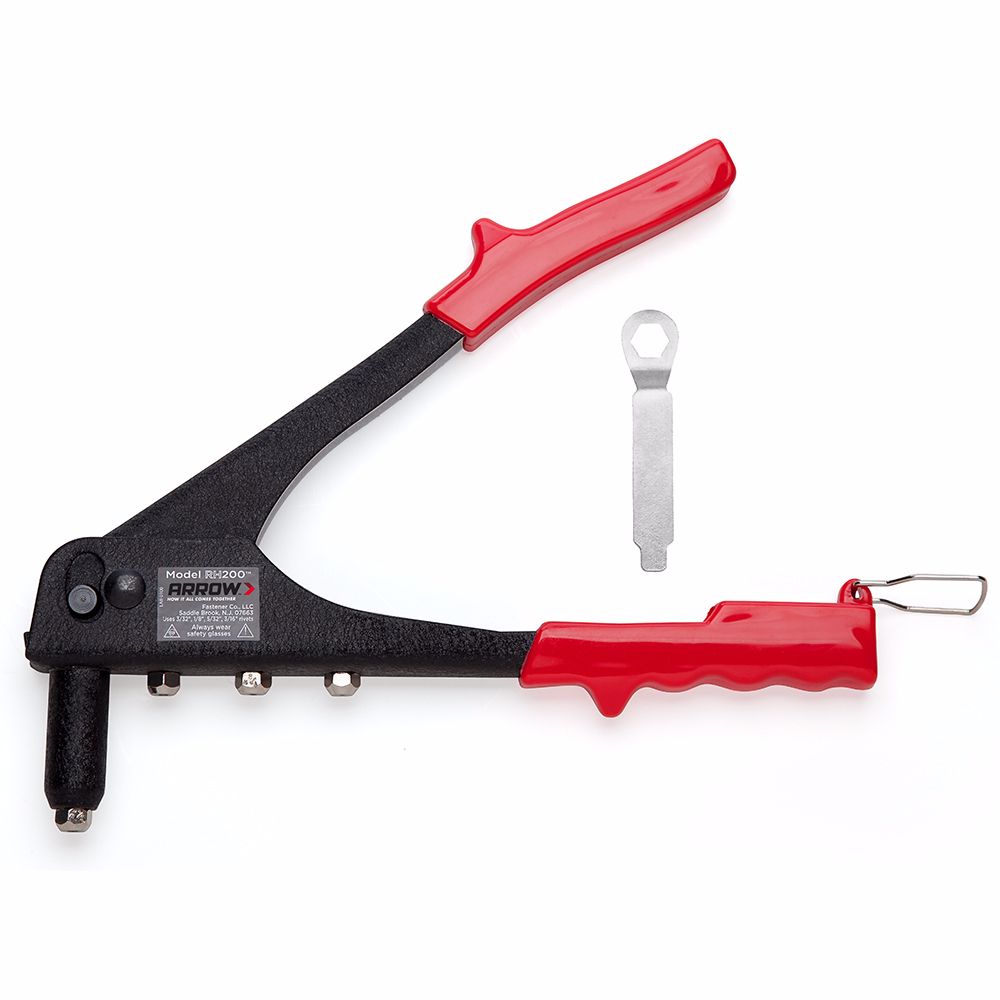
Heavy Duty Rivet Tool
Out with the old, in with the new. The first step is to remove the existing rivets. Using a drill bit the same size as the old rivets – in this case 1/8” – drill straight through the center of the old rivet until it pops out of place. You’ll be left with the original 1/8” hole the rivets went into. Repeat for the opposite side until all rivets have been removed.
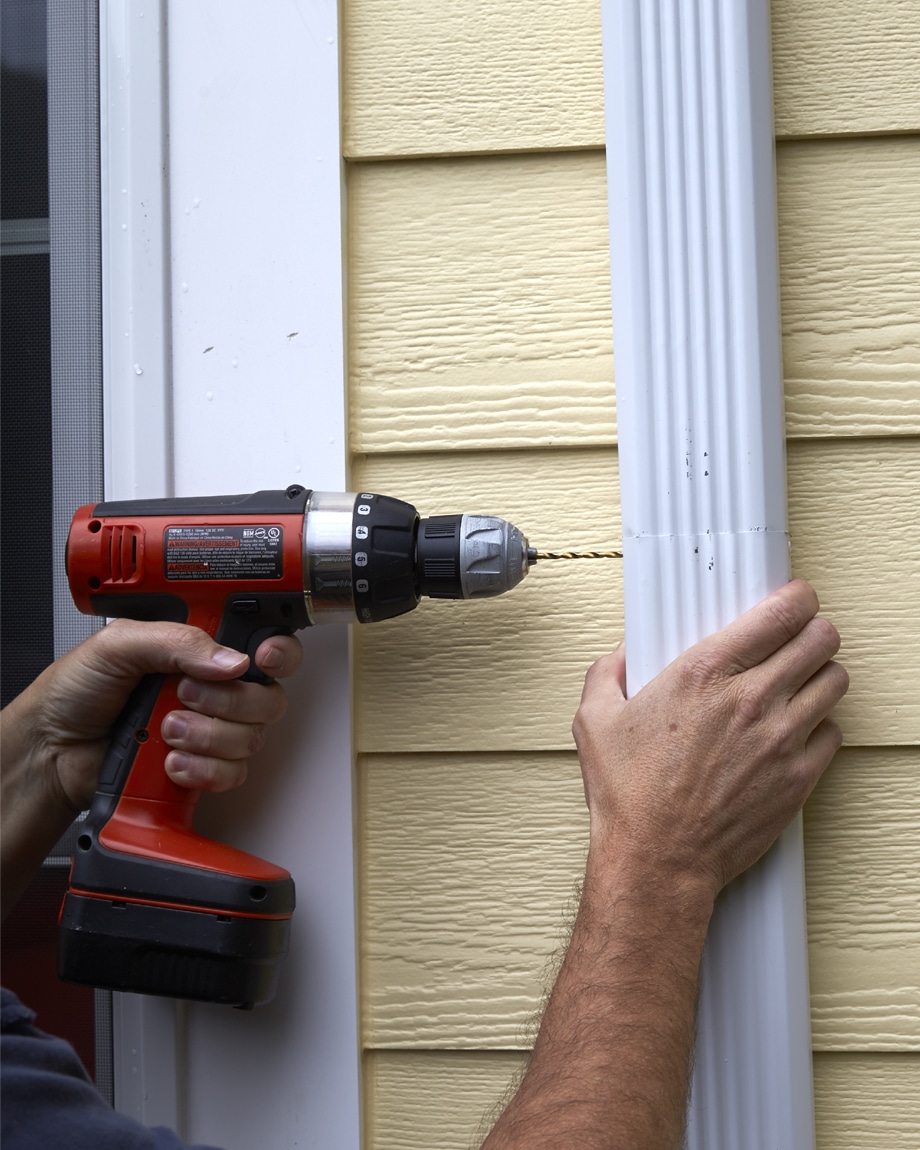
Out with the old, in with the new. The first step is to remove the existing rivets. Using a drill bit the same size as the old rivets – in this case 1/8” – drill straight through the center of the old rivet until it pops out of place. You’ll be left with the original 1/8” hole the rivets went into. Repeat for the opposite side until all rivets have been removed.
Now you can easily remove the section of damaged downspout and dispose of as needed.
Now you can easily remove the section of damaged downspout and dispose of as needed.
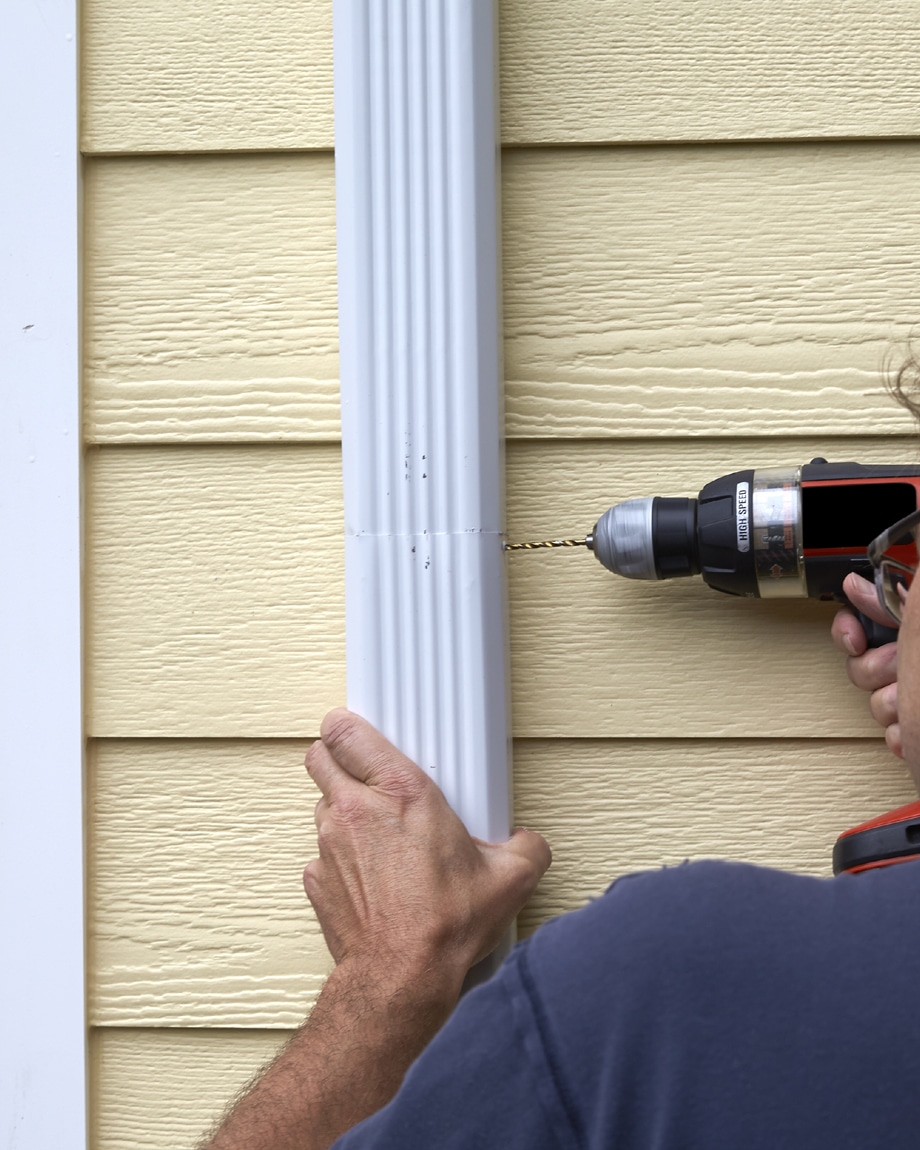
Slide the new section over the old, and adjust to make sure the length is correct. Next, drill new holes on both sides through both sections. Make sure these holes stay aligned – they will accommodate the new rivets.
Slide the new section over the old, and adjust to make sure the length is correct. Next, drill new holes on both sides through both sections. Make sure these holes stay aligned – they will accommodate the new rivets.
Insert a new rivet on one side through the hole you just drilled through the downspout sections. Use the rivet tool according to instructions to pull the rivet through. Pump handle as many times as needed to set the rivet. The mandrel – the thin part of the rivet – will pop off once the rivet is fully installed. Repeat this for the other side and your new downspout section is in place.
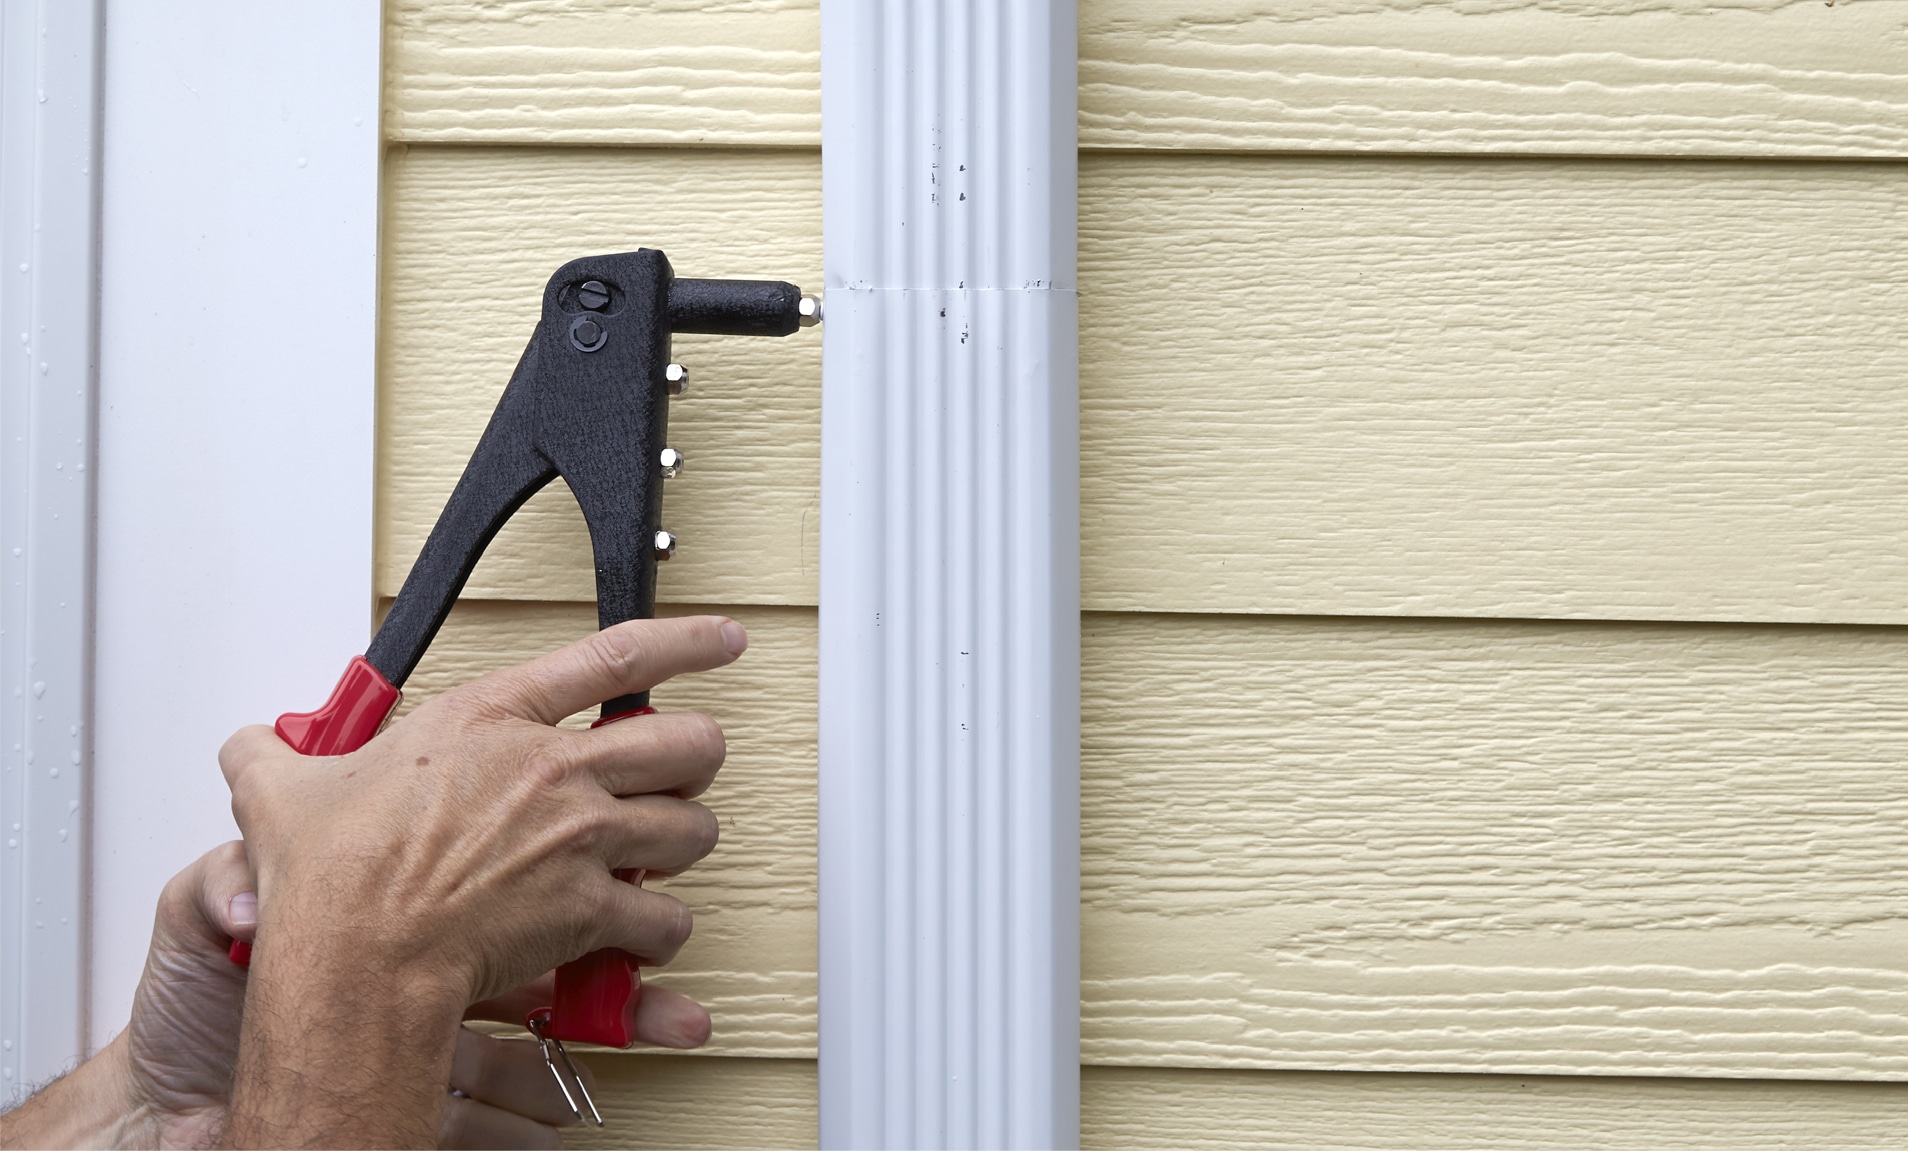
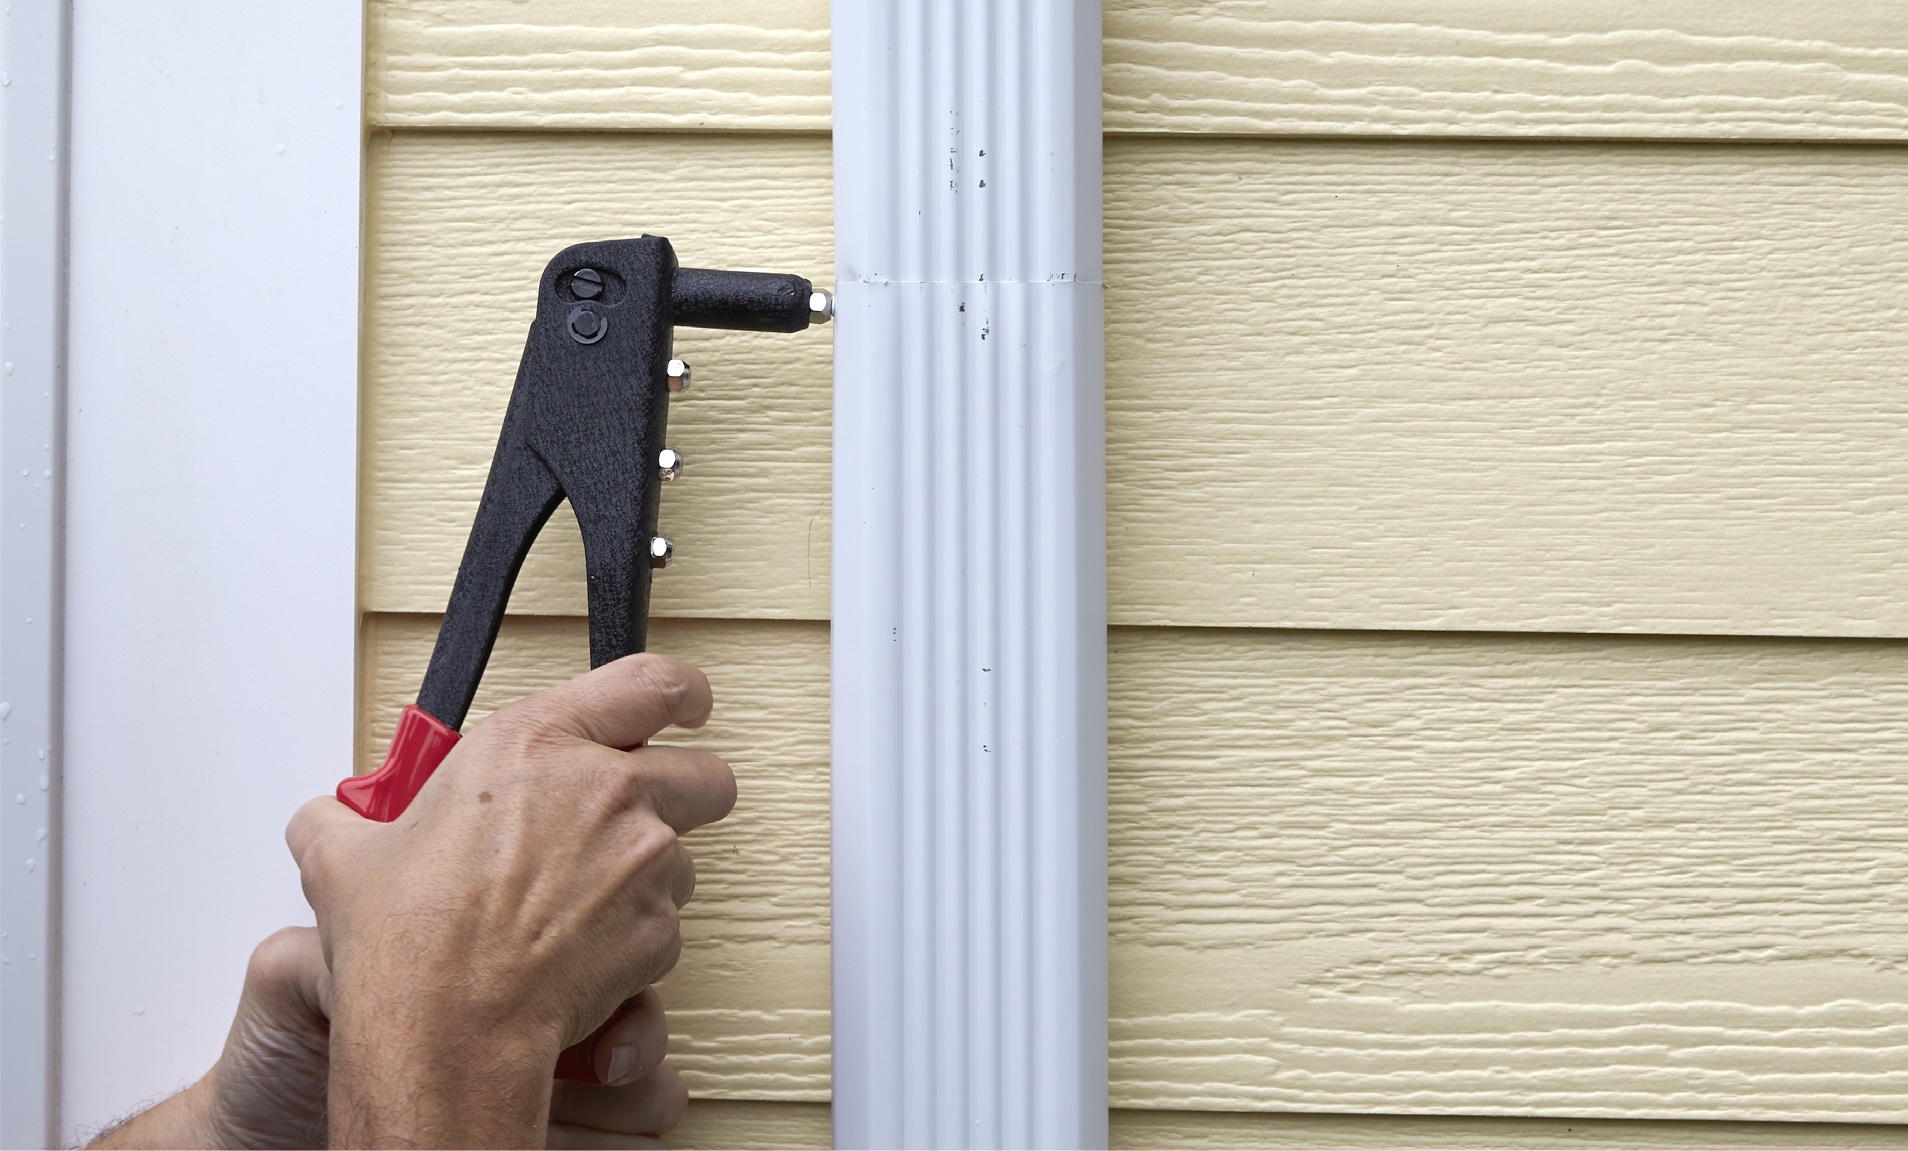
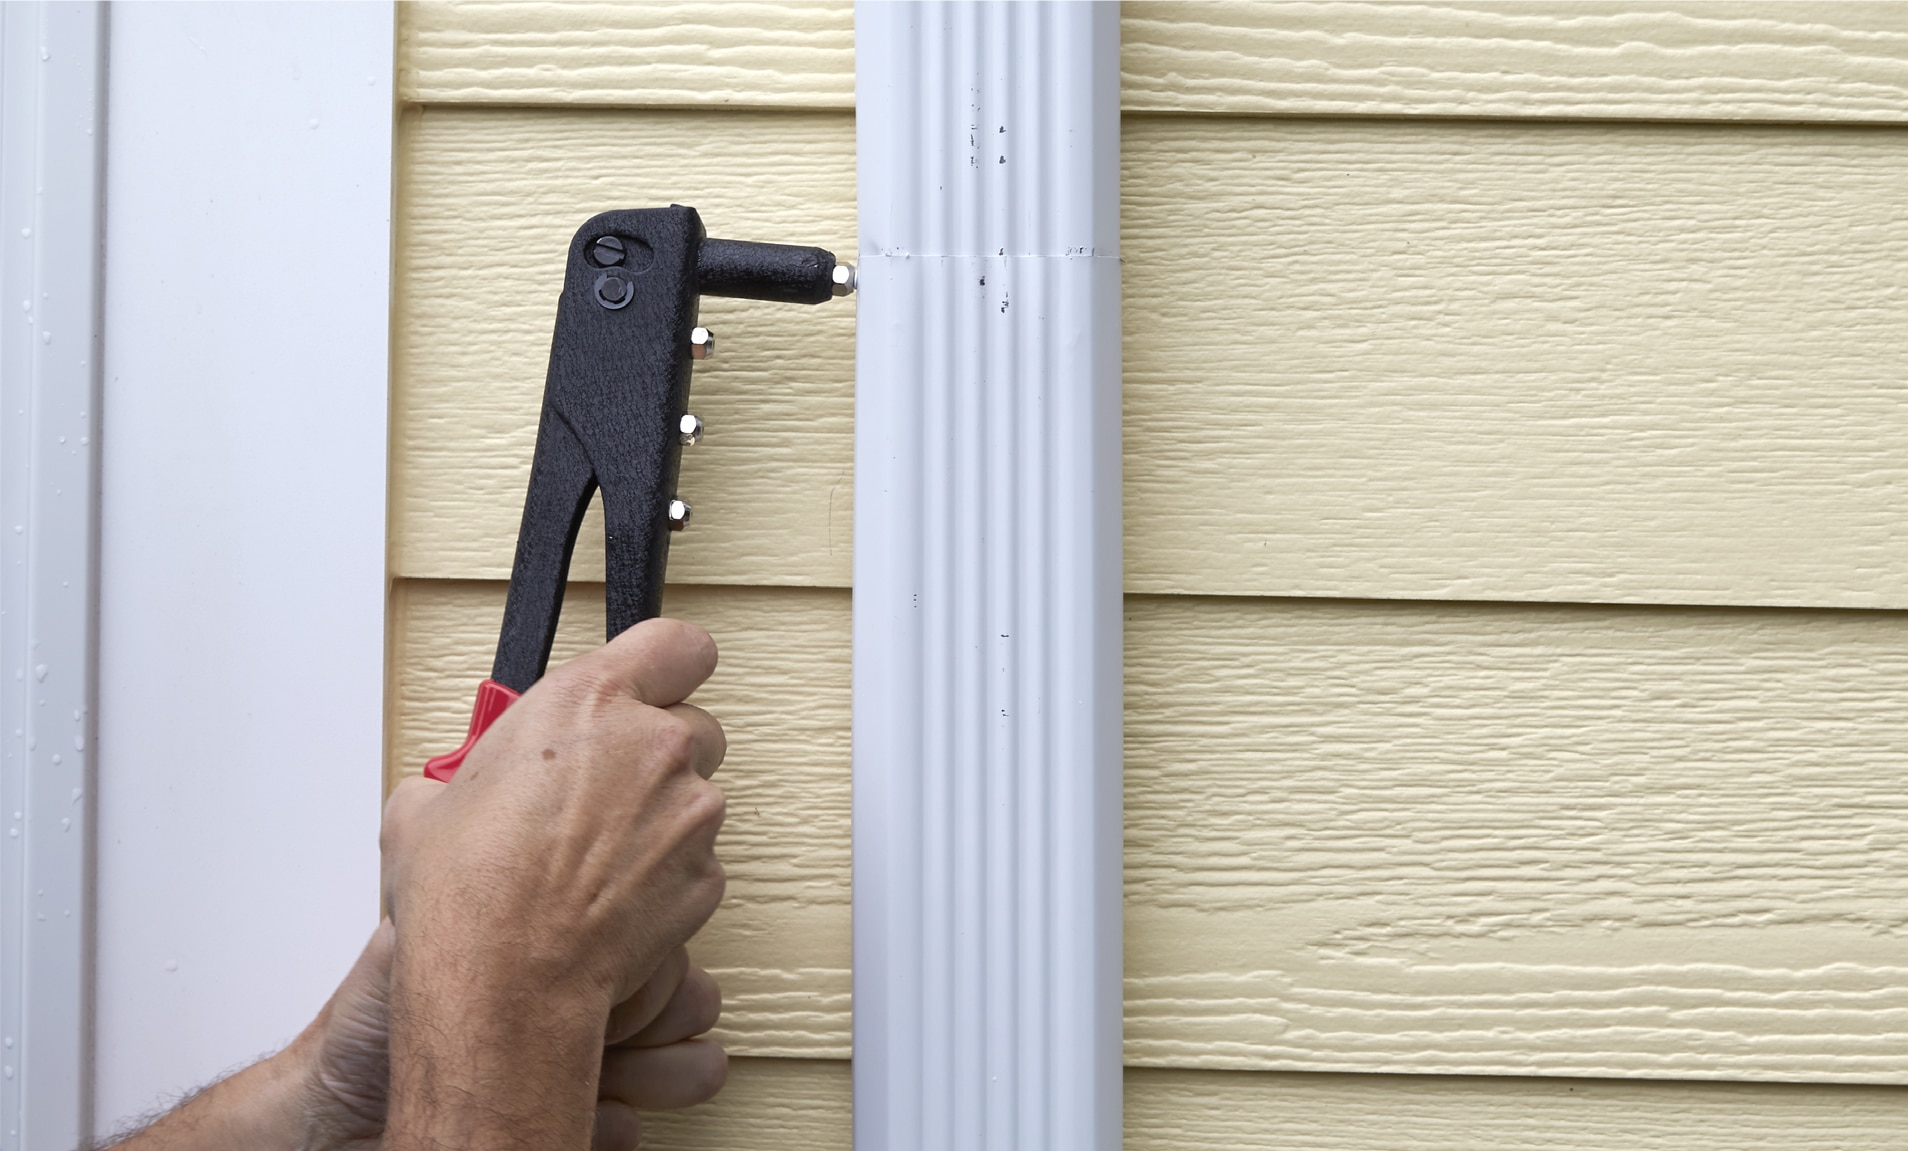
Insert a new rivet on one side through the hole you just drilled through the downspout sections. Use the rivet tool according to instructions to pull the rivet through. Pump handle as many times as needed to set the rivet. The mandrel – the thin part of the rivet – will pop off once the rivet is fully installed. Repeat this for the other side and your new downspout section is in place.
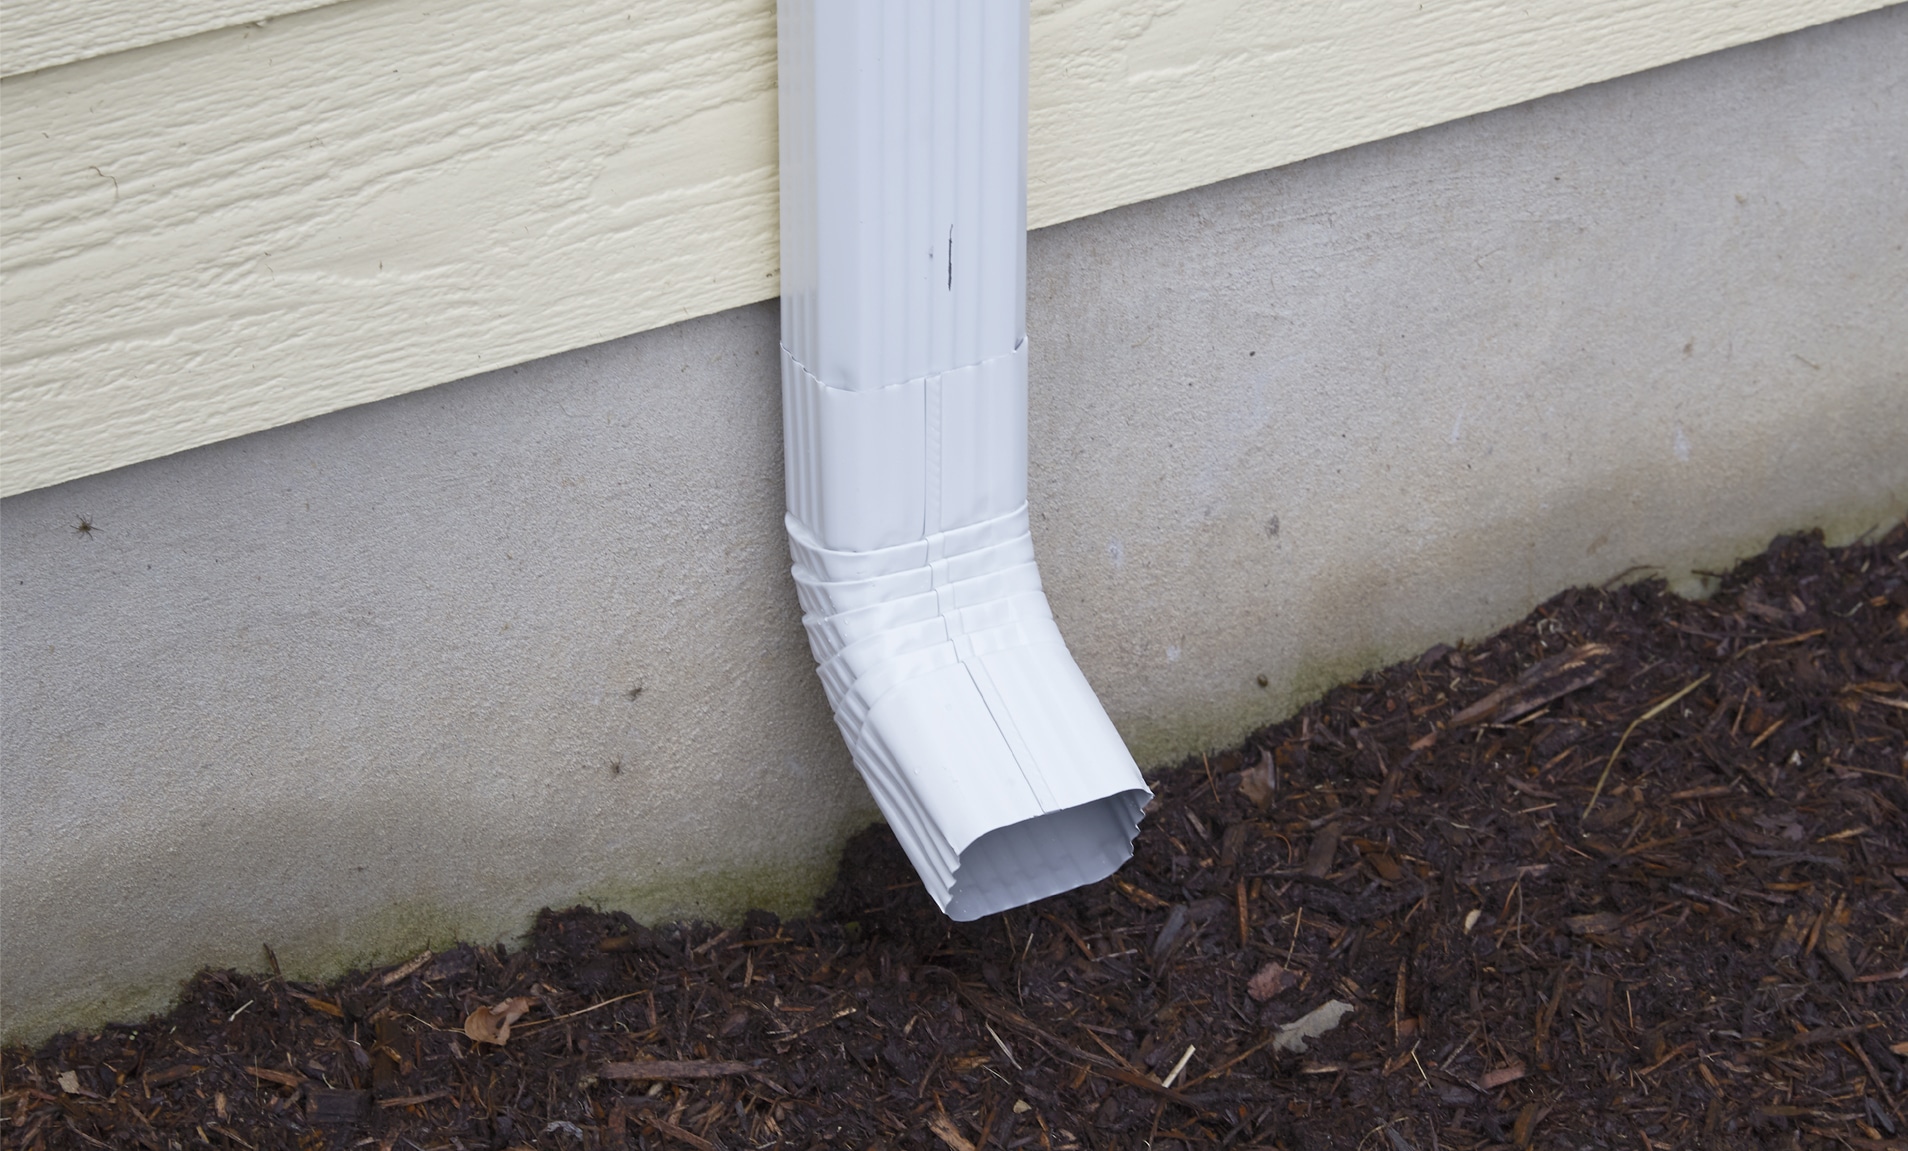
Slide the elbow onto the bottom of the replaced section. You may need to use pliers to crimp the end of the replacement section so it fits into the new elbow. Once the elbow is in place, you’re done.

Slide the elbow onto the bottom of the replaced section. You may need to use pliers to crimp the end of the replacement section so it fits into the new elbow. Once the elbow is in place, you’re done.
We’d love to see the results of your downspout repairs! Share
the finished product on Facebook, Instagram or Twitter by tagging
#MadeWithArrow.
Get Arrow tips, tricks, projects and promos in your inbox!
Hey there! We’ve updated our Privacy and Cookie Policies at the request of some of our friends in Europe. Click Accept to let us know you’re okay with the updates. Thanks!
View Cookie Policy Accept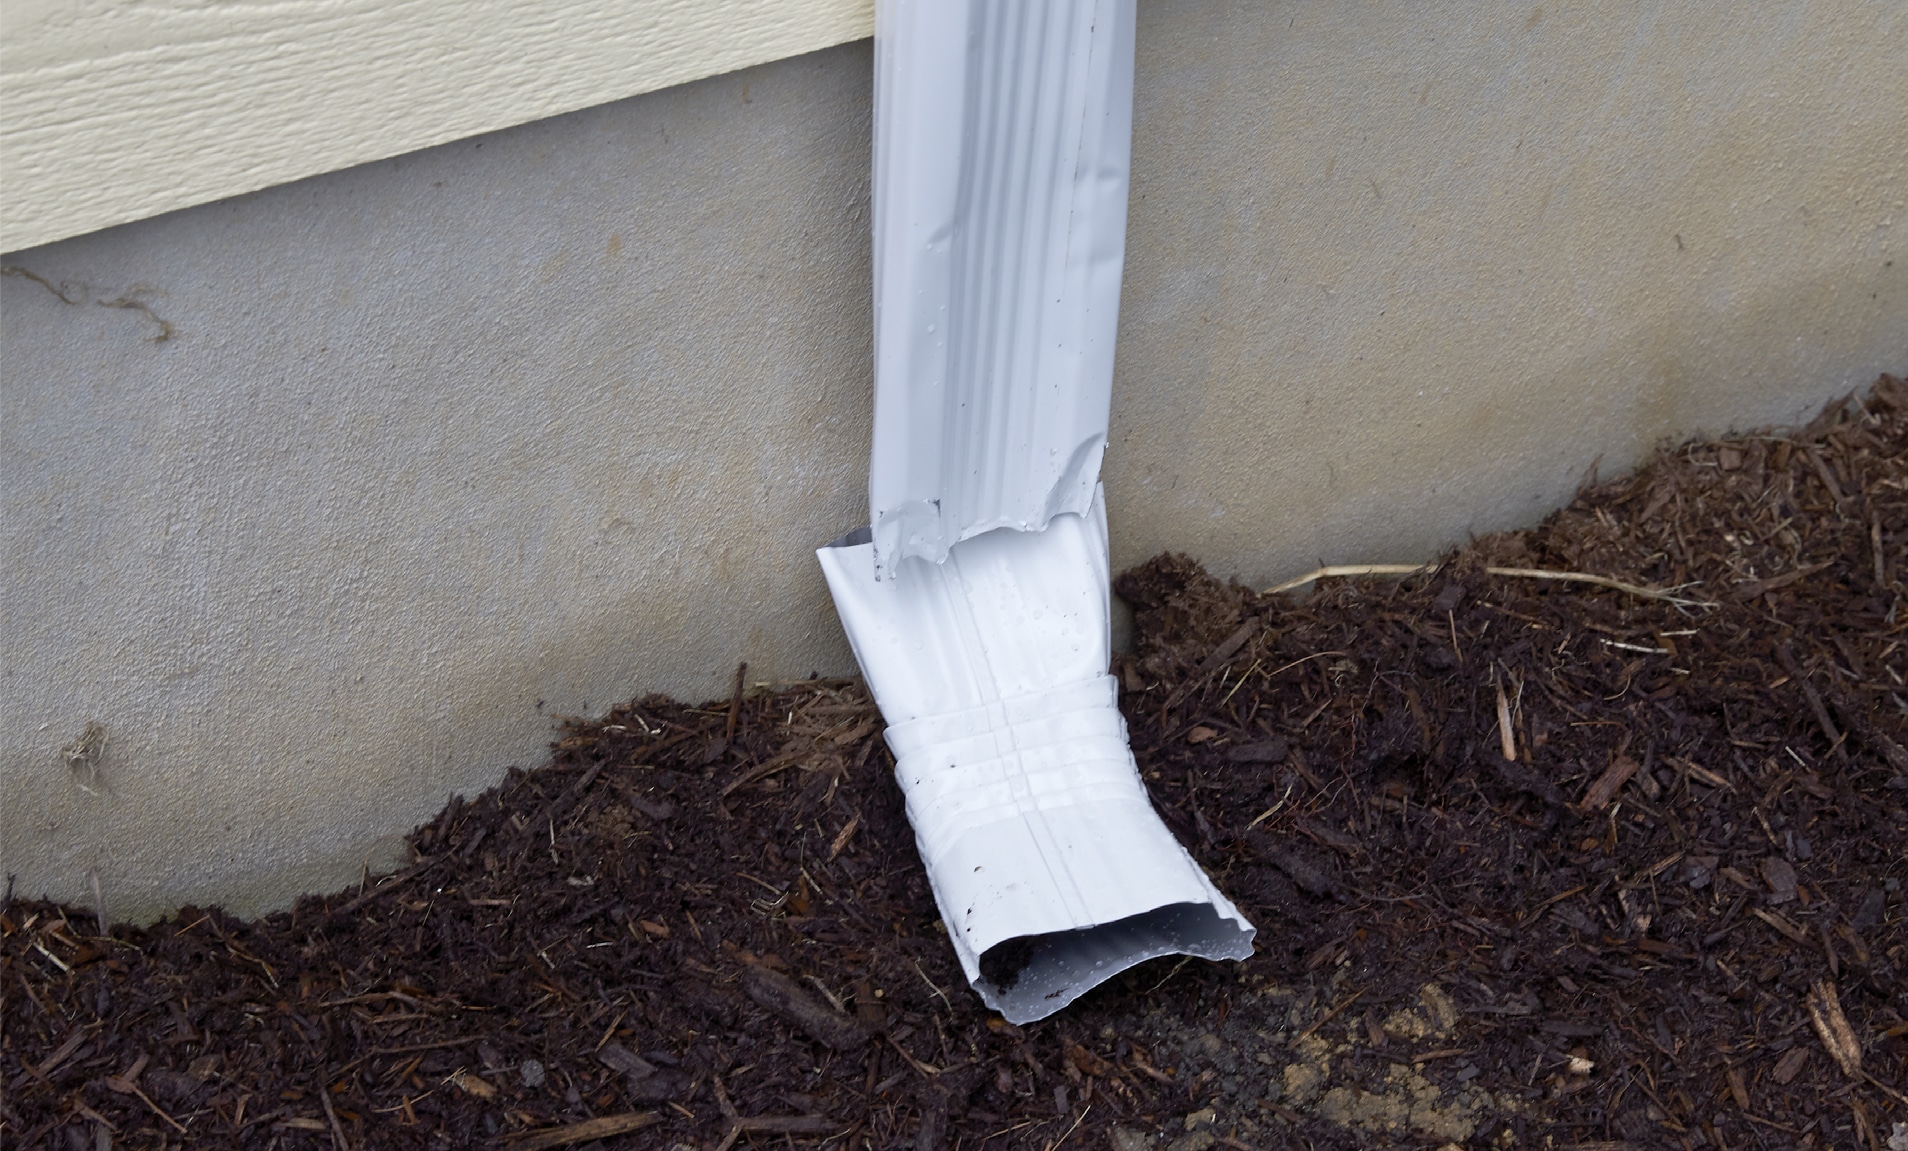