or Call Us at 1-800-776-2228
or Call Us at 1-800-776-2228
Create a mini starter indoor greenhouse using the Arrow ET200BN Professional Electric Nailer and the Arrow T50HS PowerShot Advanced Professional Staple Gun. Start your seeds in a mini indoor greenhouse by recycling old picture frames and plastic bags.
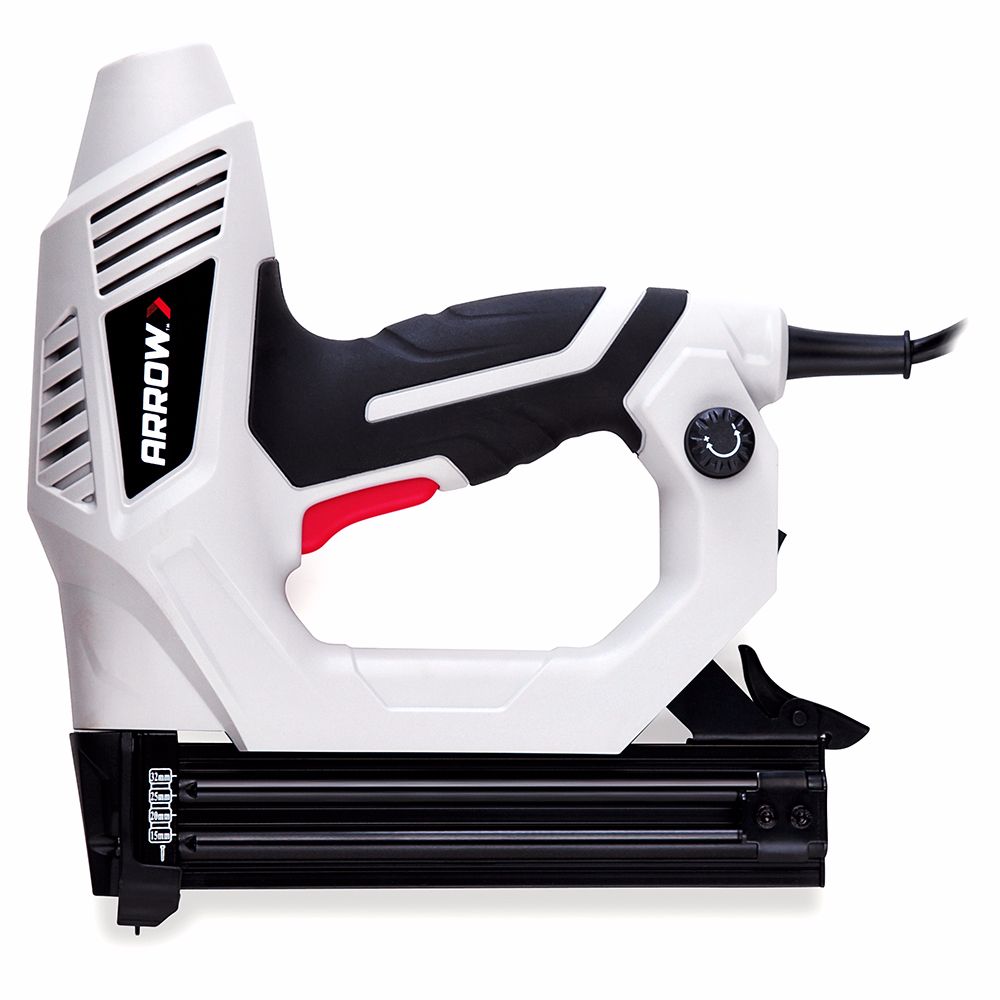
Professional Electric Nailer
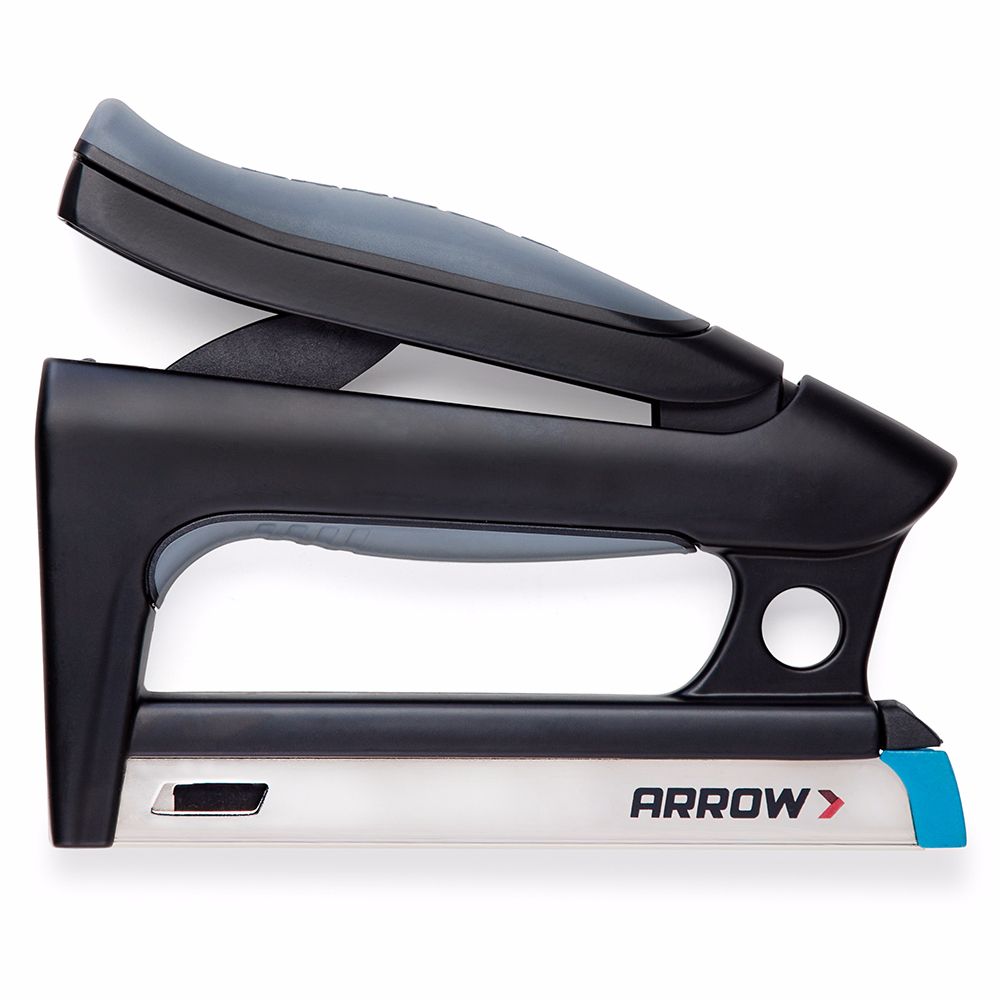
Professional Staple Gun and Nailer
Begin by cutting 6 pieces of plastic. The pieces should be larger than the frame chosen, approximately 1” on all sides larger. Set it aside.
Begin by cutting 6 pieces of plastic. The pieces should be larger than the frame chosen, approximately 1” on all sides larger. Set it aside.
Next, use the clamps to temporally hold 4 of the frames together in the shape of a cube. Using the Arrow ET200BN Professional Electric Nailer and 3/4” brad nails, secure the cube together. Remove clamps.
Next, use the clamps to temporally hold 4 of the frames together in the shape of a cube. Using the Arrow ET200BN Professional Electric Nailer and 3/4” brad nails, secure the cube together. Remove clamps.
Measure the inside of the cube, cut the plywood to that size. Measure the notched corners then cut out the corners; first scoring with the utility knife then cutting with the flush cuts. Set in place. Secure using the Arrow ET200BN Professional Electric Nailer and 3/4” brad nails. Set it aside.
Measure the inside of the cube, cut the plywood to that size. Measure the notched corners then cut out the corners; first scoring with the utility knife then cutting with the flush cuts. Set in place. Secure using the Arrow ET200BN Professional Electric Nailer and 3/4” brad nails. Set it aside.
Create the top of the greenhouse with the remaining two frames. Place the two frames back to back; temporarily hold them in place with zip ties (see image). Set on top of the cube and measure the distance between the frames. Cut the poplar flats to fit this distance. Set in place; use zip ties to temporarily hold in place (see image). Secure poplar flats using the Arrow ET200BN Professional Electric Nailer and 3/4” brad nails.
Create the top of the greenhouse with the remaining two frames. Place the two frames back to back; temporarily hold them in place with zip ties (see image). Set on top of the cube and measure the distance between the frames. Cut the poplar flats to fit this distance. Set in place; use zip ties to temporarily hold in place (see image). Secure poplar flats using the Arrow ET200BN Professional Electric Nailer and 3/4” brad nails.
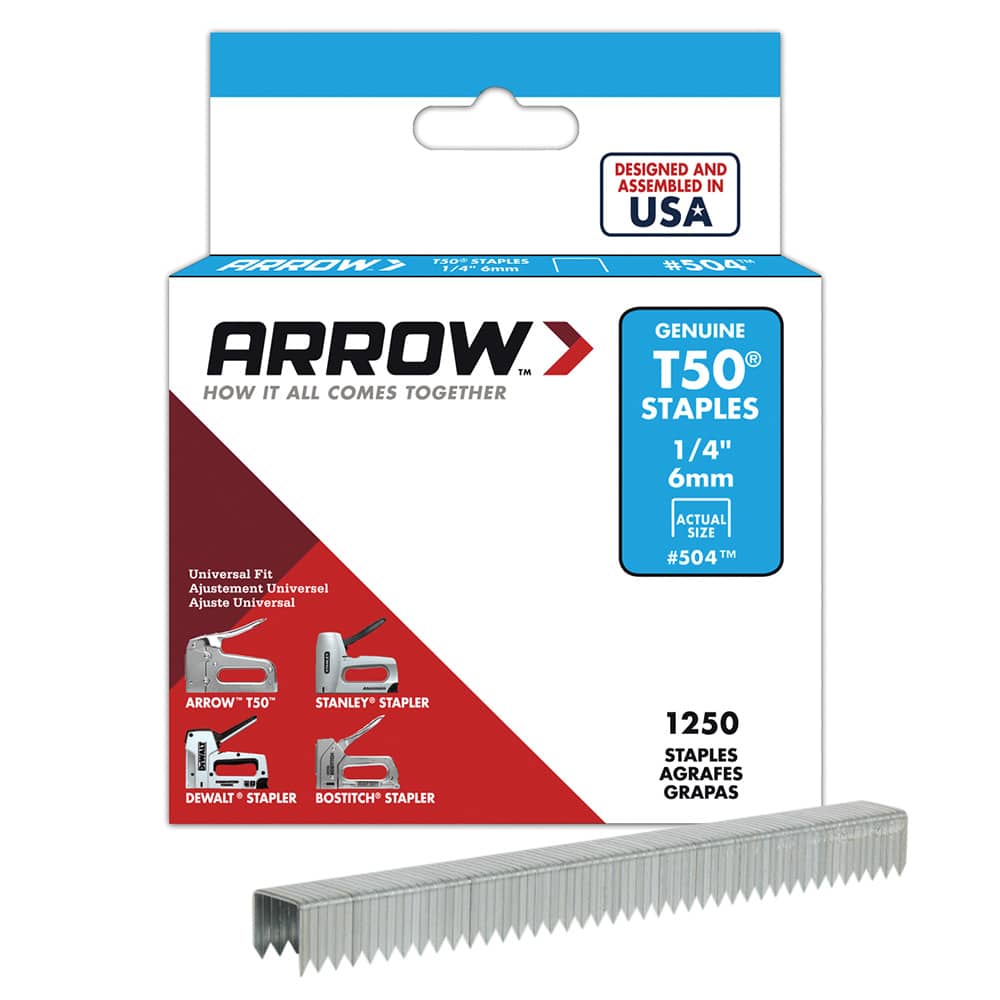
Next, cut a piece of plastic and staple to the inside top using the Arrow T50HS PowerShot Advanced Professional Staple Gun and 1/4” staples. Now cut the two pieces of plastic that will fit the triangle shapes on each side.
Next, cut a piece of plastic and staple to the inside top using the Arrow T50HS PowerShot Advanced Professional Staple Gun and 1/4” staples. Now cut the two pieces of plastic that will fit the triangle shapes on each side.
Attach the plastic to the inside of the cube base and the top of the greenhouse using the Arrow T50HS PowerShot Advanced Professional Staple Gun and 1/4” staples.
Attach the plastic to the inside of the cube base and the top of the greenhouse using the Arrow T50HS PowerShot Advanced Professional Staple Gun and 1/4” staples.
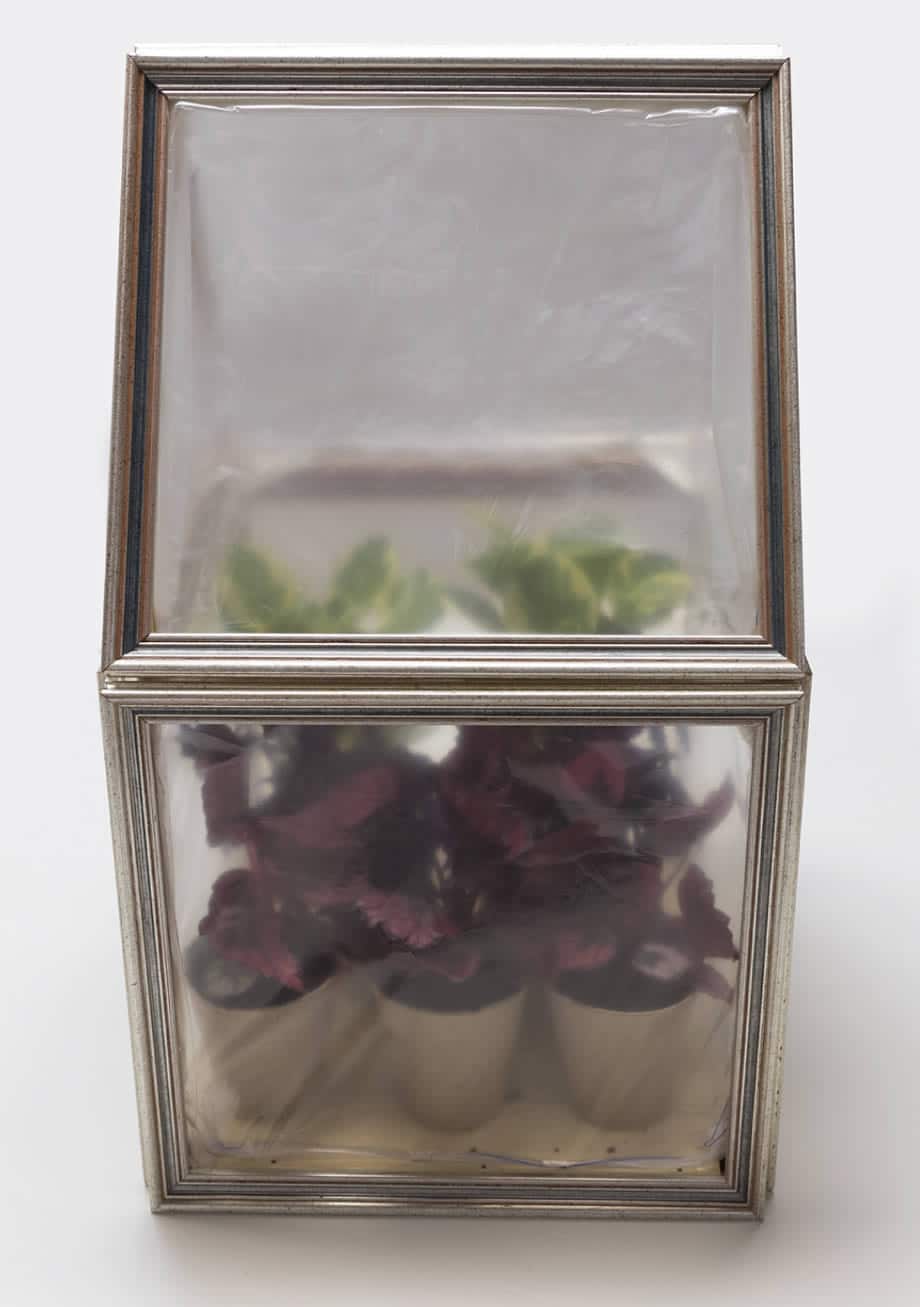
The greenhouse is now ready to use! Plant your favorite herb or flower seeds in starter pots and set inside greenhouse.
The greenhouse is now ready to use! Plant your favorite herb or flower seeds in starter pots and set inside greenhouse.
We’d love to see how your DIY Mini Indoor Greenhouse project turned out! Share your results with us on Facebook, Instagram or
Twitter by tagging #MadeWithArrow.
Get Arrow tips, tricks, projects and promos in your inbox!
Hey there! We’ve updated our Privacy and Cookie Policies at the request of some of our friends in Europe. Click Accept to let us know you’re okay with the updates. Thanks!
View Cookie Policy Accept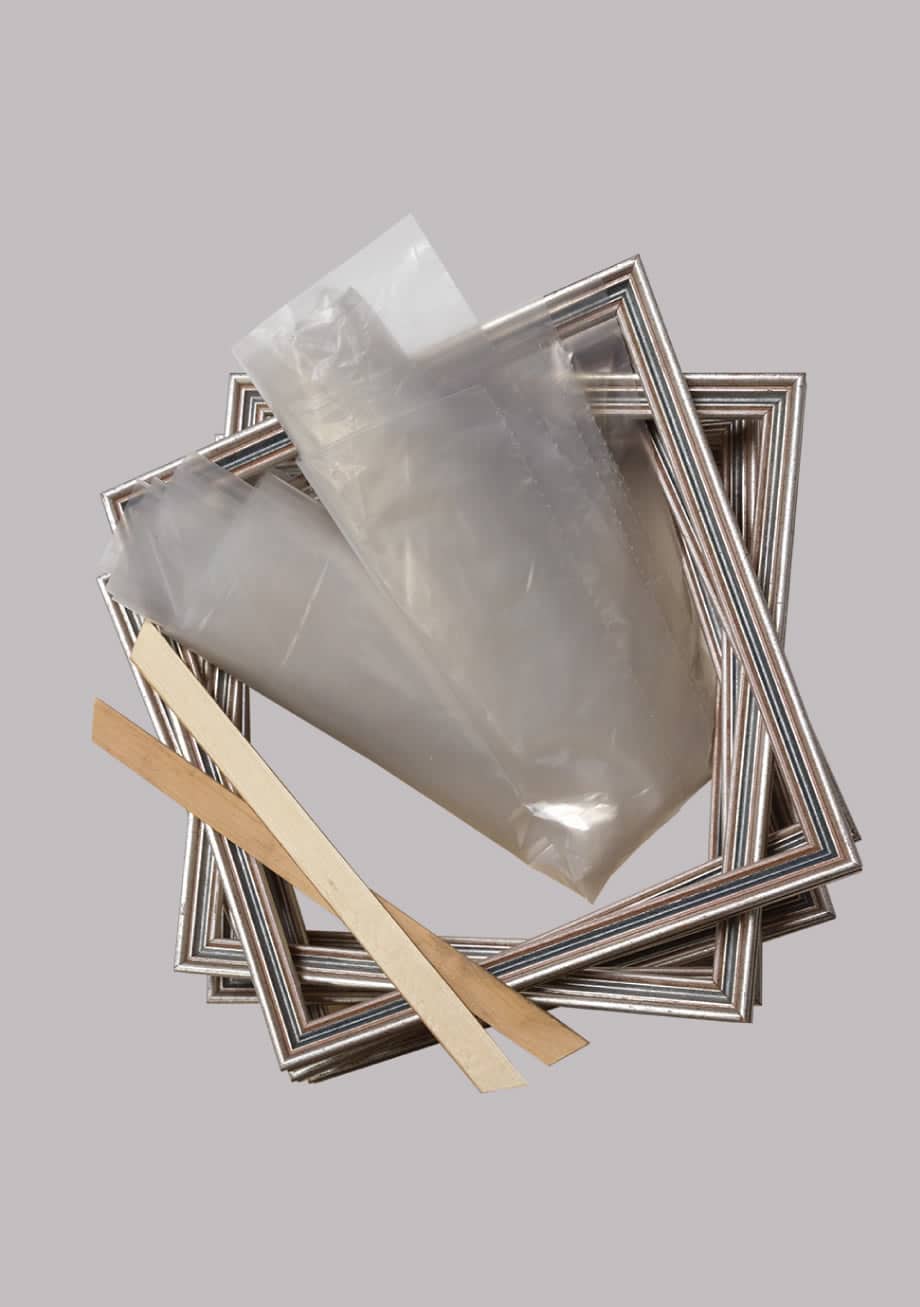