or Call Us at 1-800-776-2228
or Call Us at 1-800-776-2228
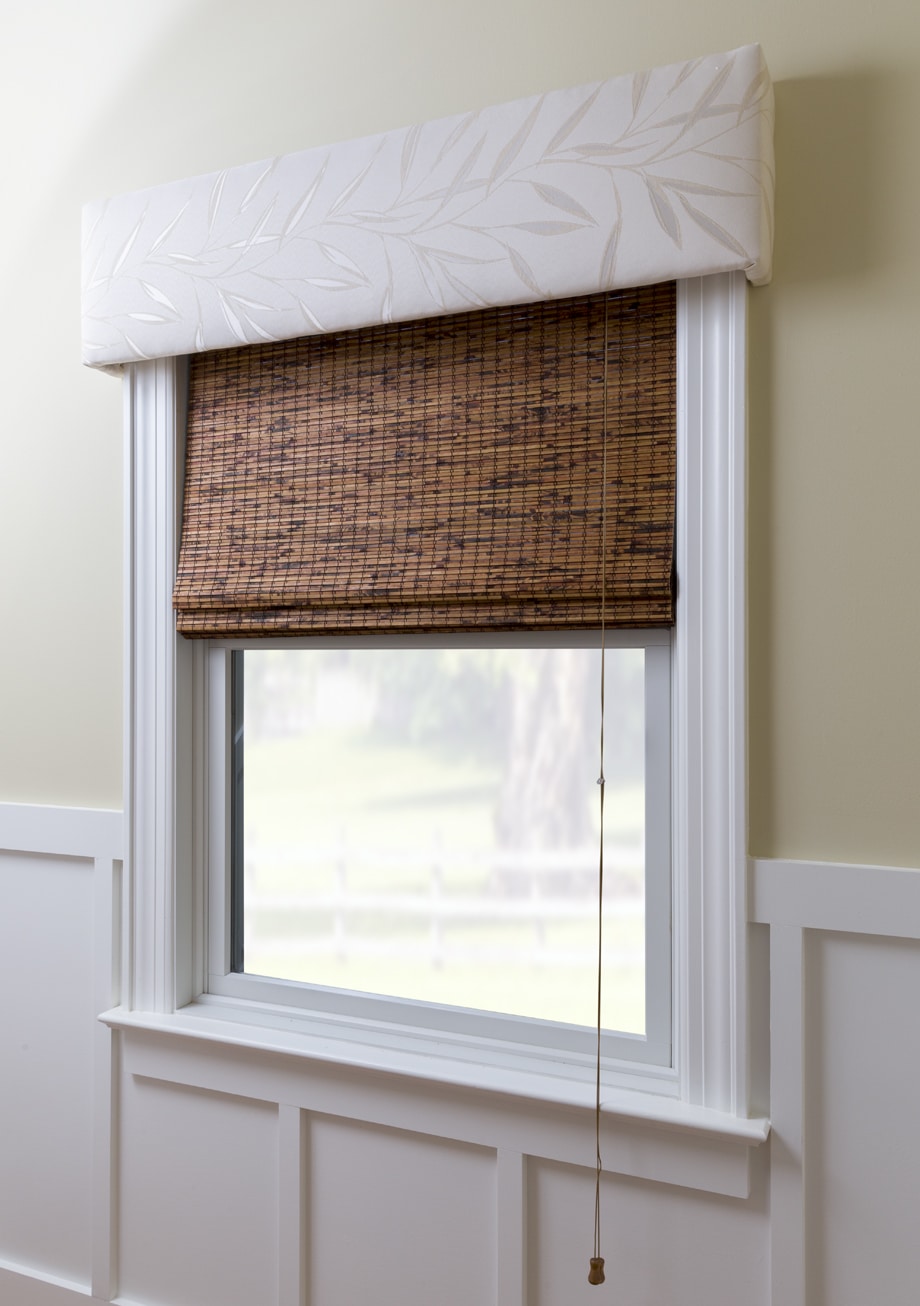
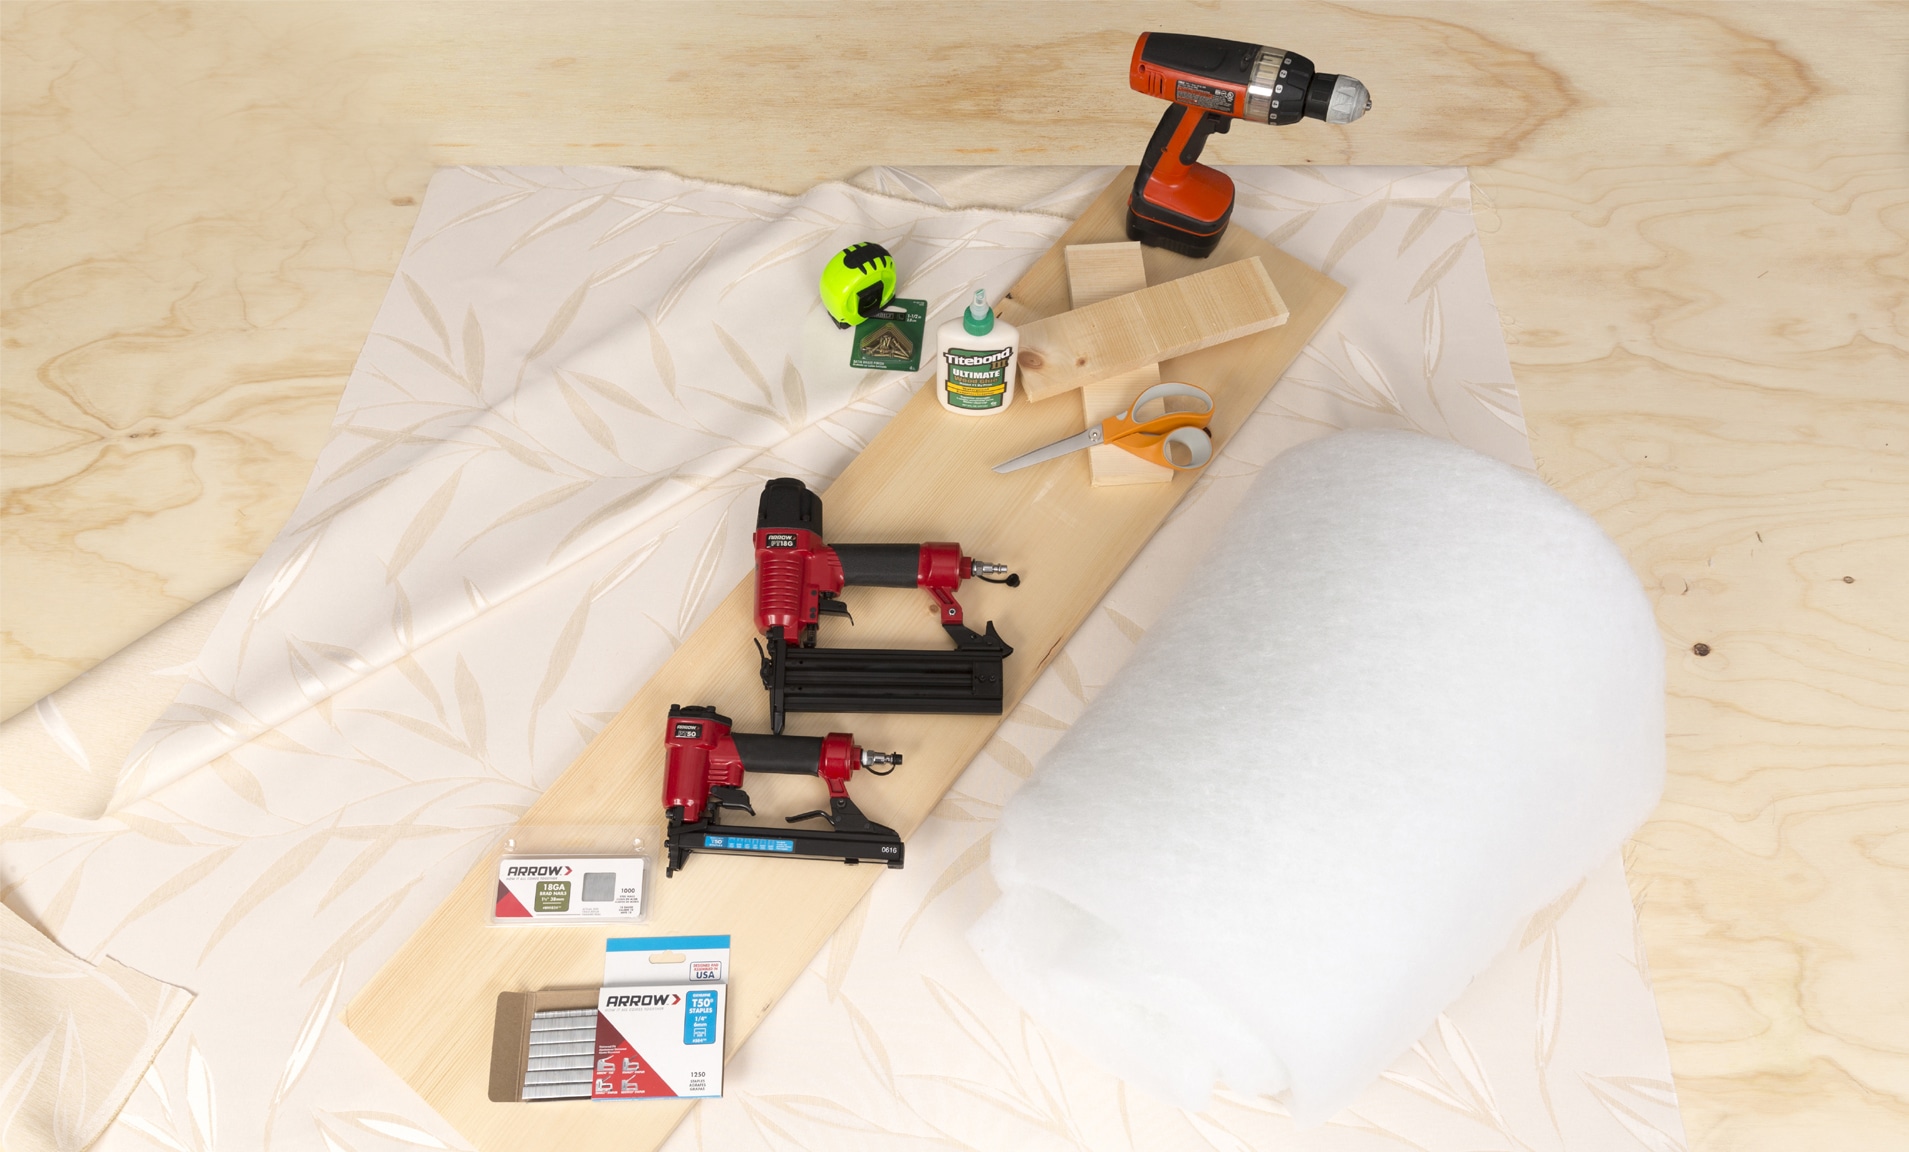
Window cornices offer a budget-friendly way to add that finishing touch to your home, as well as hide your unsightly curtain hardware! To make our window cornice, we’re using the PT50 Pneumatic Staple Gun and the PT18G Pneumatic Brad Nailer. Arrow’s pneumatic tools operate on air compressors up to 120 psi, and they’re a great choice for projects that require a fair amount of stapling or hand strength.
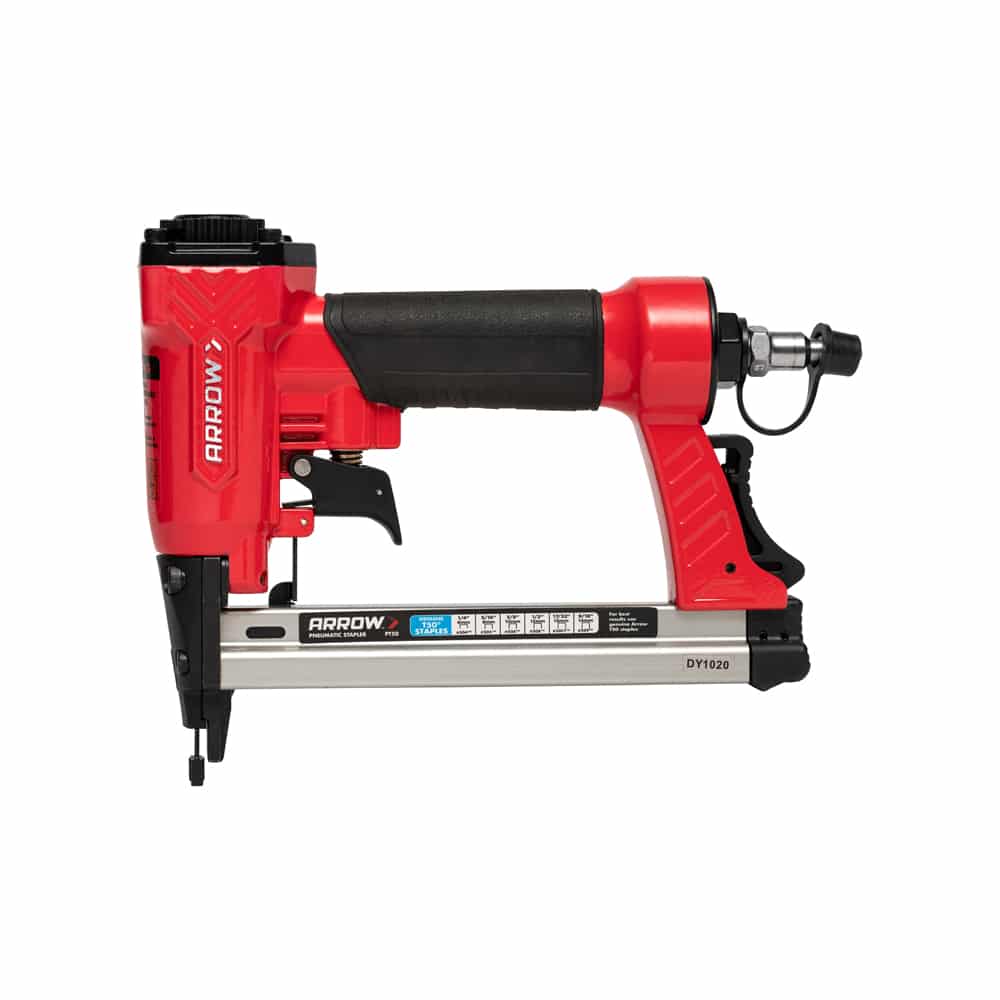
Pneumatic Staple Gun

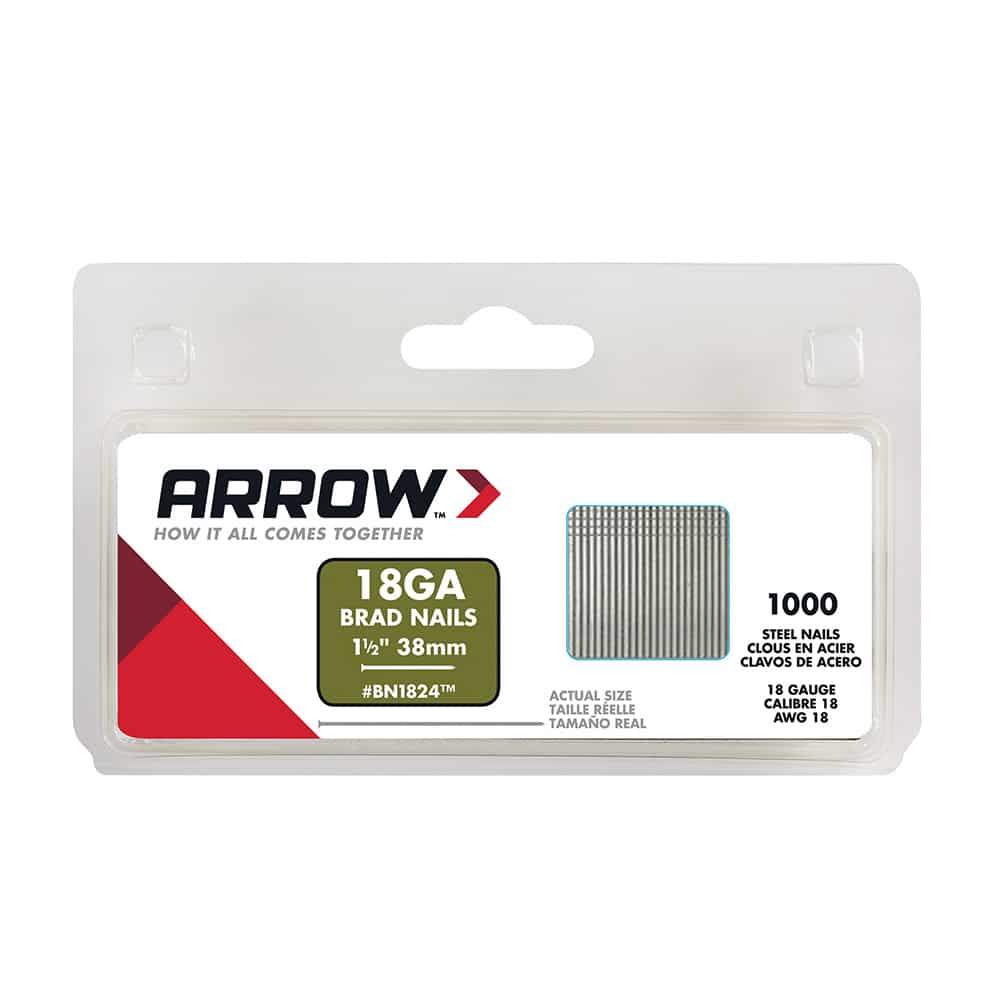
Pneumatic Brad Nailer
Before you do anything else, measure the window – twice! The inside of the cornice frame needs to be just slightly wider than the window frame. You can decide how deep you want the cornice to be by the size of the sides. Ours is 4 inches from the front to the back. We cut a 3¼ inch side piece and used the ¾ inch thickness of the front piece to get us to 4 inches. Please note, the cornice attaches to the top of the window molding, so it’s a good idea to keep a minimal amount of space between the window frame and the cornice. We left ¼ inch of space on each side.

Before you do anything else, measure the window – twice! The inside of the cornice frame needs to be just slightly wider than the window frame. You can decide how deep you want the cornice to be by the size of the sides. Ours is 4 inches from the front to the back. We cut a 3¼ inch side piece and used the ¾ inch thickness of the front piece to get us to 4 inches. Please note, the cornice attaches to the top of the window molding, so it’s a good idea to keep a minimal amount of space between the window frame and the cornice. We left ¼ inch of space on each side.
Once you’ve cut the frame and sides to the desired sizes, apply wood glue between the sides and the front of the frame. Then you can use the PT18G Pneumatic Brad Nailer to nail the sides for a tight, secure, and lasting bond.
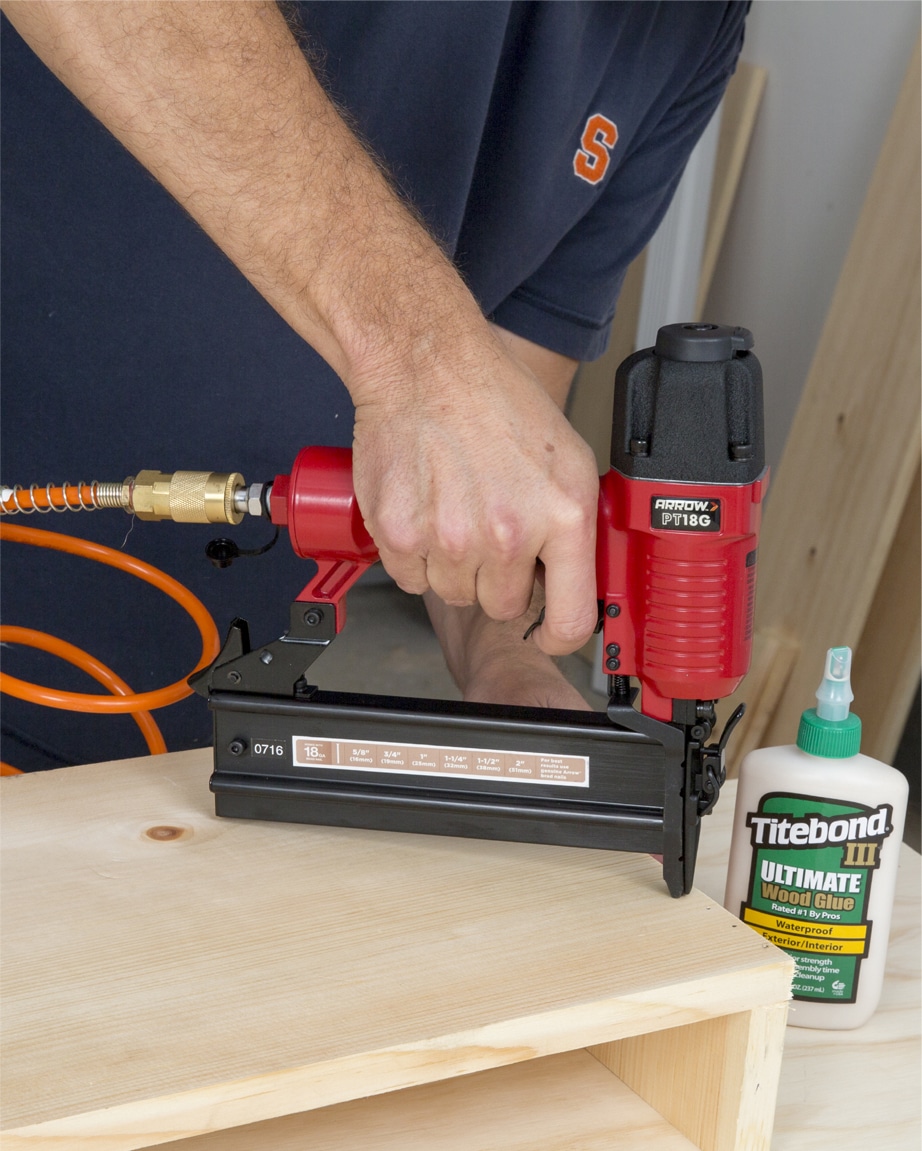

Once you’ve cut the frame and sides to the desired sizes, apply wood glue between the sides and the front of the frame. Then you can use the PT18G Pneumatic Brad Nailer to nail the sides for a tight, secure, and lasting bond.
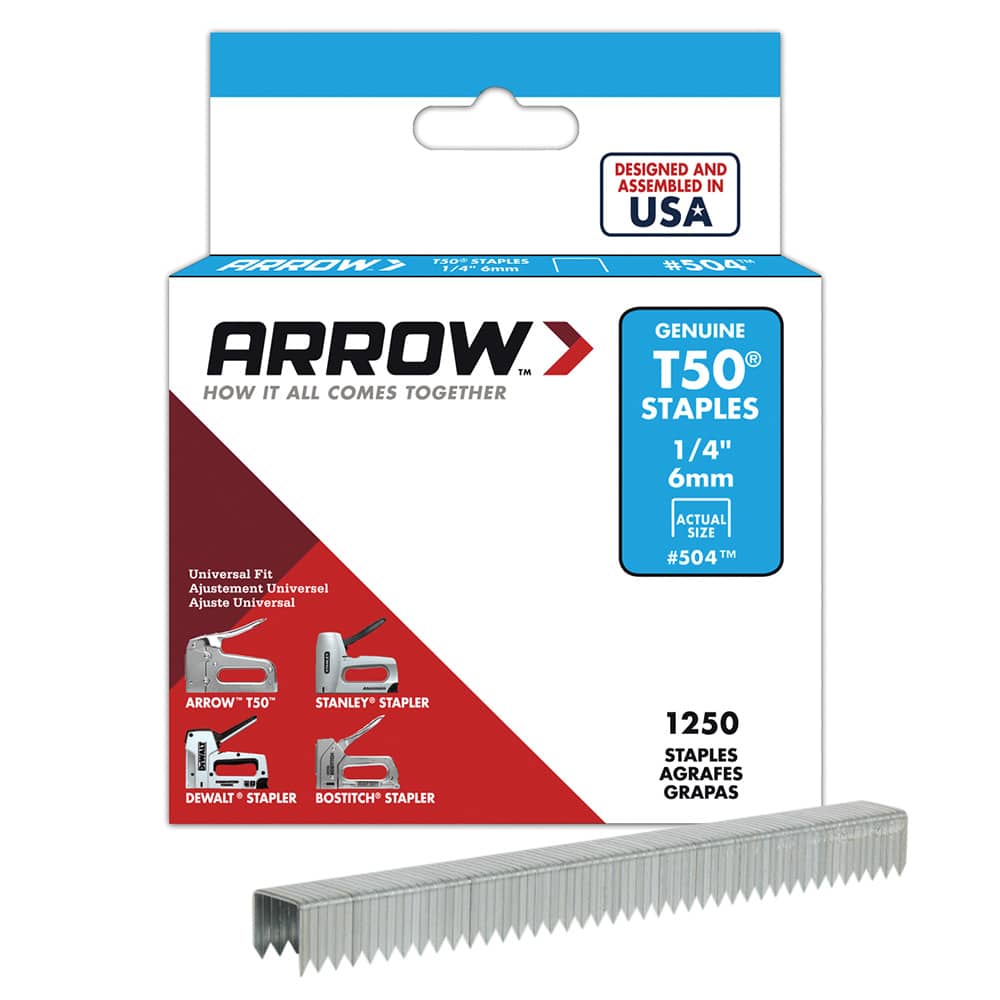
Now for the fun part—the style! To get that padded look on your cornice, you’ll need to attach batting. Measuring the right amount of batting is simple. Place the cornice frame on top of the batting, leaving a few extra inches on all sides of the frame. Cut the batting accordingly and wrap it around the cornice frame, stapling the batting to the back with the PT50 Pneumatic Staple Gun.
Don’t worry about wrapping the batting around the sides of the cornice, since that part will be up against the wall. Plus, adding batting to the sides makes getting a snug fit for the fabric more difficult, as well as hindering the fit to the window.
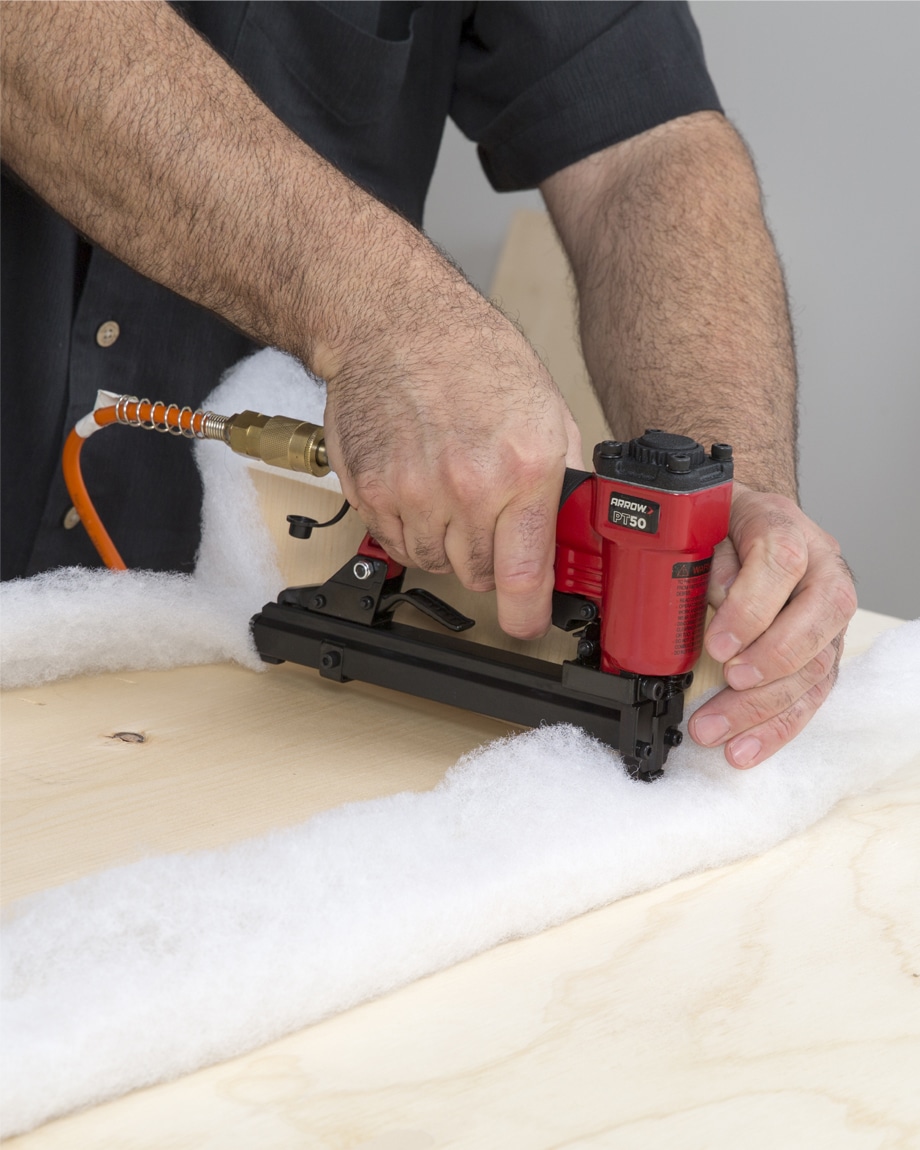
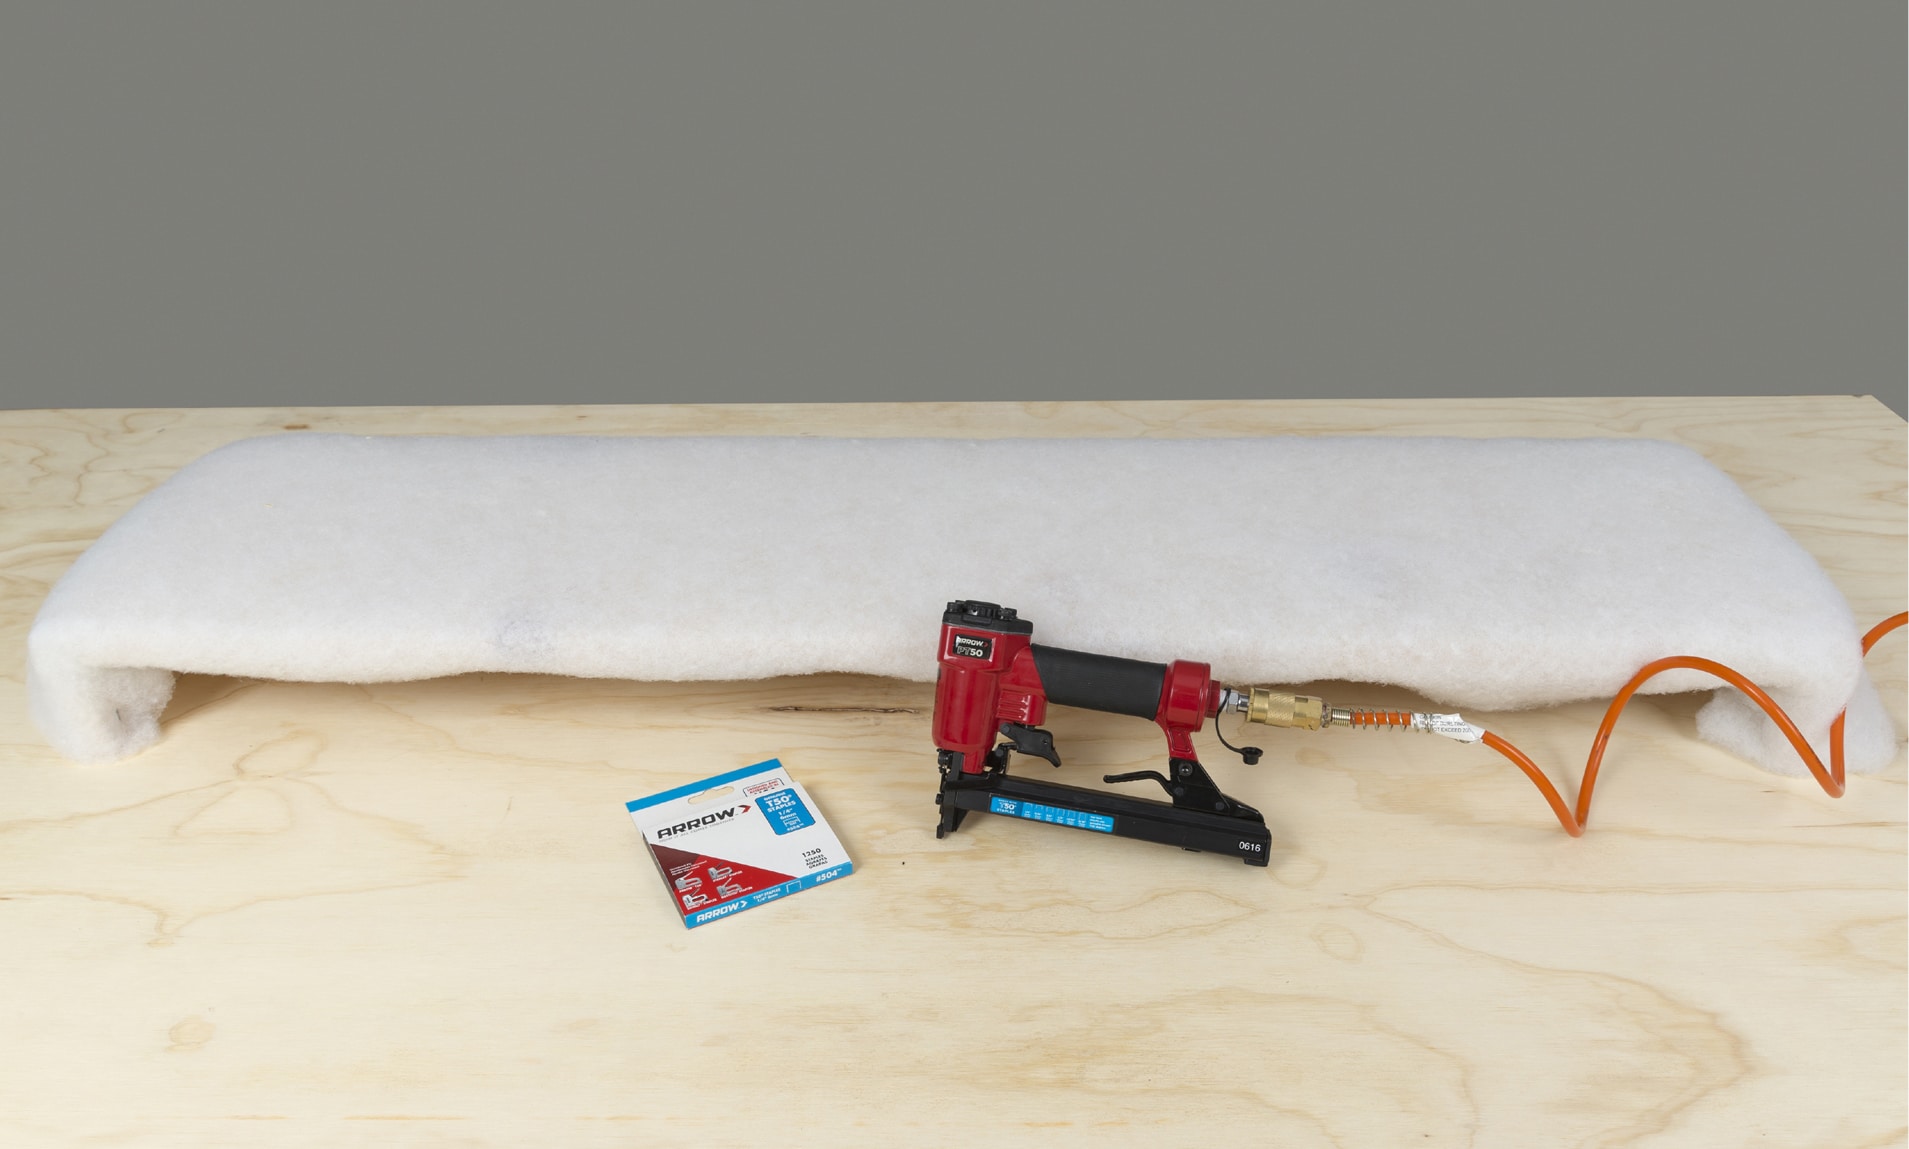
When picking a fabric for your window cornice, consider the color and style of your room, and make sure to choose a non-stretch fabric. If your fabric is wrinkly, iron it before stapling to the cornice to prevent an amateur-looking result. The easiest way to get the right amount of fabric is to place the fabric face down with the frame on top of it. Leave a few inches of extra fabric on all sides of the window cornice, then cut.

When picking a fabric for your window cornice, consider the color and style of your room, and make sure to choose a non-stretch fabric. If your fabric is wrinkly, iron it before stapling to the cornice to prevent an amateur-looking result. The easiest way to get the right amount of fabric is to place the fabric face down with the frame on top of it. Leave a few inches of extra fabric on all sides of the window cornice, then cut.
Now it’s time to staple again! Double-check that the fabric is aligned at the front of the cornice, then carefully staple the fabric to the long sides on the back. It’s a good idea to check occasionally while stapling to make sure the pattern is still lined up and looking good. Like every upholstery project, work to keep the fabric tight without overstretching it. Once the back is done, you can fold the fabric over the sides and staple.

Now it’s time to staple again! Double-check that the fabric is aligned at the front of the cornice, then carefully staple the fabric to the long sides on the back. It’s a good idea to check occasionally while stapling to make sure the pattern is still lined up and looking good. Like every upholstery project, work to keep the fabric tight without overstretching it. Once the back is done, you can fold the fabric over the sides and staple.
Give yourself extra time to take on the corners, which can make or break this project. Carefully fold fabric inward and staple. You can trim excess fabric to avoid bunchy corners, but it’s best to wait until after you’ve stapled the corners to do so. Don’t be afraid to pull out staples and readjust the corners until they’re perfect. Corners that lay completely flat result in an elegant, professional-looking window cornice.
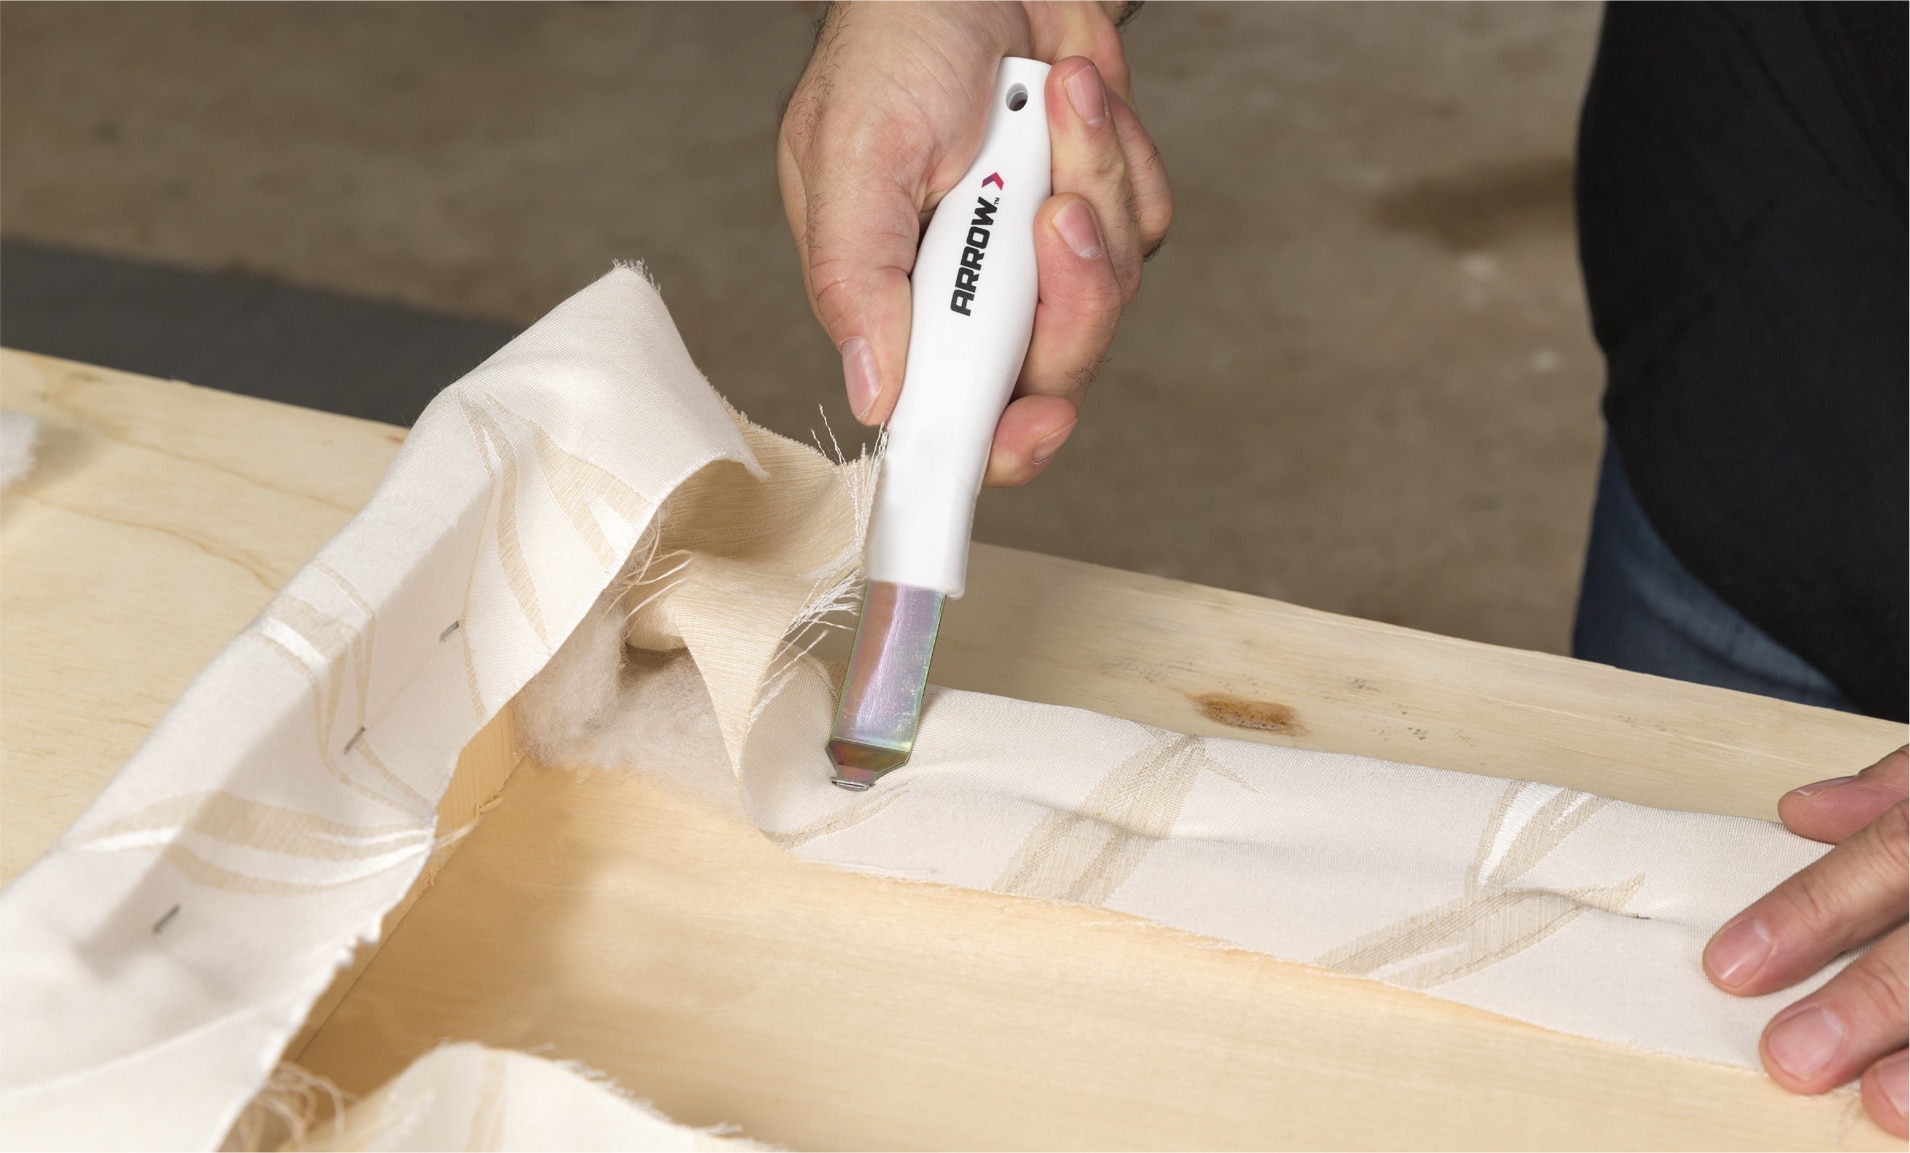
Give yourself extra time to take on the corners, which can make or break this project. Carefully fold fabric inward and staple. You can trim excess fabric to avoid bunchy corners, but it’s best to wait until after you’ve stapled the corners to do so. Don’t be afraid to pull out staples and readjust the corners until they’re perfect. Corners that lay completely flat result in an elegant, professional-looking window cornice.
Before you add the L brackets, hold the cornice up at the window to assure you have enough room for the L brackets to extend over the window frame. A snug fit is important, but you want to slide the cornice into place, not shove it. Using the screwdriver, attach one L bracket to the top of each side of the cornice. Make sure the brackets line up with each other so your cornice hangs straight across the window.
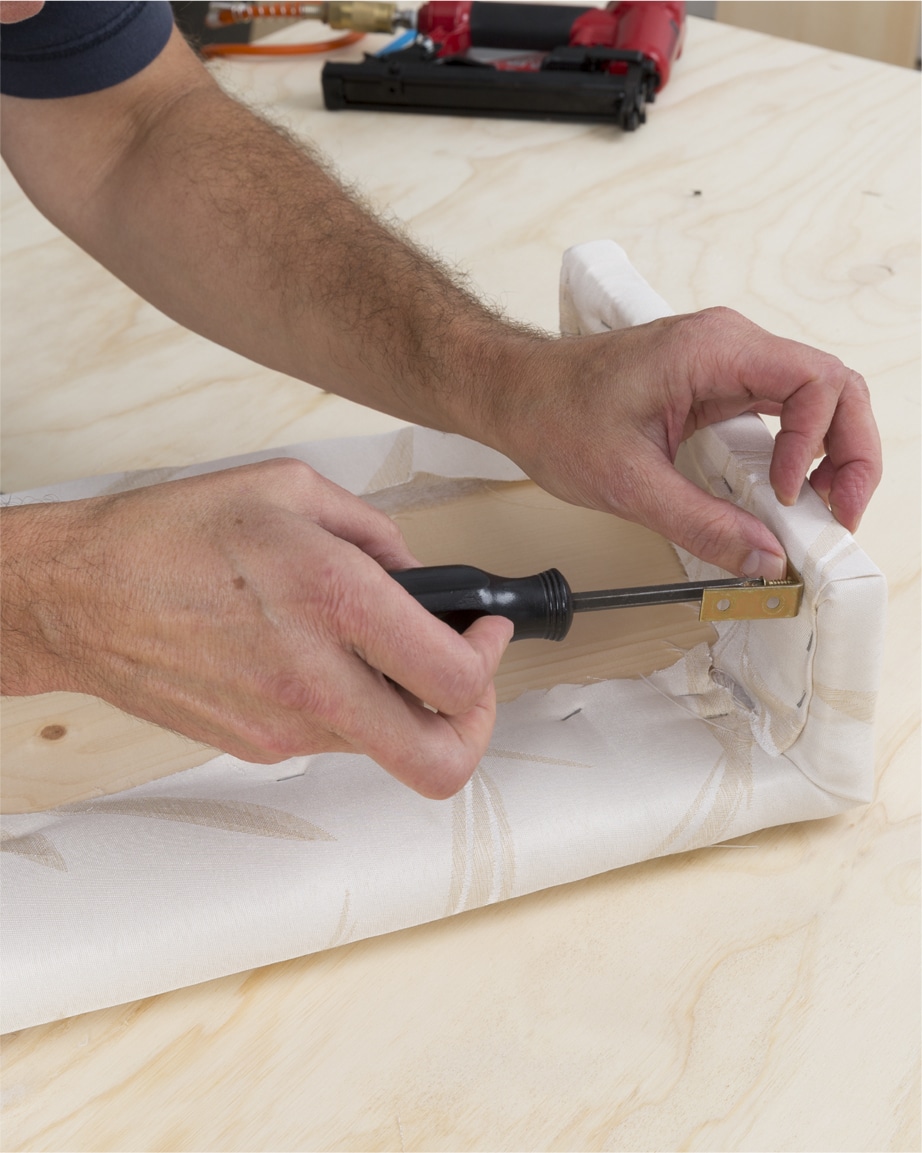
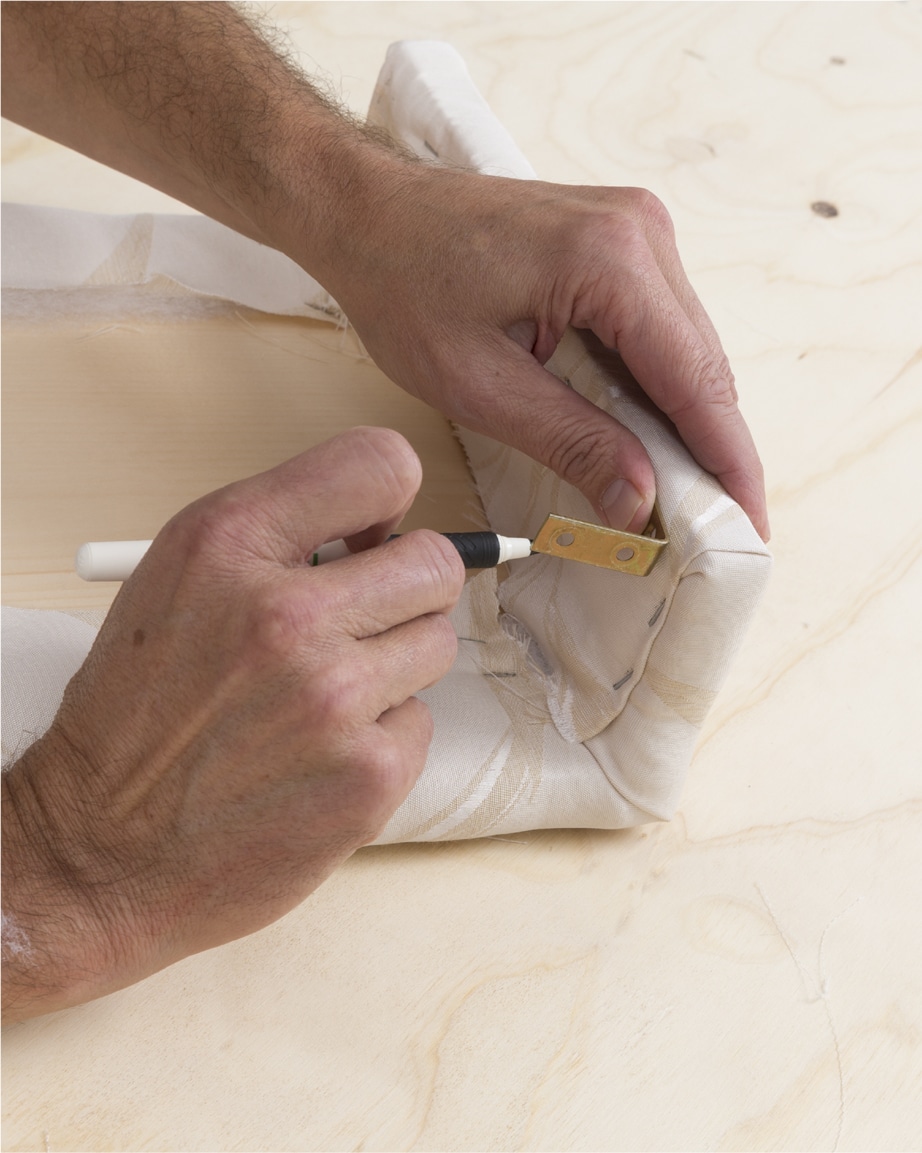
Before you add the L brackets, hold the cornice up at the window to assure you have enough room for the L brackets to extend over the window frame. A snug fit is important, but you want to slide the cornice into place, not shove it. Using the screwdriver, attach one L bracket to the top of each side of the cornice. Make sure the brackets line up with each other so your cornice hangs straight across the window.
Mount the cornice to the top of the window frame using the screws that came with your L bracket and a screwdriver.
Mount the cornice to the top of the window frame using the screws that came with your L bracket and a screwdriver.
We’d love to see how your DIY Window Cornice project turned out! Share your results with us on Facebook, Instagram or Twitter by tagging #MadeWithArrow.
Get Arrow tips, tricks, projects and promos in your inbox!
Hey there! We’ve updated our Privacy and Cookie Policies at the request of some of our friends in Europe. Click Accept to let us know you’re okay with the updates. Thanks!
View Cookie Policy Accept