or Call Us at 1-800-776-2228
or Call Us at 1-800-776-2228
When the weather begins to cool and the holidays are quickly approaching, decorating for fall and family is on everyone’s mind. You can buy your fall decor, or you can break out the wood, power tools, and Arrow Fastener tools and materials to create your own decor! Here’s how to make a light-up wall art that says “Family.”
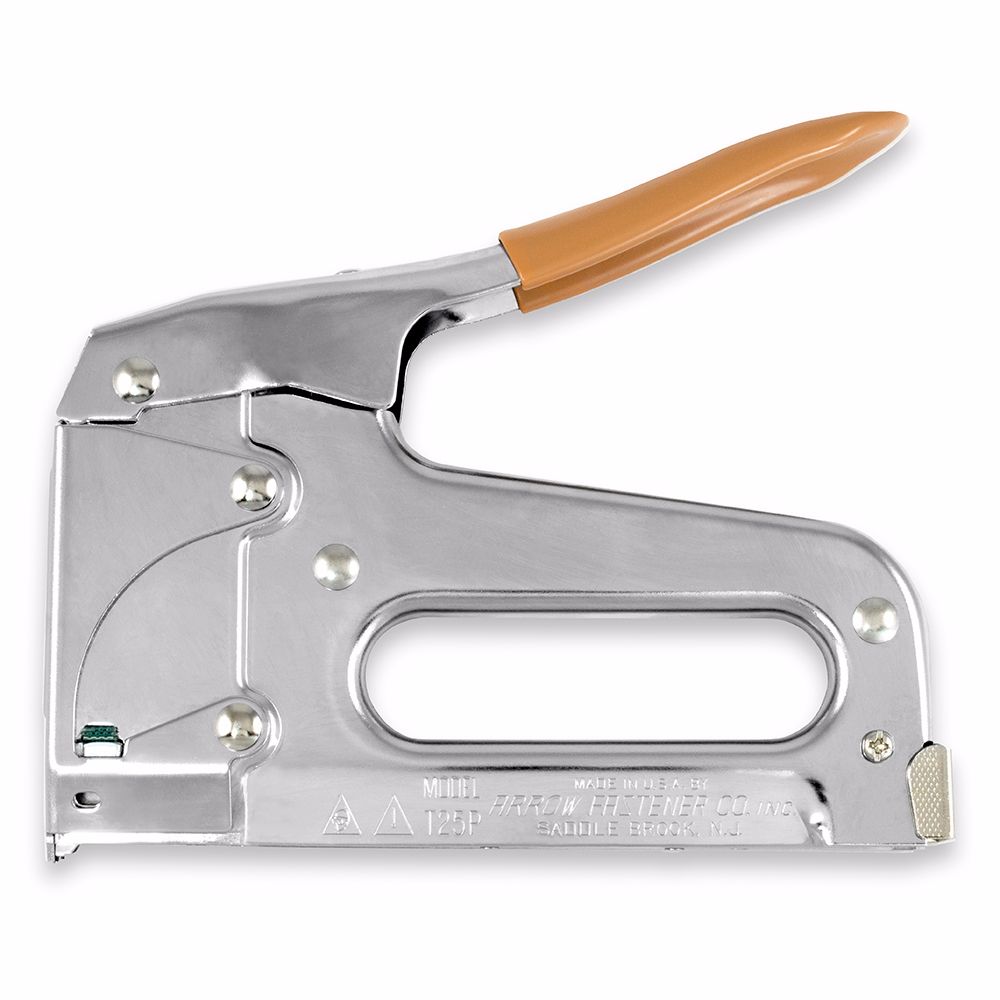
Professional Low Voltage Wire/Cable Staple Gun
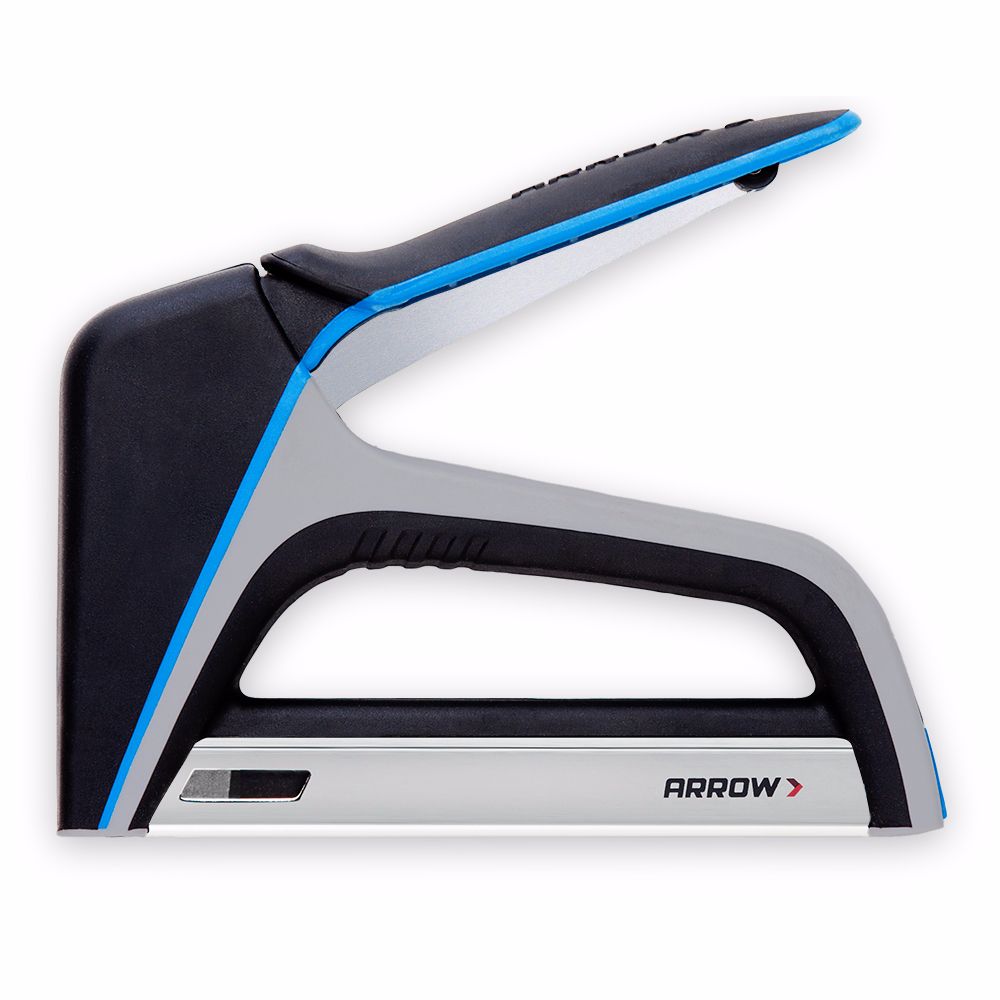
TacMate™ Heavy-Duty Staple Gun
To make this light up wall art, you’ll need a large stencil. If you’ve got a personal cutting machine (such as a Cricut or Silhouette), you can easily create a large stencil. However, those machines can be costly.
A more cost-effective way to create a stencil is to download a free font you like at DaFont.com, then create your own large stencil at Rasterbator.net. For this project, I downloaded the “fabulous” font from DaFont.com. Once the font is downloaded, open a Word document and type the word “family”. Save the document (or screenshot the word) as a .jpg picture file.
Next, head over to Rasterbator.net and follow the instructions to enlarge your .jpg picture file. The website will create a PDF of multiple sheets that you can now print on your own printer in a large version of your word “family.” Cut out the word family and tape it together.
Now it’s time to trace and cut out the word “family.” Use your 3/4” plywood or 3/4” MDF board and trace out the entire word, being careful not to move it.
Once traced out, use a jigsaw with a fine-cutting scroll blade to cut out the word “family.” Plan to spend about 1 hour cutting out the word. You’ll want to take your time around the corners, using drilled pilot holes in order to insert your jigsaw blade in the tight areas.
Once traced out, use a jigsaw with a fine-cutting scroll blade to cut out the word “family.” Plan to spend about 1 hour cutting out the word. You’ll want to take your time around the corners, using drilled pilot holes in order to insert your jigsaw blade in the tight areas.
Next, once your “family” word art is cut out, sand it smooth with fine sandpaper. Use the power drill with the brad point drill bit and cut out holes for the lights. The size of the brad point drill bit will depend on the size of the lights you’re using, so choose the appropriate drill bit size. Insert the string of lights as you add your holes, making sure that the holes are spaced appropriately for the length of your lights. (TIP: Be sure to use a sacrificial board on the back side to reduce ripping out the back of the board when drilling holes). Sand smooth after all holes are added.
Next, once your “family” word art is cut out, sand it smooth with fine sandpaper. Use the power drill with the brad point drill bit and cut out holes for the lights. The size of the brad point drill bit will depend on the size of the lights you’re using, so choose the appropriate drill bit size. Insert the string of lights as you add your holes, making sure that the holes are spaced appropriately for the length of your lights. (TIP: Be sure to use a sacrificial board on the back side to reduce ripping out the back of the board when drilling holes). Sand smooth after all holes are added.
Stain your “family” word art next. If you’re painting, use a brush and paint it. For this project, I used a dark walnut stain.
Stain your “family” word art next. If you’re painting, use a brush and paint it. For this project, I used a dark walnut stain.
Insert the lights into the holes. Since we’ve already used the lights as a guide when drilling, we know that the lights fit appropriately.
Insert the lights into the holes. Since we’ve already used the lights as a guide when drilling, we know that the lights fit appropriately.
Use the Arrow Fastener wire/cable stapler to adhere the cable to the back of the word art. The curved staples protects the wire from being damaged. Be sure to use a board underneath to give the word art some support while stapling. Twirl and loop excess wires and then secure to the back of the word art.
Add hooks on the back to hang it on the wall. Try different positions in order to make your light up wall art hang straight or you can angle it upwards for a little bit of flair, which looks really good when using a script font for your word art.
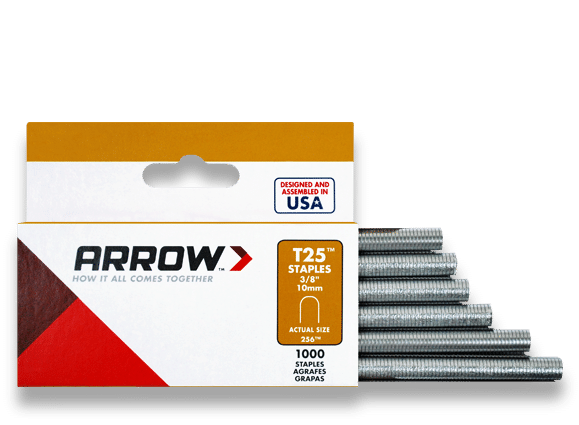
This step is optional, but you can make a DIY frame to hang around your word art. Cut 4 boards with mitered corners. Then use a T50 or T50X TacMate with the appropriate length staples to glue and staple it (and clamp) together. Hang it around your word art to accentuate it.
This step is optional, but you can make a DIY frame to hang around your word art. Cut 4 boards with mitered corners. Then use a T50 or T50X TacMate with the appropriate length staples to glue and staple it (and clamp) together. Hang it around your word art to accentuate it.
Get Arrow tips, tricks, projects and promos in your inbox!
Hey there! We’ve updated our Privacy and Cookie Policies at the request of some of our friends in Europe. Click Accept to let us know you’re okay with the updates. Thanks!
View Cookie Policy Accept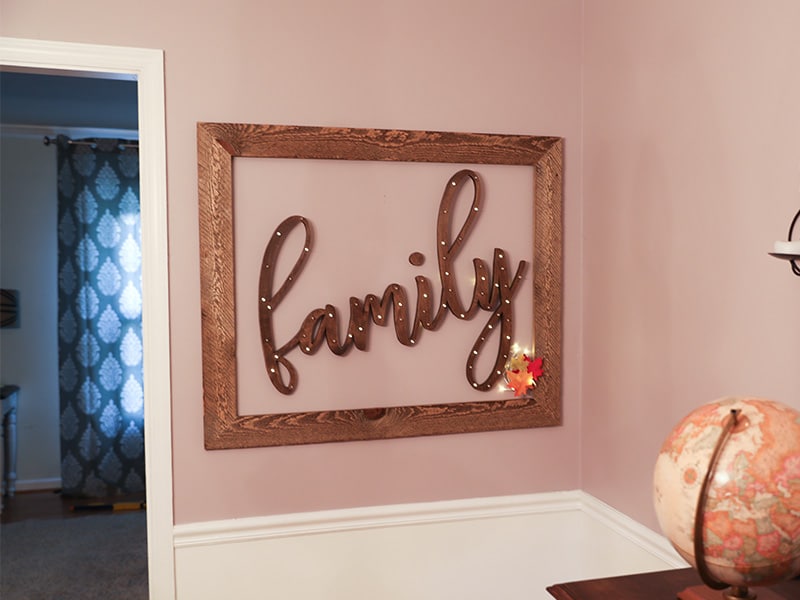