or Call Us at 1-800-776-2228
or Call Us at 1-800-776-2228
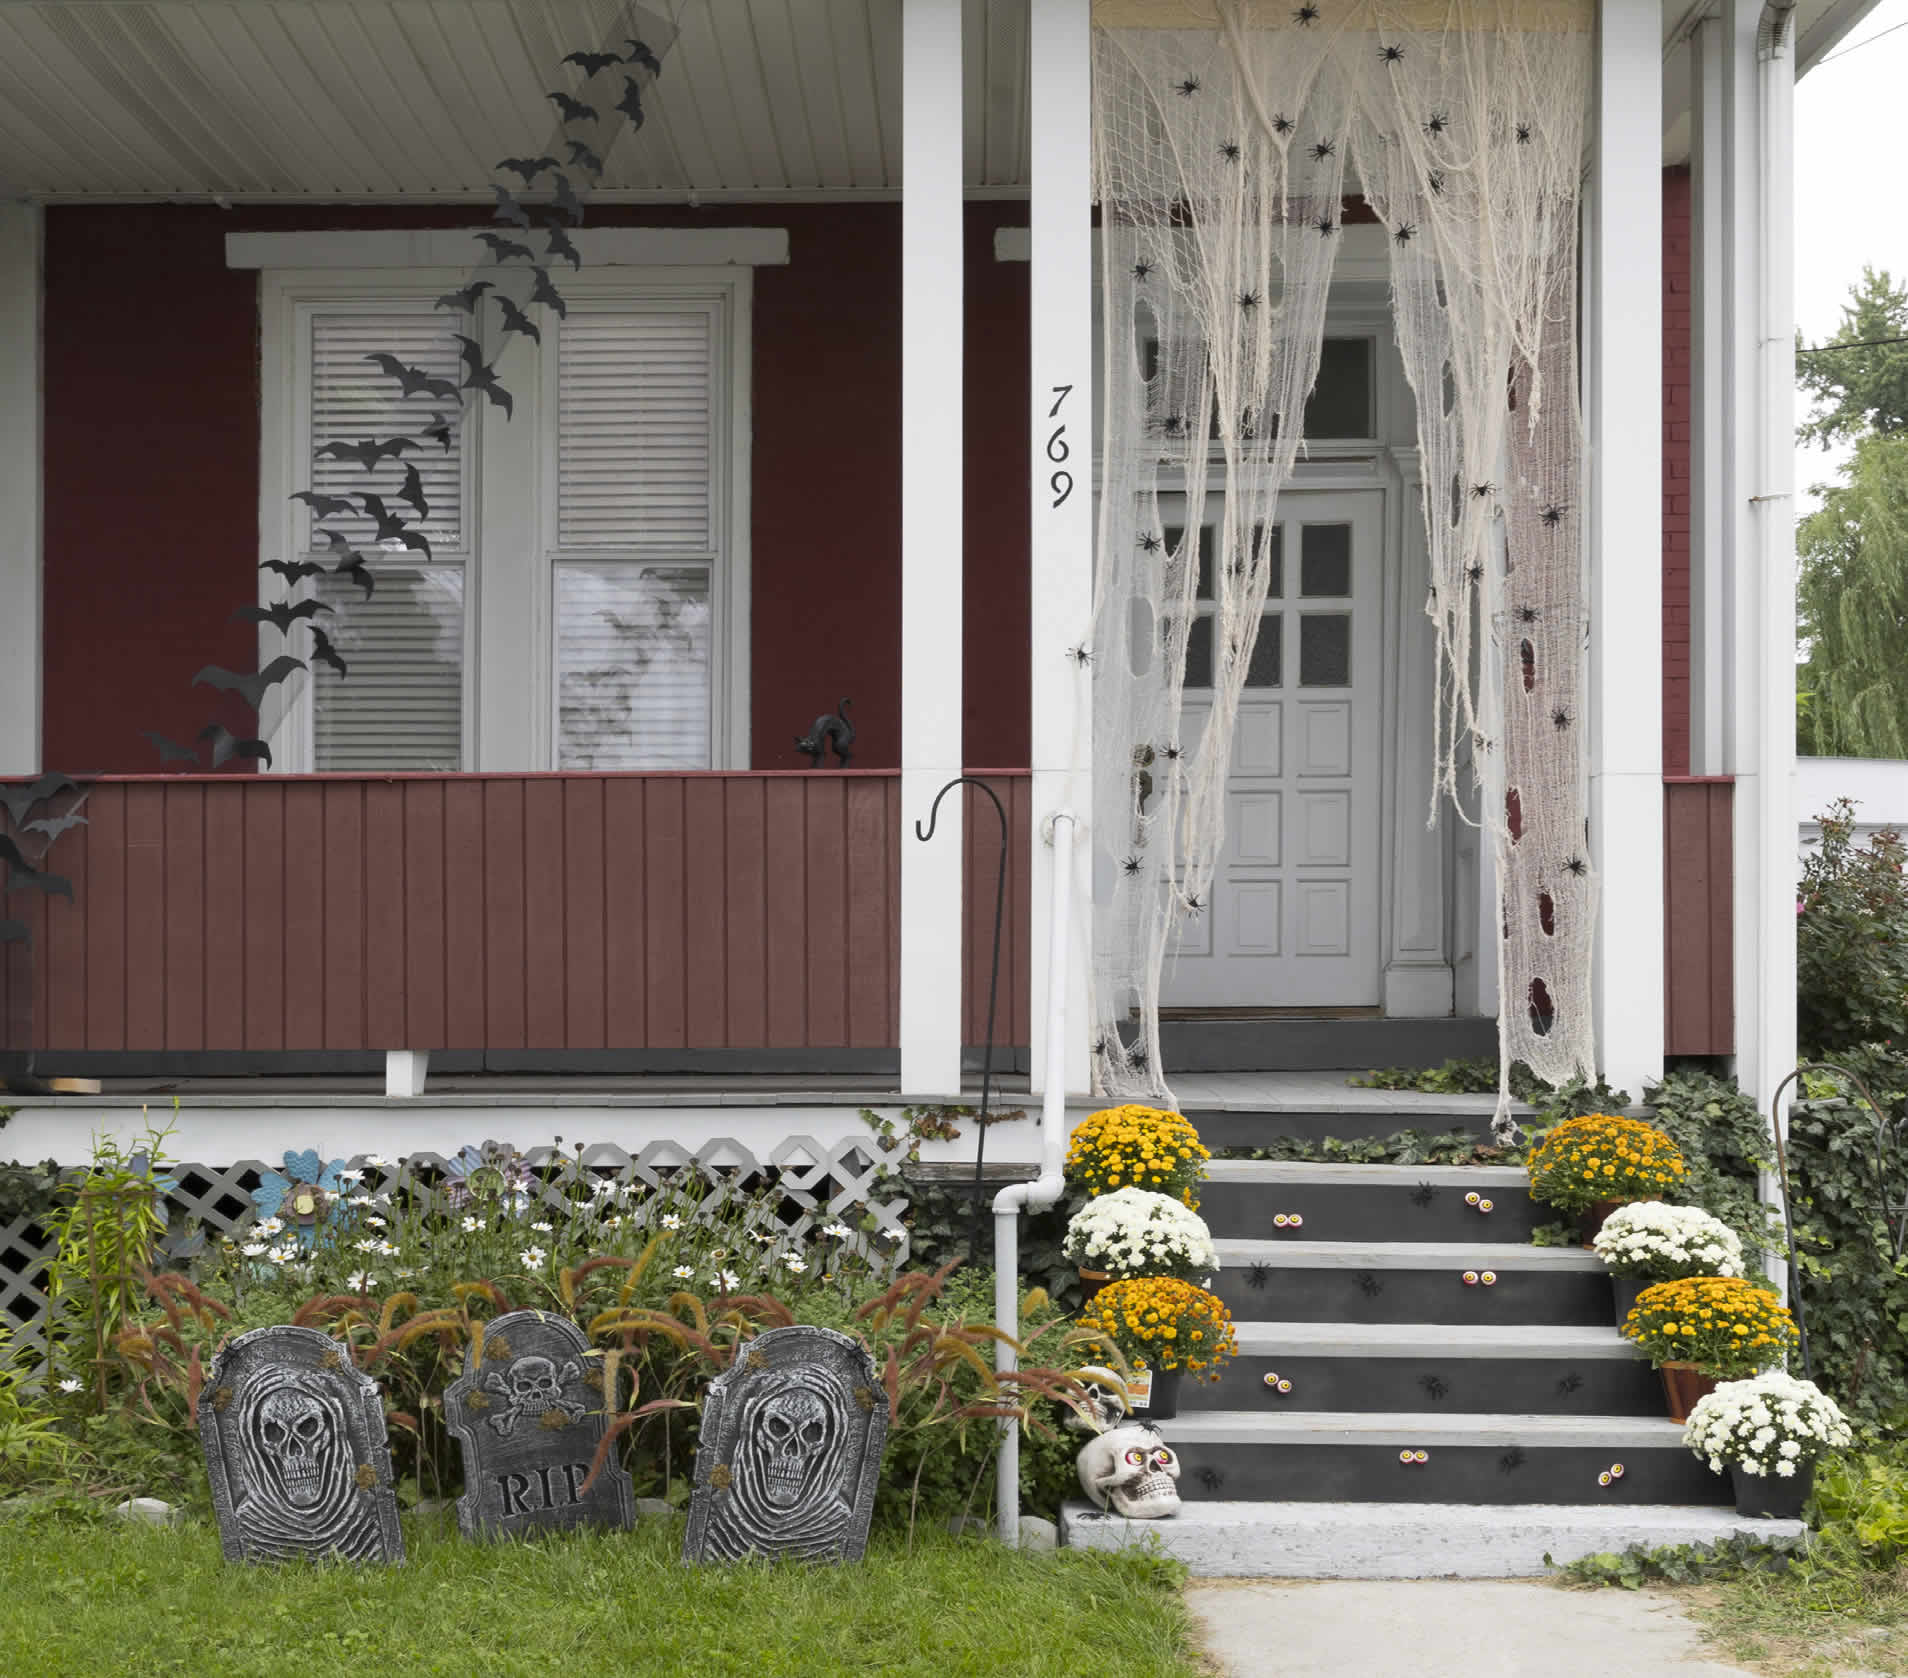
Flying bats, crawling spiders and spooky eyes, oh my! These easy decoration ideas will get your front porch ready for Halloween. With Arrow’s PowerShot 5700 Forward Action Staple Gun and Nailer, and Arrow’s TR400WS Glue Gun, you can usher in the spooky season and keep your Halloween porch decor in tip-top shape. We have included instructions for three features to complete your porch. Remember to always wear safety goggles when using a staple gun, and to keep hands clear of your staple gun and the hot glue while using the tools. Gloves are also recommended.

PowerShot Forward Action Staple Gun and Nailer
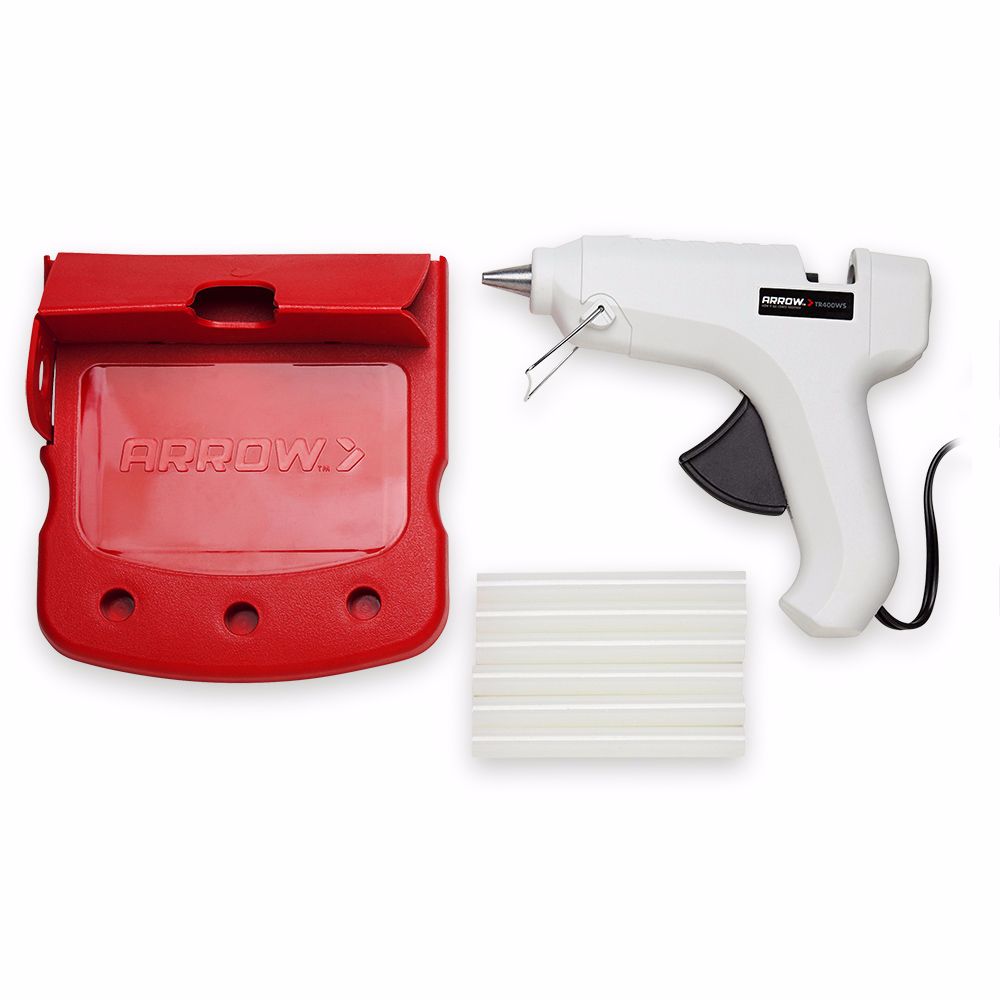
Glue Gun Kit
To make spooky bats for your porch, you can use downloadable templates or create your own. Place the bat template on top of the foam sheet and trace it with a pencil. Continue tracing until you have your desired number of bats. For our porch design, we made more than 30 bats in three different sizes. We finished with 3-4 bats per foot of mesh.
To make spooky bats for your porch, you can use downloadable templates or create your own. Place the bat template on top of the foam sheet and trace it with a pencil. Continue tracing until you have your desired number of bats. For our porch design, we made more than 30 bats in three different sizes. We finished with 3-4 bats per foot of mesh.
Now that your bats are traced, use the scissors to cut out each bat from the foam sheet. Keep the larger scraps of foam because we’re going to use them later.
Now that your bats are traced, use the scissors to cut out each bat from the foam sheet. Keep the larger scraps of foam because we’re going to use them later.
Next, place the foam bats on top of the cardboard in a well-ventilated area—preferably outside. Paint the foam bats and then let dry. Set aside.
Next, place the foam bats on top of the cardboard in a well-ventilated area—preferably outside. Paint the foam bats and then let dry. Set aside.
Measure your porch (ceiling to floor) to determine the length of the wire mesh. Cut it to size—we needed a 7” x 15’ piece—and paint one side with the flat black spray paint. This step helps your mesh to “disappear” at nighttime so your bats appear to be flying through your porch.
Measure your porch (ceiling to floor) to determine the length of the wire mesh. Cut it to size—we needed a 7” x 15’ piece—and paint one side with the flat black spray paint. This step helps your mesh to “disappear” at nighttime so your bats appear to be flying through your porch.
Next, we’ll place the two screw eyes into the ceiling of the porch. After the Halloween porch decor is removed, these can be used to hang seasonal plants year-round! Measure your porch for best placement, and use the pencil to mark. Then drill a hole on your mark and insert the screw eyes.
Next, we’ll place the two screw eyes into the ceiling of the porch. After the Halloween porch decor is removed, these can be used to hang seasonal plants year-round! Measure your porch for best placement, and use the pencil to mark. Then drill a hole on your mark and insert the screw eyes.
Now string the 20 gauge wire through one end of the wire mesh, and string the other end through one of the screw eyes. Twist the ends to secure. Repeat for the second screw eye.
Now string the 20 gauge wire through one end of the wire mesh, and string the other end through one of the screw eyes. Twist the ends to secure. Repeat for the second screw eye.
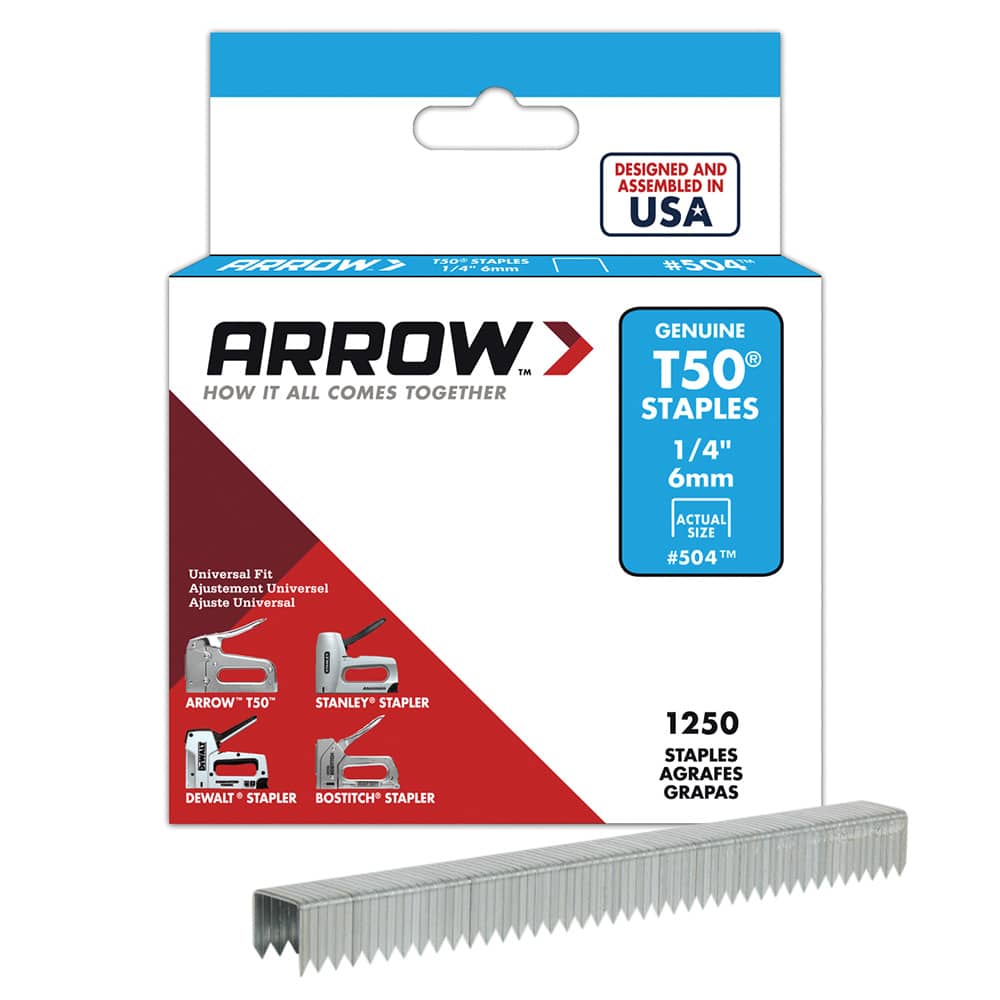
Angle the painted wire mesh diagonally from the top of the porch to the bottom so the mesh is hung on the top right corner and ends on the bottom left corner of the porch. Attach the painted wire mesh at the bottom to the black 2×4 using the PowerShot and the staples. Roll the excess wire mesh around the 2×4 and place it outside of the walking path on the floor of your porch.
Angle the painted wire mesh diagonally from the top of the porch to the bottom so the mesh is hung on the top right corner and ends on the bottom left corner of the porch. Attach the painted wire mesh at the bottom to the black 2×4 using the PowerShot and the staples. Roll the excess wire mesh around the 2×4 and place it outside of the walking path on the floor of your porch.
Now it’s time for the bats to take flight! First, decide on the placement of the first bat. Then use the TR400WS glue gun to dab some glue onto a piece of scrap foam smaller than the bat’s size. Position the bat on one side of the mesh and place the scrap foam with glue on the opposite side. Press and hold in place until glue is cool, using a spatula or finger guard to hold the scrap foam if desired. Repeat this procedure until all your bats have flown off into the night sky!
Now it’s time for the bats to take flight! First, decide on the placement of the first bat. Then use the TR400WS glue gun to dab some glue onto a piece of scrap foam smaller than the bat’s size. Position the bat on one side of the mesh and place the scrap foam with glue on the opposite side. Press and hold in place until glue is cool, using a spatula or finger guard to hold the scrap foam if desired. Repeat this procedure until all your bats have flown off into the night sky!
Use the tape measure to determine the width of your entryway, since the length of the 1×4 will be determined by that. Then cut the 1×4 to length.
Use the tape measure to determine the width of your entryway, since the length of the 1×4 will be determined by that. Then cut the 1×4 to length.
On the skinny side of the 1×4, measure in 12” from each end and place a mark. Next, drill holes to insert your screw hooks.
On the skinny side of the 1×4, measure in 12” from each end and place a mark. Next, drill holes to insert your screw hooks.
On the ceiling of your entryway, measure in 12” on each side and mark the spot. Then drill a hole for the screw eyes and insert them.
On the ceiling of your entryway, measure in 12” on each side and mark the spot. Then drill a hole for the screw eyes and insert them.
Place the 1×4 with hooks on a flat surface. Now position the linen or cheesecloth mesh over the board and secure with the staple gun. Continue fastening until you’re satisfied with the amount of “web” you’ve created.
Place the 1×4 with hooks on a flat surface. Now position the linen or cheesecloth mesh over the board and secure with the staple gun. Continue fastening until you’re satisfied with the amount of “web” you’ve created.
Hang the 1×4 on your entryway and use the scissors to cut the cloth in various places, which will add to the spooky atmosphere of your porch.
Hang the 1×4 on your entryway and use the scissors to cut the cloth in various places, which will add to the spooky atmosphere of your porch.
It’s time to let our 8-legged friends crawl all over the web! Use the TR400WS to secure all plastic spiders to the material. Add spiders until the creepy-crawly atmosphere is just right. The more spiders, the creepier the result!
It’s time to let our 8-legged friends crawl all over the web! Use the TR400WS to secure all plastic spiders to the material. Add spiders until the creepy-crawly atmosphere is just right. The more spiders, the creepier the result!
Measure the length and the width of your back step, since you will be cutting the birch plywood to those dimensions.
Measure the length and the width of your back step, since you will be cutting the birch plywood to those dimensions.
Paint the pieces of birch plywood with the flat black spray paint. Remember to allow plenty of time to dry. Use the measurements of your back step and cut the birch plywood to size.
Paint the pieces of birch plywood with the flat black spray paint. Remember to allow plenty of time to dry. Use the measurements of your back step and cut the birch plywood to size.
Secure the plywood to the outside of the flower pot as shown using the PowerShot. Then place the plywood against the back step with the painted side out and the flower pot on the step close to the edge. Make sure the plywood is snug under the lip of the stair to avoid a tripping hazard.
Secure the plywood to the outside of the flower pot as shown using the PowerShot. Then place the plywood against the back step with the painted side out and the flower pot on the step close to the edge. Make sure the plywood is snug under the lip of the stair to avoid a tripping hazard.
Attach the spooky eyeballs to the plywood using the TR400WS. Place pairs of the eyeballs in various places on the steps. We also glued a few of the spiders to the steps as well.
Attach the spooky eyeballs to the plywood using the TR400WS. Place pairs of the eyeballs in various places on the steps. We also glued a few of the spiders to the steps as well.
Now place some tombstones, skulls and maybe even a scaredy-cat or two around your porch. Step back and enjoy your work! Your Halloween porch decor is all set for screams from the ghosts and goblins eager for trick-or-treat candy.
We’d love to see how your Halloween porch project turned out! Share your results with us on Facebook, Instagram or Twitter by tagging us or using #MadeWithArrow.
Get Arrow tips, tricks, projects and promos in your inbox!
Hey there! We’ve updated our Privacy and Cookie Policies at the request of some of our friends in Europe. Click Accept to let us know you’re okay with the updates. Thanks!
View Cookie Policy Accept