or Call Us at 1-800-776-2228
or Call Us at 1-800-776-2228
Create a fabric room divider using the Arrow JT21CM All Purpose Staple Gun. Room dividers bring function and style to any space. Besides offering privacy, a room divider can redirect the flow of foot traffic, function as a dressing screen, be placed in front of a large window or simply serve as a decorative background. This DIY project can be personalized for your style and purpose. Plus, it’s a fun indoor project to work on during the colder months. Don’t forget to grab a pair of safety goggles and gloves (optional) before getting started!
Note: Instructions and supplies are for a single-sided, 3-door, fabric-lined room divider. Adjustments will need to be made for two-sided and/or additional door dividers.
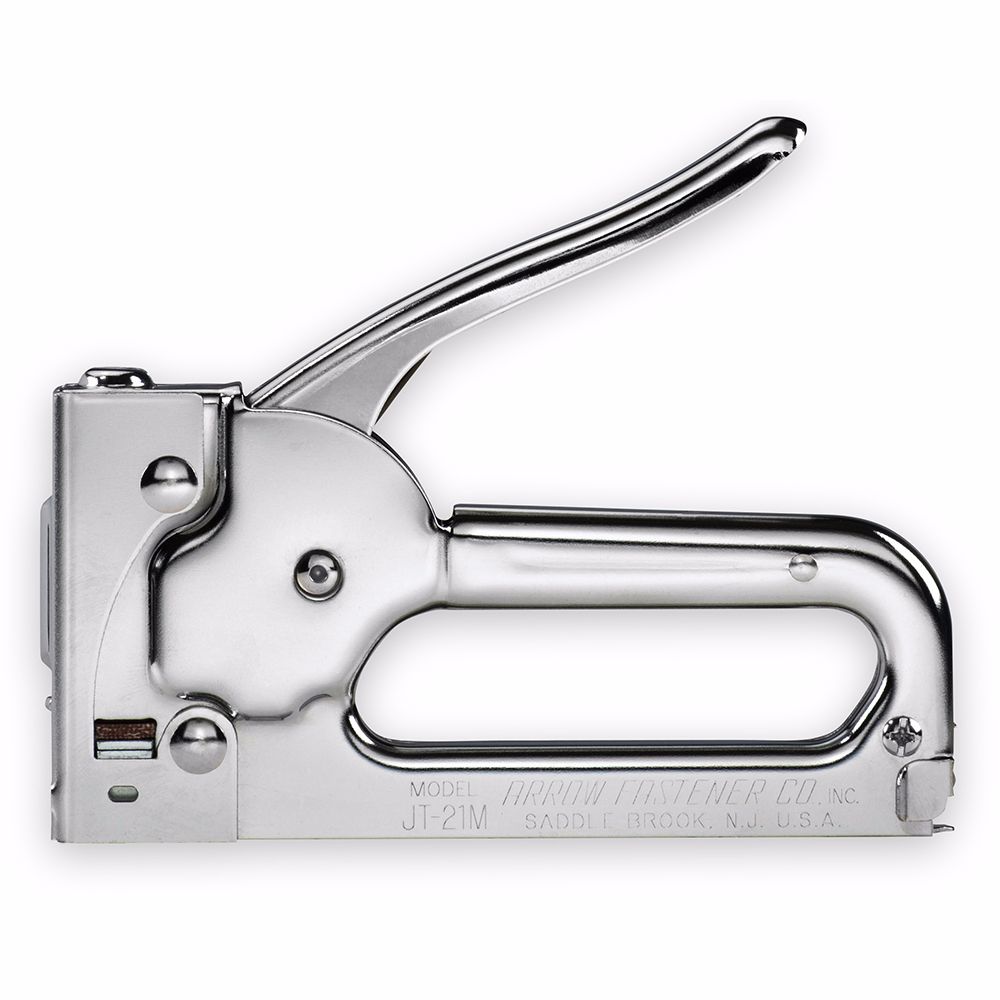
Professional Light Duty Staple Gun
First things first! Clamp the door to a clean surface with one panel hanging over the edge of the work table. Use the power drill to create a small hole in the center of the panel.
First things first! Clamp the door to a clean surface with one panel hanging over the edge of the work table. Use the power drill to create a small hole in the center of the panel.
With the door still clamped to the table, insert the blade of the jig saw into the hole. Saw toward the corner, repeating once so the two cuts resemble a “V.” After the “V” is made, cut side to side from the center hole.
With the door still clamped to the table, insert the blade of the jig saw into the hole. Saw toward the corner, repeating once so the two cuts resemble a “V.” After the “V” is made, cut side to side from the center hole.
After all cuts are made, pull up on the center cutout and wiggle it out from the doorframe. Do the same to the remaining two cutouts. At this point, half of the panel remains. Since the door panel is seated in a groove at the top, slide it down into the space created from removing the center cutout. Now gently hit the center of the remaining piece with a hammer to break it in two. It’s extremely important to pull the panel down and out of the groove so the frame won’t splinter when you use the hammer. Finally, separate the pieces and pull each one out from the door. Repeat steps 1-3 until all panels have been removed from your doors.
After all cuts are made, pull up on the center cutout and wiggle it out from the doorframe. Do the same to the remaining two cutouts. At this point, half of the panel remains. Since the door panel is seated in a groove at the top, slide it down into the space created from removing the center cutout. Now gently hit the center of the remaining piece with a hammer to break it in two. It’s extremely important to pull the panel down and out of the groove so the frame won’t splinter when you use the hammer. Finally, separate the pieces and pull each one out from the door. Repeat steps 1-3 until all panels have been removed from your doors.
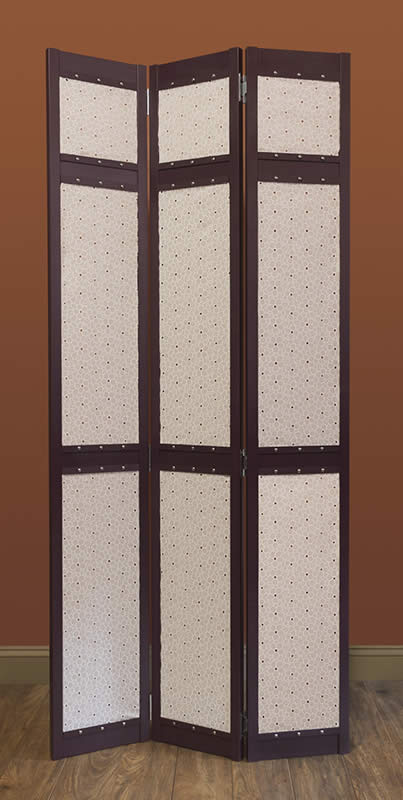
Time to paint or stain! We chose a rich, royal plum color for our divider. After painting, make sure to let the door dry completely before attaching the fabric.
Time to paint or stain! We chose a rich, royal plum color for our divider. After painting, make sure to let the door dry completely before attaching the fabric.
Now for the fabric. We chose a lightweight linen so light would be diffused instead of blocked, but pick whatever fabric best suits your needs. Remember to iron out any creases before cutting to make sure you’ll have a well-fit finished project. We cut six pieces at 10-1/4” x 30” and three pieces at 10-1/4” x 9-1/4” for our fabric room divider. To get the right size of your fabric, measure the door panel and add 1/2” to each side for the needed fabric size. Once cut, iron and starch each piece. Fold and crease a 1/2” seam down the long side of each piece, making sure to fold the edge of the fabric in toward the crease. Use the iron to create a sharp fold.
Now for the fabric. We chose a lightweight linen so light would be diffused instead of blocked, but pick whatever fabric best suits your needs. Remember to iron out any creases before cutting to make sure you’ll have a well-fit finished project. We cut six pieces at 10-1/4” x 30” and three pieces at 10-1/4” x 9-1/4” for our fabric room divider. To get the right size of your fabric, measure the door panel and add 1/2” to each side for the needed fabric size. Once cut, iron and starch each piece. Fold and crease a 1/2” seam down the long side of each piece, making sure to fold the edge of the fabric in toward the crease. Use the iron to create a sharp fold.
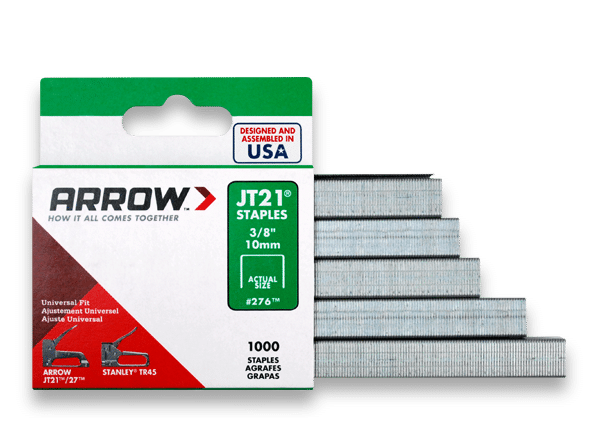
Using the Arrow JT21CM All Purpose Staple Gun and JT21 1/4” staples, begin stapling the fabric panels across the top panel opening. Then attach the fabric panel at bottom, keeping the fabric taut so it does not crease or fold. Arrow Tip: If you’re working with a thicker fabric, choose a longer staple like the JT21 3/8” staple.
Using the Arrow JT21CM All Purpose Staple Gun and JT21 1/4” staples, begin stapling the fabric panels across the top panel opening. Then attach the fabric panel at bottom, keeping the fabric taut so it does not crease or fold. Arrow Tip: If you’re working with a thicker fabric, choose a longer staple like the JT21 3/8” staple.
After the fabric panels have been secured at the top and bottom, secure the fabric to the sides, stapling the seams you created to the sides of the door. Place as many staples as needed for your desired look. For our three-paneled divider, we used two boxes of staples. We found placing staples every inch gave the lightweight-linen the desired look without over-stretching it.
After the fabric panels have been secured at the top and bottom, secure the fabric to the sides, stapling the seams you created to the sides of the door. Place as many staples as needed for your desired look. For our three-paneled divider, we used two boxes of staples. We found placing staples every inch gave the lightweight-linen the desired look without over-stretching it.
A basswood embellishment will add the final touch to this piece and hide the staples on the top and bottom of the panel. A 12” square piece of basswood yields 19 pieces at the size we want, so one square is more than enough. Place the basswood on the piece of cardboard, and measure 3/4” x 9-1/4” x 1/8” until you’ve marked all 18 pieces. Then use your utility knife to cut strips from the lightweight wood.
A basswood embellishment will add the final touch to this piece and hide the staples on the top and bottom of the panel. A 12” square piece of basswood yields 19 pieces at the size we want, so one square is more than enough. Place the basswood on the piece of cardboard, and measure 3/4” x 9-1/4” x 1/8” until you’ve marked all 18 pieces. Then use your utility knife to cut strips from the lightweight wood.
Once cut, paint or stain all of the basswood pieces to your desired color; we painted ours to match the doors. When dry, make three evenly-spaced holes using one of the decorative nails. Then place the basswood on top of the exposed staples and secure in place with a hammer. Repeat the process until all exposed staples are hidden.
Once cut, paint or stain all of the basswood pieces to your desired color; we painted ours to match the doors. When dry, make three evenly-spaced holes using one of the decorative nails. Then place the basswood on top of the exposed staples and secure in place with a hammer. Repeat the process until all exposed staples are hidden.
Finally, attach the hinges and place in your room for an extra splash of style. For a larger room divider, simply add more doors!
Finally, attach the hinges and place in your room for an extra splash of style. For a larger room divider, simply add more doors!
We’d love to see how your fabric room divider turned out! Share your results on Facebook, Instagram or Twitter by using #MadeWithArrow or tagging Arrow Fastener.
Get Arrow tips, tricks, projects and promos in your inbox!
Hey there! We’ve updated our Privacy and Cookie Policies at the request of some of our friends in Europe. Click Accept to let us know you’re okay with the updates. Thanks!
View Cookie Policy Accept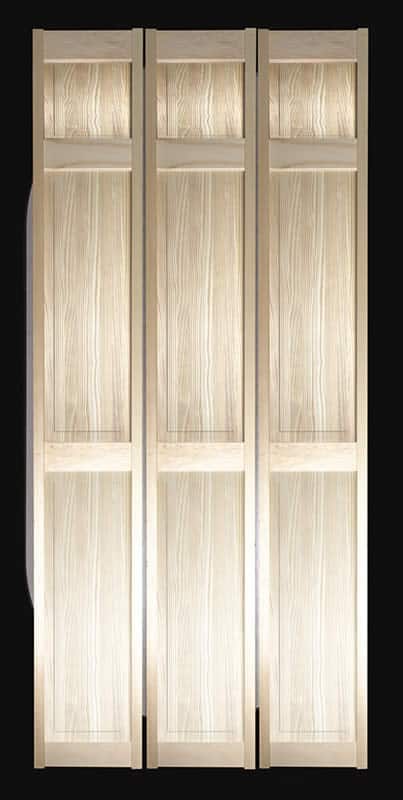