or Call Us at 1-800-776-2228
or Call Us at 1-800-776-2228
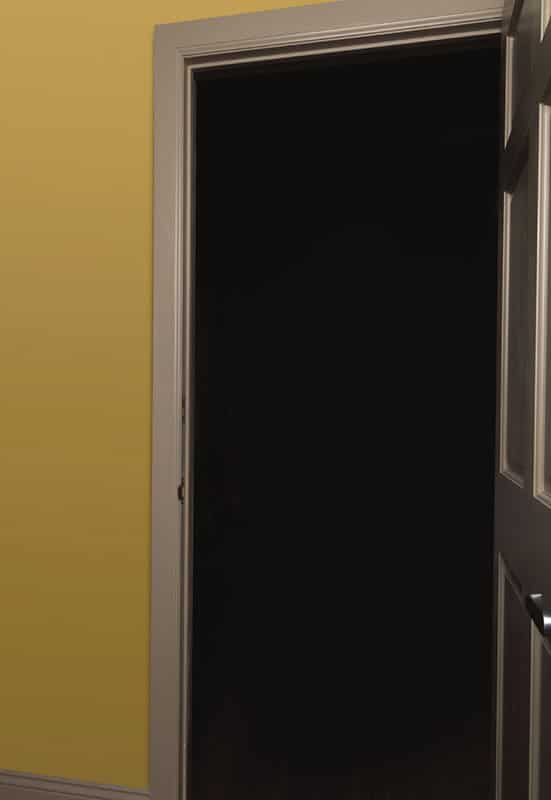
Looking for an easy fix for damaged door trim and stop? With this project, make an existing door trim look brand new and keep your door stop from being ineffective any longer. Whatever your skill level, this home improvement DIY door trim repair project can be tackled easily by using the handy Arrow Pneumatic Brad Nailer PT18G. Don’t forget to grab a pair of safety goggles and gloves (optional) before getting started!

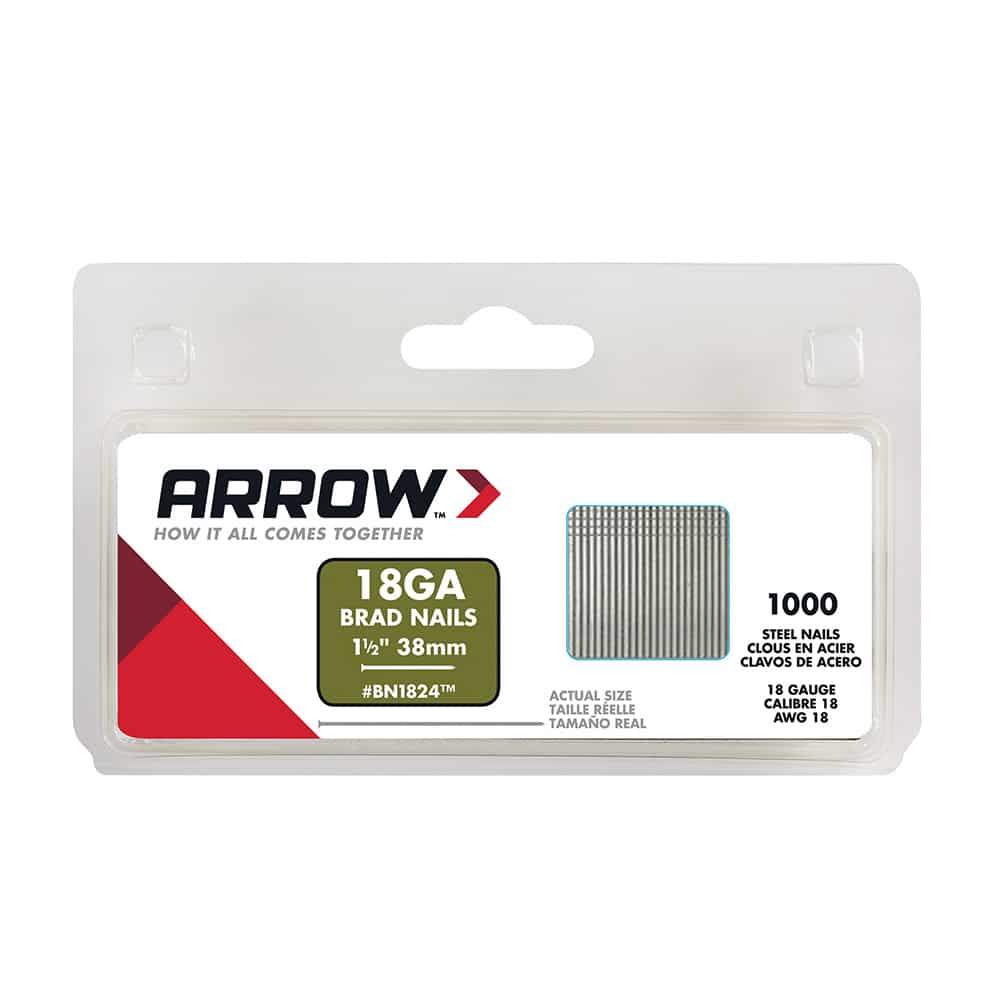
Pneumatic Brad Nailer
Remove the existing hardware, or the strike plate, from the doorway.
Remove the existing hardware, or the strike plate, from the doorway.
If there is any caulk or sealant present between the trim and wall, use the utility knife to score and remove. Repeat this for the door stop. Be careful not to damage the wall or any other trim during the process.
If there is any caulk or sealant present between the trim and wall, use the utility knife to score and remove. Repeat this for the door stop. Be careful not to damage the wall or any other trim during the process.
Grab a tape measure and find the length of the existing door trim and the length of the door stop.
Grab a tape measure and find the length of the existing door trim and the length of the door stop.
Next, use a putty knife and a hammer to wedge behind the damaged trim and stop. The putty knife is a great way to get the door trim and stop far enough away from the wall so you can use a pry bar to pull the trim off completely.
Next, use a putty knife and a hammer to wedge behind the damaged trim and stop. The putty knife is a great way to get the door trim and stop far enough away from the wall so you can use a pry bar to pull the trim off completely.
Once you’ve pulled the damaged door trim and stop away from the wall, insert the pry bar and carefully pry the damaged trim away from the doorway. Make sure to start from the bottom and work toward the top. Take extra care on the top corners of the trim and stop.
ARROW TIP: Use a piece of scrap wood between the trim you are removing and the wall so that you do not damage the areas around the door trim and stop.
After you have finished removing the damaged trim and stop, make sure to remove any remaining nails from the surfaces.
After you have finished removing the damaged trim and stop, make sure to remove any remaining nails from the surfaces.
Double-check your measurements with the old trim, and then mark off the new door trim and stop.
Double-check your measurements with the old trim, and then mark off the new door trim and stop.
Use the miter box to cut both the trim and stop at a 45-degree angle, matching the angle of the damaged trim you removed.
Use the miter box to cut both the trim and stop at a 45-degree angle, matching the angle of the damaged trim you removed.
Test fit the new door trim and stop to ensure everything looks good. The pieces should fit snugly into the location they’re going to be nailed. Also take one more look at the exposed surface you’re nailing into, making sure it’s completely flat and there are no protrusions from where the damaged trim and stop were.
Test fit the new door trim and stop to ensure everything looks good. The pieces should fit snugly into the location they’re going to be nailed. Also take one more look at the exposed surface you’re nailing into, making sure it’s completely flat and there are no protrusions from where the damaged trim and stop were.
Paint the door trim and stop to the desired color.
ARROW TIP: If you do not have the original paint, take a piece of the damaged trim or a large paint scraping to your local home improvement or paint store to have it professionally color matched.
Paint the door trim and stop to the desired color.
ARROW TIP: If you do not have the original paint, take a piece of the damaged trim or a large paint scraping to your local home improvement or paint store to have it professionally color matched.
Use the Arrow PT18G Pneumatic Brad Nailer to secure the new pieces. For the door trim, we chose 2” brad nails. For the stop, we chose 1” brad nails. Fire a brad nail approximately every 8 to 10 inches for the length of the door trim and stop.
Use the Arrow PT18G Pneumatic Brad Nailer to secure the new pieces. For the door trim, we chose 2” brad nails. For the stop, we chose 1” brad nails. Fire a brad nail approximately every 8 to 10 inches for the length of the door trim and stop.
After the new door trim repair is secured with the nails, use the putty knife and wood filler to cover up the holes. Touch up any areas needed with paint.
After the new door trim repair is secured with the nails, use the putty knife and wood filler to cover up the holes. Touch up any areas needed with paint.
We’d love to see how your repaired door trim project turned out! Share your results on Facebook, Instagram or Twitter by using #MadeWithArrow or tagging Arrow Fastener.
Get Arrow tips, tricks, projects and promos in your inbox!
Hey there! We’ve updated our Privacy and Cookie Policies at the request of some of our friends in Europe. Click Accept to let us know you’re okay with the updates. Thanks!
View Cookie Policy Accept