or Call Us at 1-800-776-2228
or Call Us at 1-800-776-2228
A shoe rack is one of the most functional pieces you can ever have in your home, yet store bought mass produced versions can leave you wanting for something more personalized for your space.
With the help of the Arrow Fastener T50AC nail gun/stapler, you can make your own in a weekend!
Professional Electric Staple Gun and Nailer
To get you started, take a peek at this raw wood formation before it was stained and painted. You’ll be working with 2×2” birch wood posts to form the legs and frame, and standard 1/2” birch wood (or comparable wood) planks to form the steps.
This shoe rack pictured is 18” high by 42” wide. It’s easy to vary the width to fit your space, however the 18” height is ideal for forming three stories in which to store footwear in the form of sneakers, flip flops and/or boots.
Cut two 36” long 2×2” birch pieces in half to form four legs, each 18” in height. Drill pilot holes on the top and in the middle of the 18” tall legs where you’ll screw the frame together.
Cut two 36” long 2×2” birch pieces in half to form four legs, each 18” in height. Drill pilot holes on the top and in the middle of the 18” tall legs where you’ll screw the frame together.
Cut two pieces of 2×2” birch into 8” long pieces, then screw them all together with 2-1/2” wood screws to form each leg base. These leg bases measure 18” in height by 12” deep.
Cut two pieces of 2×2” birch into 8” long pieces, then screw them all together with 2-1/2” wood screws to form each leg base. These leg bases measure 18” in height by 12” deep.
Notch the middle step with a hand saw on each corner to allow for a 2×2” cutout so the middle plank fits the middle rung and wraps around the 2×2” birch leg as shown.
Notch the middle step with a hand saw on each corner to allow for a 2×2” cutout so the middle plank fits the middle rung and wraps around the 2×2” birch leg as shown.
Fill and coat the exposed wood screws with a layer of wood filler, allow to dry. Sand smooth when dry.
Fill and coat the exposed wood screws with a layer of wood filler, allow to dry. Sand smooth when dry.
Before assembly, prime the legs with spray primer in preparation for paint. (This step can be skipped if stain is intended for both the steps and frame.)
Before assembly, prime the legs with spray primer in preparation for paint. (This step can be skipped if stain is intended for both the steps and frame.)
Paint the shoe rack frame your color of choice and stain the shoe rack rungs your stain color of choice.
Paint the shoe rack frame your color of choice and stain the shoe rack rungs your stain color of choice.
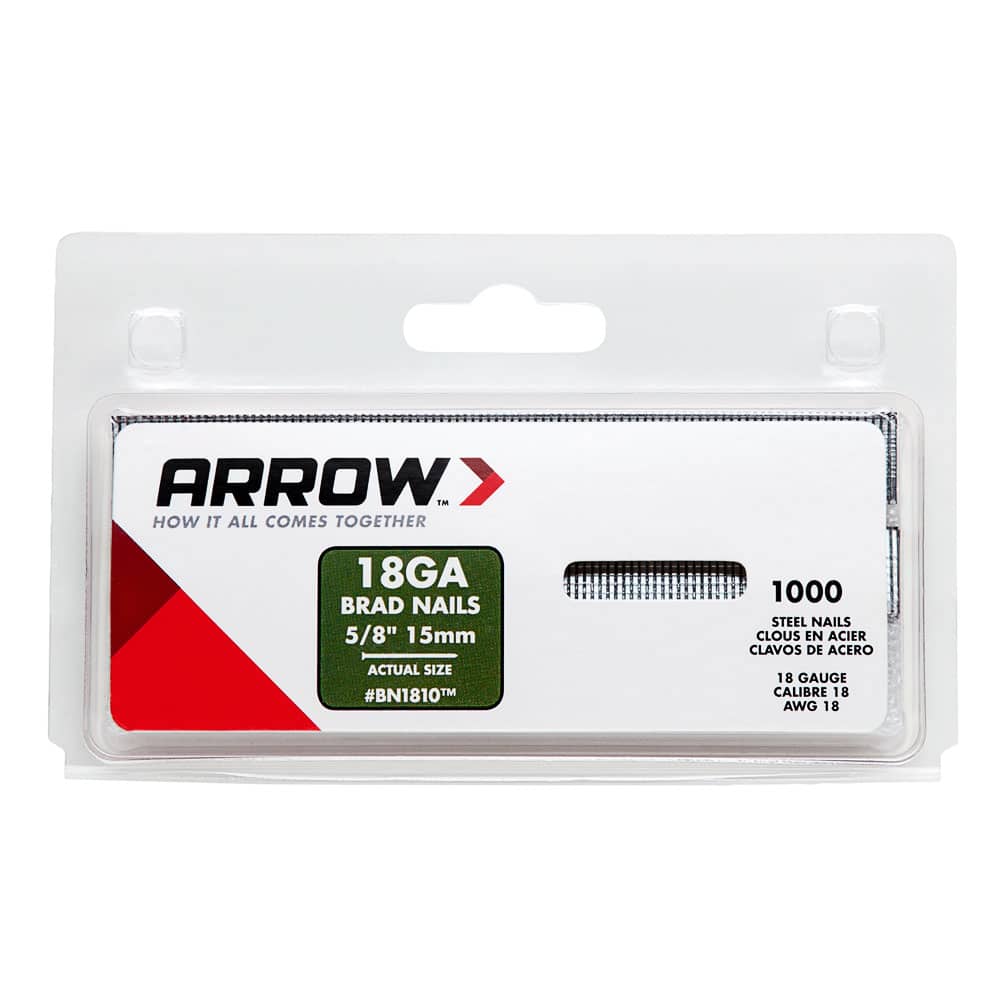
Once the paint and stain is dry, secure the top and middle stained steps to the painted wood legs with the Arrow Fastener T50AC nail gun using 5/8” nails.
Once the paint and stain is dry, secure the top and middle stained steps to the painted wood legs with the Arrow Fastener T50AC nail gun using 5/8” nails.
Protect shoe rack with one coat water-based polyurethane.
Protect shoe rack with one coat water-based polyurethane.
Position your new DIY shoe rack anywhere you need it, inside or even in a protected area outside!
Get Arrow tips, tricks, projects and promos in your inbox!
Hey there! We’ve updated our Privacy and Cookie Policies at the request of some of our friends in Europe. Click Accept to let us know you’re okay with the updates. Thanks!
View Cookie Policy Accept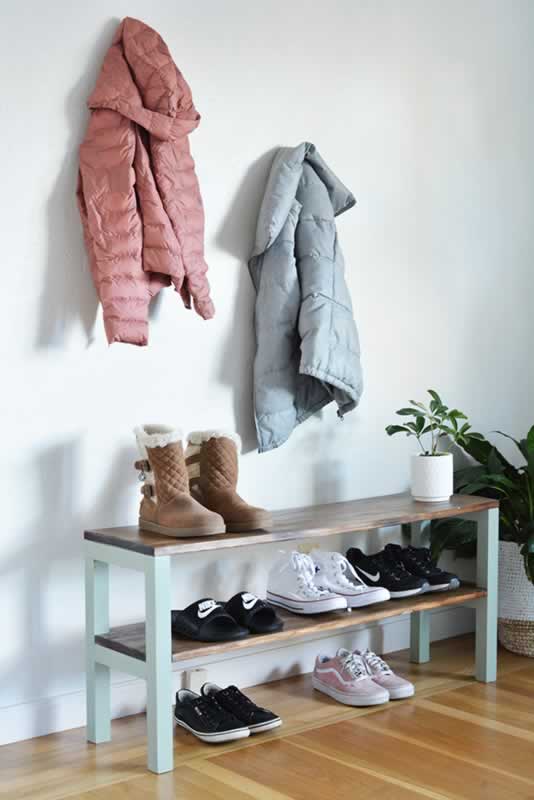