or Call Us at 1-800-776-2228
or Call Us at 1-800-776-2228
Update an existing door with a Decorative Rivet Door using paint, washers and Arrow’s RH200S Heavy Duty Rivet Tool. Perfect for beginner or intermediate DIYers, this project adds extra pizazz to your home décor and creates a statement piece you’ll love. As always, remember to wear safety goggles at all times when working with the rivet tool. Gloves and ear protection are recommended as well.
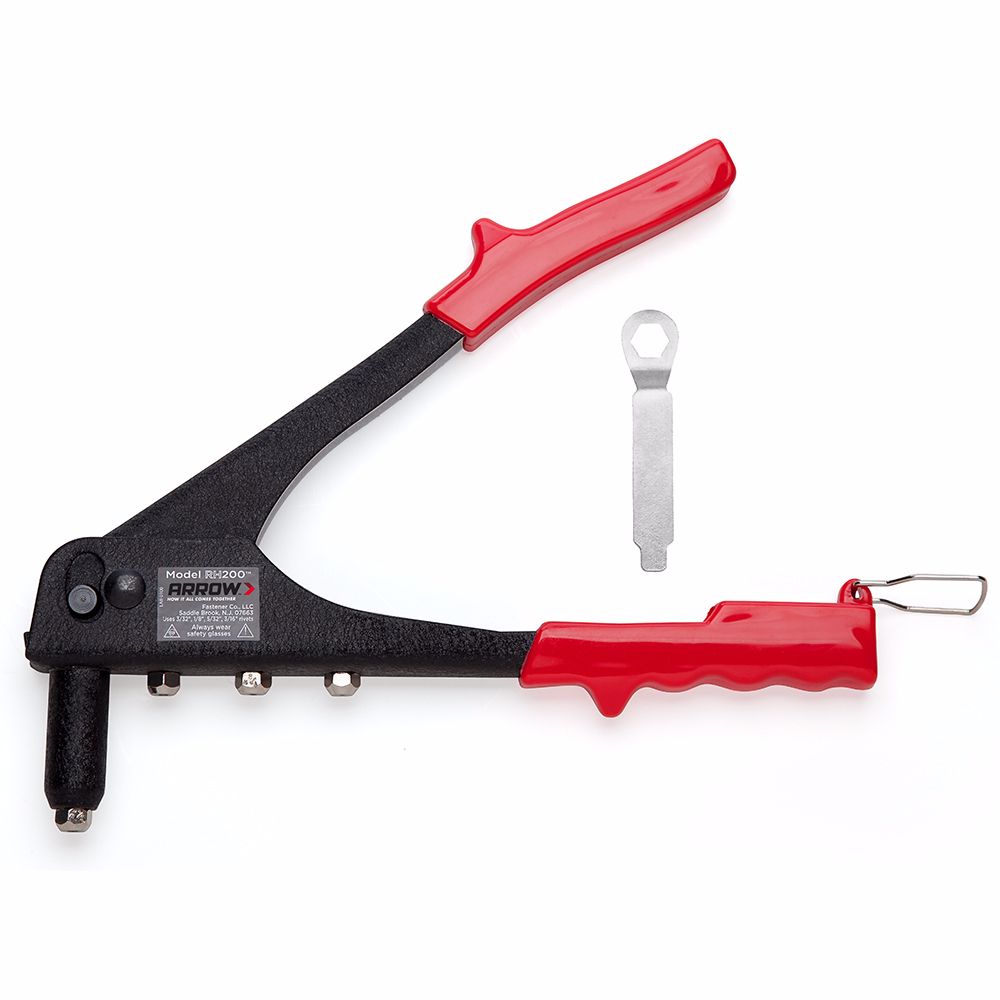
Heavy Duty Rivet Tool
For this project, you’ll need a hollow core door for the rivets to fasten properly. If you don’t have a hollow core door, you can buy one at your local home improvement store. Simply measure your current door, and make sure to pick out one that will match up with your current hinges. For this project, we’re using a 30”x80” right-handed door. If you already have a hollow core door, you can simply remove it from the jamb. Remove the door handle or knob, and place the door on a large work surface like two sawhorses or a large table.
For this project, you’ll need a hollow core door for the rivets to fasten properly. If you don’t have a hollow core door, you can buy one at your local home improvement store. Simply measure your current door, and make sure to pick out one that will match up with your current hinges. For this project, we’re using a 30”x80” right-handed door. If you already have a hollow core door, you can simply remove it from the jamb. Remove the door handle or knob, and place the door on a large work surface like two sawhorses or a large table.
Using the pencil, tape measure and straight edge, you’ll mark the area on the door for the design pattern. Because of the size door we used, we measured 5” from the top and the side of the door, and 10” from the bottom. Mark all measurements on the door with the pencil. Remember, your measurements may be different if the size of your door is larger or smaller. Make sure to lay out the provided design pattern—or your own pattern—on the door to decide best placement, measuring and marking afterward.
Using the pencil, tape measure and straight edge, you’ll mark the area on the door for the design pattern. Because of the size door we used, we measured 5” from the top and the side of the door, and 10” from the bottom. Mark all measurements on the door with the pencil. Remember, your measurements may be different if the size of your door is larger or smaller. Make sure to lay out the provided design pattern—or your own pattern—on the door to decide best placement, measuring and marking afterward.
Transfer the downloadable design pattern to your door with your pencil, taking plenty of time for accuracy.
Transfer the downloadable design pattern to your door with your pencil, taking plenty of time for accuracy.
Place eight of the 1-inch flat washers on the 2-5/8” square from the pattern. Line up the holes of the washers with the line of square. Use your black marker to mark the center of each flat washer. Remove the washers and repeat on the remaining 2-5/8” squares in the pattern.
Place eight of the 1-inch flat washers on the 2-5/8” square from the pattern. Line up the holes of the washers with the line of square. Use your black marker to mark the center of each flat washer. Remove the washers and repeat on the remaining 2-5/8” squares in the pattern.
For each 7-1/4” square, you’ll use a combination of eight 1-inch small washers; four 2” medium washers; and four 2-1/2” large washers. Place a medium washer on each corner of the square. Place a small washer on each side of the medium washers. Finally, place a large washer in the remaining space. Now mark the center of each washer with your black marker. Remove all washers and repeat on the remaining 7-1/4” squares.
For each 7-1/4” square, you’ll use a combination of eight 1-inch small washers; four 2” medium washers; and four 2-1/2” large washers. Place a medium washer on each corner of the square. Place a small washer on each side of the medium washers. Finally, place a large washer in the remaining space. Now mark the center of each washer with your black marker. Remove all washers and repeat on the remaining 7-1/4” squares.
Next, use the power drill and the 3/16” bit to make the rivet holes. Drill one hole on each mark made around all the squares for a total of 80 holes.
Next, use the power drill and the 3/16” bit to make the rivet holes. Drill one hole on each mark made around all the squares for a total of 80 holes.
Once your holes are drilled, use the painter’s tape to outline the center rectangle. Now paint your desired color. We used two coats of paint and allowed the door to dry.
Once your holes are drilled, use the painter’s tape to outline the center rectangle. Now paint your desired color. We used two coats of paint and allowed the door to dry.
Lay out all of your washers on a surface you can paint on. Then use your spray paint to paint the 80 washers. Make sure they are completely dry before attaching them to the door.
Lay out all of your washers on a surface you can paint on. Then use your spray paint to paint the 80 washers. Make sure they are completely dry before attaching them to the door.
Finally, paint the remaining color of the door and let it dry.
Finally, paint the remaining color of the door and let it dry.
Make sure the head of the rivet tool is the 3/16”. If you need to switch it, use the included wrench to remove the current head and replace with the 3/16” head located on the side of the tool. You can see size markings on the side of each head. Place a rivet into the Arrow RH200S Heavy Duty Rivet tool by inserting the thin side of the rivet, called the mandrel, into the head. Squeeze the handle of the RH200S slightly to grip the rivet and insert through the washer and into the proper hole on the door. Squeeze the handle several times until the mandrel snaps off and the rivet is secure. You’ll need two hands to squeeze the tool. Continue this procedure, following the pattern until all the washers are secure.
Make sure the head of the rivet tool is the 3/16”. If you need to switch it, use the included wrench to remove the current head and replace with the 3/16” head located on the side of the tool. You can see size markings on the side of each head. Place a rivet into the Arrow RH200S Heavy Duty Rivet tool by inserting the thin side of the rivet, called the mandrel, into the head. Squeeze the handle of the RH200S slightly to grip the rivet and insert through the washer and into the proper hole on the door. Squeeze the handle several times until the mandrel snaps off and the rivet is secure. You’ll need two hands to squeeze the tool. Continue this procedure, following the pattern until all the washers are secure.
Rehang the door and enjoy the extra touch of style in your home!
We’d love to see how your decorative rivet door project turned out! Share your results with us on Facebook, Instagram or Twitter by tagging us or using #MadeWithArrow.
Get Arrow tips, tricks, projects and promos in your inbox!
Hey there! We’ve updated our Privacy and Cookie Policies at the request of some of our friends in Europe. Click Accept to let us know you’re okay with the updates. Thanks!
View Cookie Policy Accept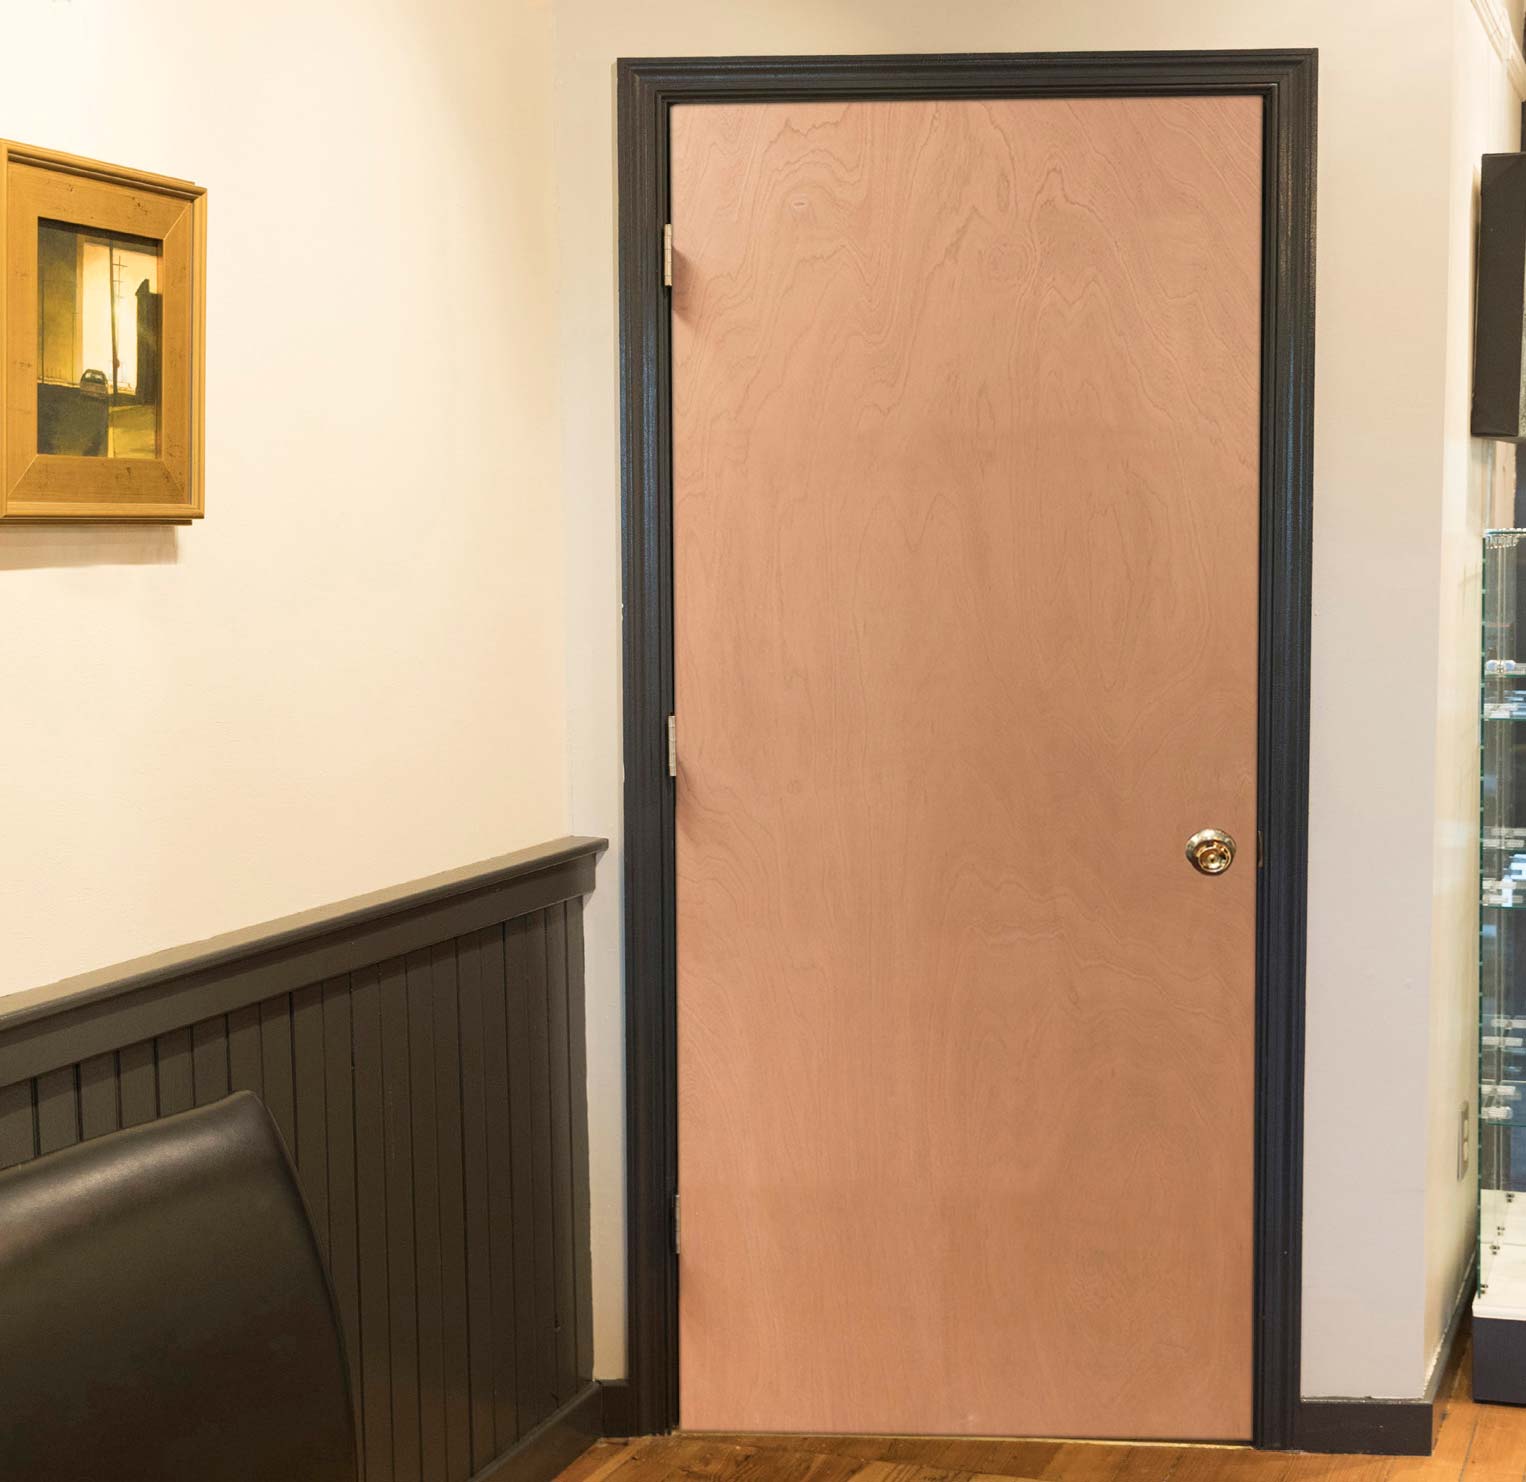