
or Call Us at 1-800-776-2228


or Call Us at 1-800-776-2228

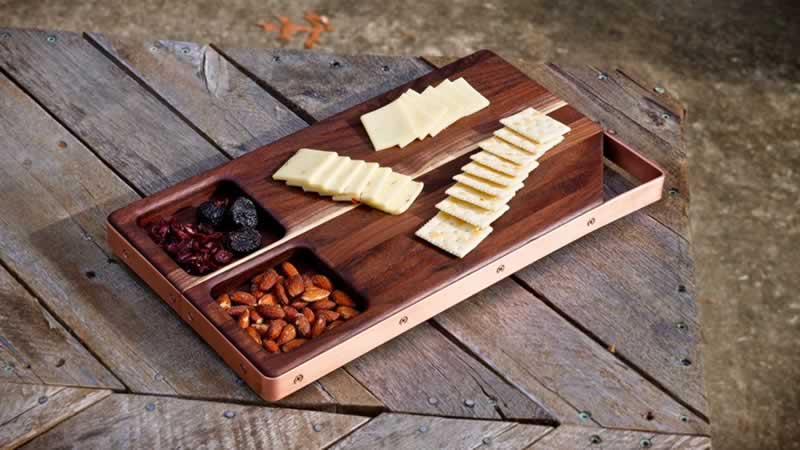
A DIY cutting and serving board is perfect to use for those charcuterie or cheese trays at your next party. These boards also make outstanding birthday gifts and presents for holidays.
Here’s how to make a cutting board.
For this serving board, I used walnut for the build, but you could use almost any hardwood. I built two boards, so I made an extra thick blank that I later cut in half on the bandsaw. If you are building just one board, you will need a blank roughly 18” x 10” x 1-1/2”.
For this serving board, I used walnut for the build, but you could use almost any hardwood. I built two boards, so I made an extra thick blank that I later cut in half on the bandsaw. If you are building just one board, you will need a blank roughly 18” x 10” x 1-1/2”.
After the glue up, your blank will need to be flattened. To effectively flatten a piece this big, I used a simple planer sled. Attach the blank to a flat piece of MDF (or other sheet good) and make sure to shim any corners that rock. Then run it through your planer, riding on the sled.
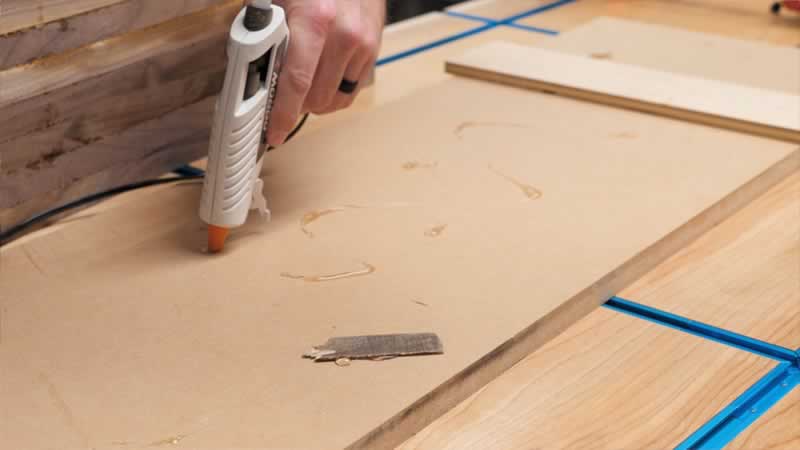
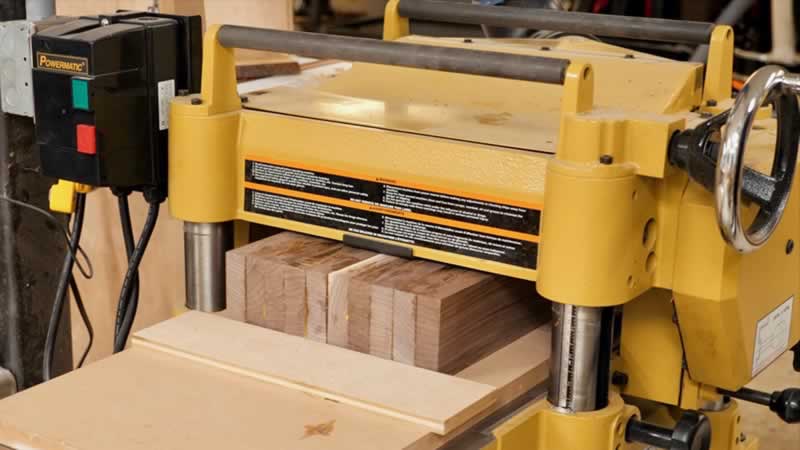
The piece of MDF is used as the reference surface and the top of the blank ends up perfectly flat. After getting the top flat, you can remove the blank from the sled, flip it over, and pass it through the planer with the newly flattened face facing down.
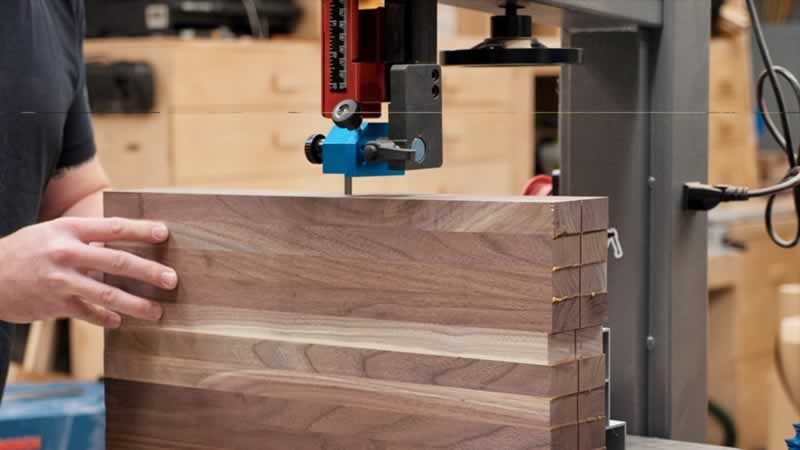
Again, I made an extra thick blank so I could cut it in half at the bandsaw. This is a really efficient way to get two boards out of the work of one.
After the glue up, your blank will need to be flattened. To effectively flatten a piece this big, I used a simple planer sled. Attach the blank to a flat piece of MDF (or other sheet good) and make sure to shim any corners that rock. Then run it through your planer, riding on the sled.
One of the features of this serving board design is the pockets that are routed into the face of the board. These are great for dried fruit, nuts, and other smaller items you’d like to serve on the board.
To do this routing, I used a CNC. If you don’t have access to a CNC, you could create a router jig using a scrap piece of plywood and a jigsaw, and then route the pocket using a template bit on your router. If you don’t have access to a router, you could use something like a carving gouge to get a similar pocket.
The CNC also cut the board to its final dimension. You could also do this using the miter saw. One of the big design elements on this piece is the notched corner, so don’t forget to do that before moving to the next step!
One of the most interesting design features of the serving board is the copper banding that wraps around the perimeter of the serving board.
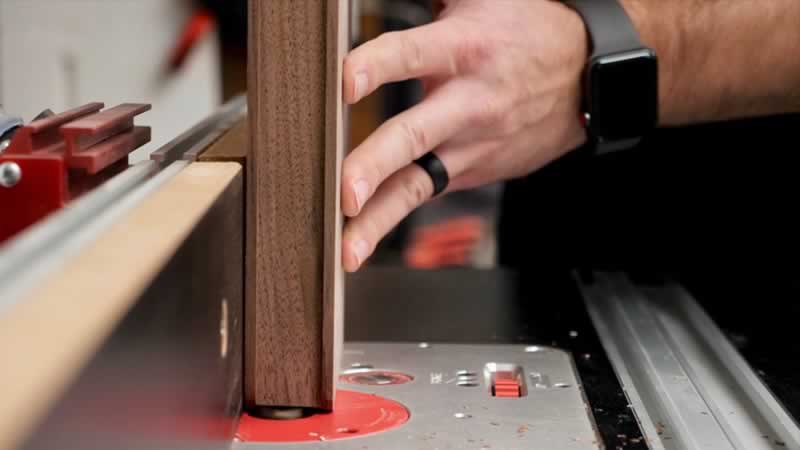
To provide a better connection between the copper and the board, I routed a groove into the edges of the board to accept the copper. I did this with a 3/4″ straight bit on my router table. You could also do this with a handheld router and edge guide.
I cut the groove in two passes, and flipped the board around 180 degrees between passes, which gave me a perfectly centered groove. I routed this groove on all four sides of the board.
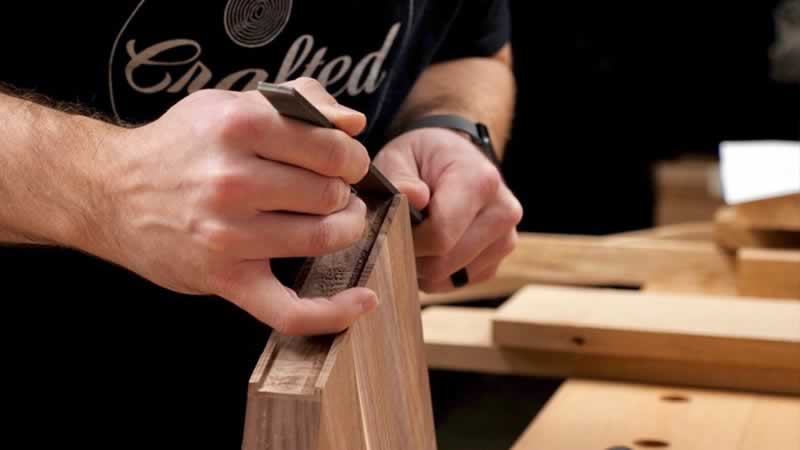
After routing, I rounded the corners with a file, making sure to get them to the same depth as the grooves. Rounding the corners will allow the copper to bend around the edges easily.
One of the most interesting design features of the serving board is the copper banding that wraps around the perimeter of the serving board.
To provide a better connection between the copper and the board, I routed a groove into the edges of the board to accept the copper. I did this with a 3/4″ straight bit on my router table. You could also do this with a handheld router and edge guide.
I cut the groove in two passes, and flipped the board around 180 degrees between passes, which gave me a perfectly centered groove. I routed this groove on all four sides of the board.
Attaching the copper took a lot of trial and error, but I eventually got it figured out. I started on the flat end of the board, attaching the copper with the end toward the center of the board.
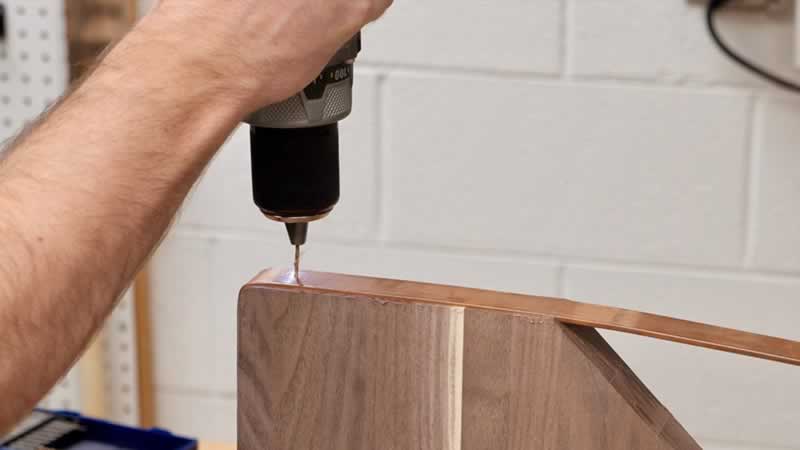
To install the screw, I first drilled a small hole slightly smaller than the threads on the screws, through the copper and into the wood. With that hole drilled, I widened the hole in the copper, making a clearance hole. This allows the screw to pass through the copper without the threads coming into contact with the metal. Finally, I countersunk the holes so that the heads of the screws would be flush with the copper.
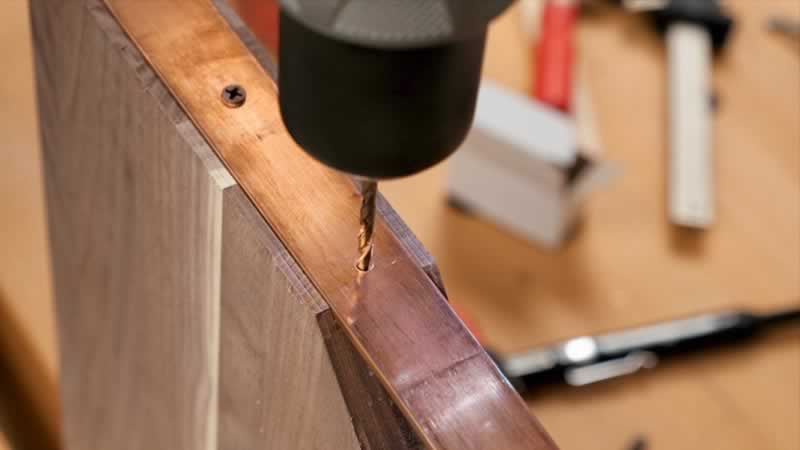
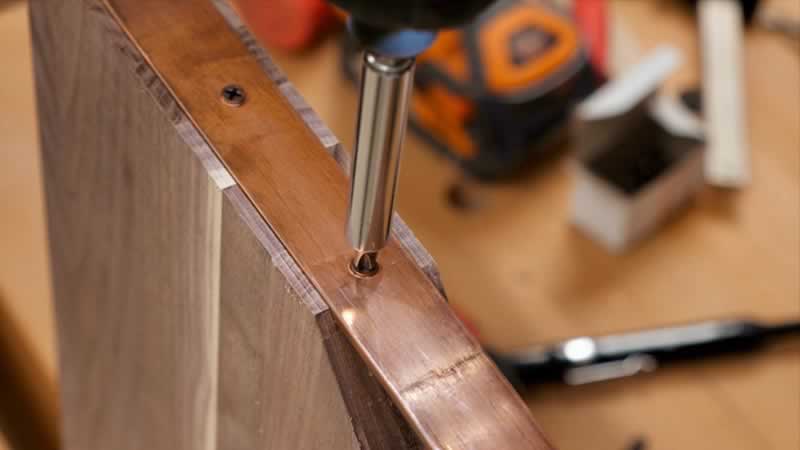
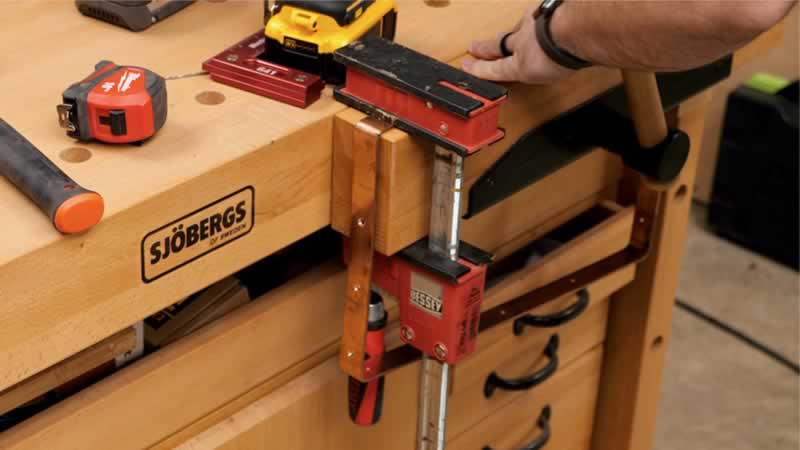
To bend the copper around the corner, I used a dead blow mallet in addition to just bending it by hand. If I bent the copper just by hand, the radius of the bend ended up much larger, so it was best to start the bend by hand and then finish it with a mallet. After bending, I kept adding screws, roughly spaced every 4 inches. The trickiest part of the build was the corner where the copper isn’t wrapped around the serving tray. I got this slightly wrong, but it still turned out pretty well. To figure out where I needed to make the bend, I measured the width of the board and marked a line. Next, I removed the copper from the board and then clamped it to my workbench, with the bend line right at the edge of the vise jaws. Once again, I bent the copper using a combination of hand pressure as well as the dead blow mallet.
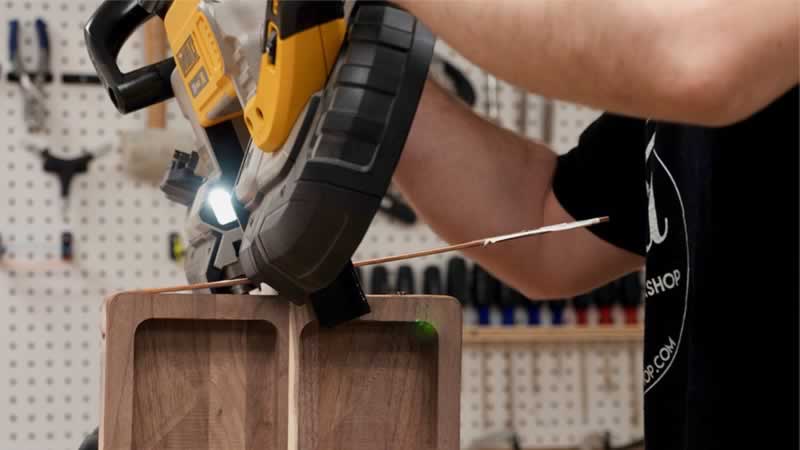
I continued adding screws until I wrapped around the entire board and got back to the start of the copper. I marked where I needed to cut the copper and used my portaband to cut the copper to length. A hacksaw would work fine here.
Attaching the copper took a lot of trial and error, but I eventually got it figured out. I started on the flat end of the board, attaching the copper with the end toward the center of the board.
To install the screw, I first drilled a small hole slightly smaller than the threads on the screws, through the copper and into the wood. With that hole drilled, I widened the hole in the copper, making a clearance hole. This allows the screw to pass through the copper without the threads coming into contact with the metal. Finally, I countersunk the holes so that the heads of the screws would be flush with the copper.
To clean up the copper, I used a scotch-brite pad, and this left the copper with a really nice, satin sheen. I was honestly amazed at how well this worked and at just how good the copper looked after this.
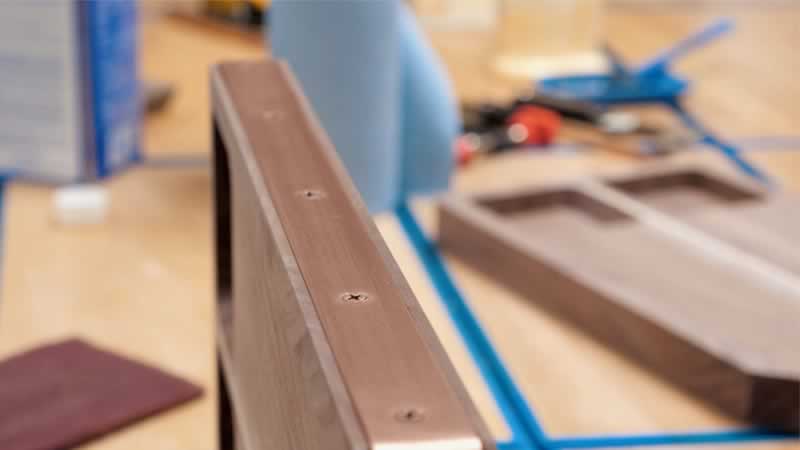
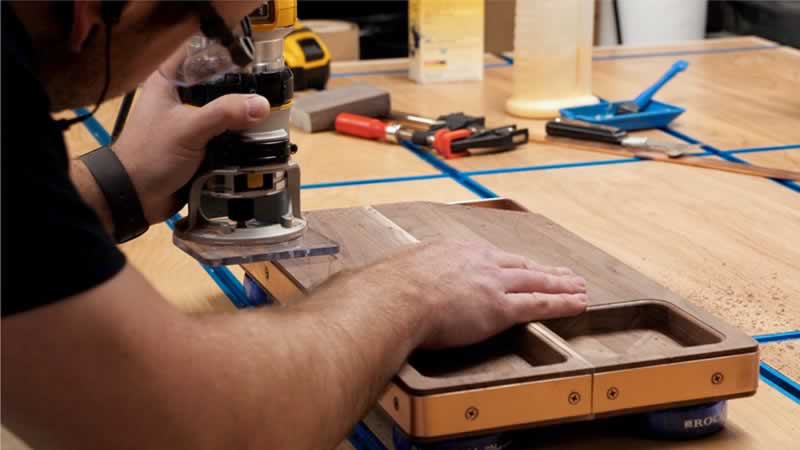
Before applying finish, I rounded over all of the edges using an 1/8” radius roundover bit. This didn’t work that well, since the bearing was riding on the copper rather than the wood, so I had to do a lot of sanding to blend the corners. I sanded up to 180 grit before applying finish.
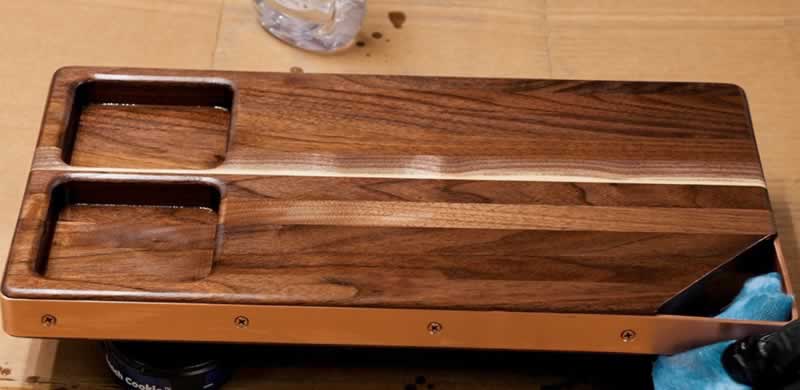
For the finish, I kept it simple and just applied a few coats of mineral oil. Since this board won’t see a ton of use, mineral oil will be just fine. Once the finish was applied, the serving board was done!
To clean up the copper, I used a scotch-brite pad, and this left the copper with a really nice, satin sheen. I was honestly amazed at how well this worked and at just how good the copper looked after this.
Hopefully, you enjoyed this project and will make a cutting board for your own home or as a gift for someone else! I am looking forward to serving cheese, dried fruits, and charcuterie to my guests on one of these boards next time I have company.

Get Arrow tips, tricks, projects and promos in your inbox!
Hey there! We’ve updated our Privacy and Cookie Policies at the request of some of our friends in Europe. Click Accept to let us know you’re okay with the updates. Thanks!
View Cookie Policy Accept