or Call Us at 1-800-776-2228
or Call Us at 1-800-776-2228
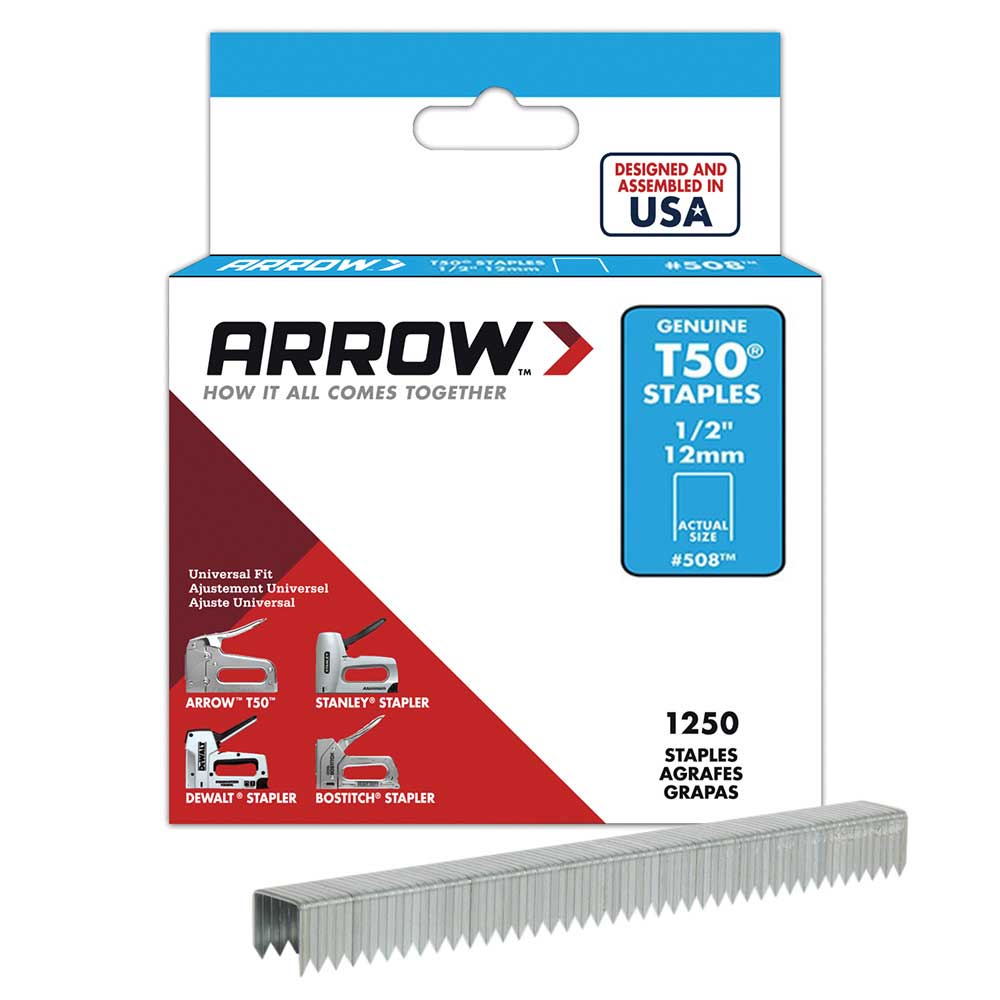
Our basement steps needed a facelift, so we decided to spruce them up with paint, varnish and carpet treads. This simple DIY project freshened up the entire look of our basement. Plus, the treads make it easier to walk up and down the steps because of the added traction and padding. We chose the Arrow PT50 Pneumatic Staple Gun and 1/2” T50 staples for our carpet tread installation because the pneumatic force of this tool provides enough power to fire longer staples flush into the hard wood of the stairs. Before getting started, we made sure we had gloves and safety goggles. Because state, local and municipal codes for home improvements vary, we checked the guidelines before proceeding with our home repair project.
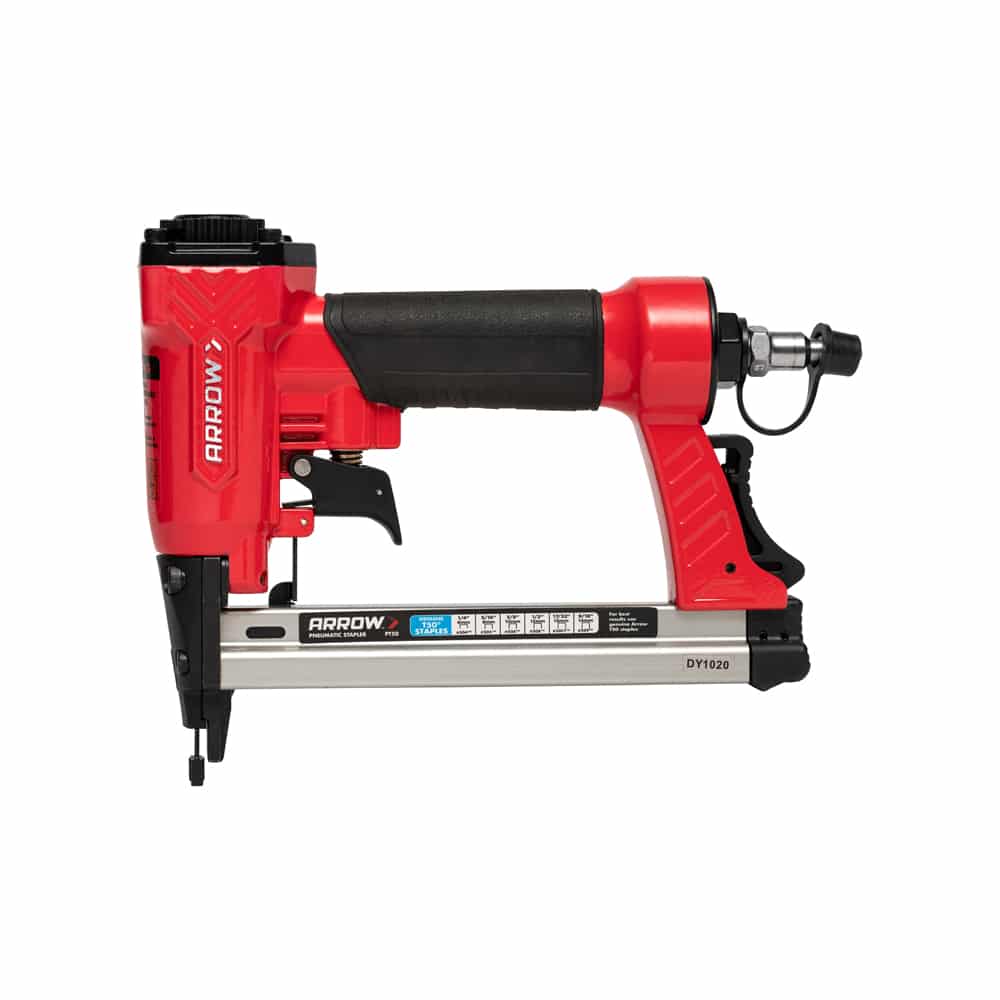
Pneumatic Staple Gun
Because it’s important to start with a dirt-free surface, we washed the stairs with a clean rag and an all-purpose cleaner. Dish soap and water also works well. We worked from the top of the staircase to the bottom to keep dirt from migrating.
Because it’s important to start with a dirt-free surface, we washed the stairs with a clean rag and an all-purpose cleaner. Dish soap and water also works well. We worked from the top of the staircase to the bottom to keep dirt from migrating.
Because the wood was unfinished, we painted and varnished each step before adding the treads. We applied a coat of clear varnish to the top of each step before painting.
Because the wood was unfinished, we painted and varnished each step before adding the treads. We applied a coat of clear varnish to the top of each step before painting.
We painted the sides of the staircase and each stair riser white to brighten the overall look of the staircase. This required one coat of primer and two coats of paint.
We painted the sides of the staircase and each stair riser white to brighten the overall look of the staircase. This required one coat of primer and two coats of paint.
We allowed 24 hours of drying time before moving to the next step. Because drying times vary, be sure to check the recommended drying time for the paint you are using.
We allowed 24 hours of drying time before moving to the next step. Because drying times vary, be sure to check the recommended drying time for the paint you are using.
Next we measured the length of the carpet tread in preparation for cutting the grip that is placed under the tread.
Next we measured the length of the carpet tread in preparation for cutting the grip that is placed under the tread.
We subtracted 2 inches from the length of the runner and marked those measurements on the grip material.
We subtracted 2 inches from the length of the runner and marked those measurements on the grip material.
Next we cut the carpet grip material to size with scissors.
Next we cut the carpet grip material to size with scissors.
To center the tread, we measured the length of the step, subtracted the length of the carpet runner, and then divided by two. We used a pencil to mark that measurement on the left and right of the step.
To center the tread, we measured the length of the step, subtracted the length of the carpet runner, and then divided by two. We used a pencil to mark that measurement on the left and right of the step.
We centered the carpet grip material on the step between the pencil marks and firmly pressed the tread to help its slight tack adhere to the step.
We centered the carpet grip material on the step between the pencil marks and firmly pressed the tread to help its slight tack adhere to the step.
We placed the carpet runner on the stair and secured it using the Arrow PT50 Pneumatic Staple Gun and 1/2” staples. We chose 1/2” staples because they provide the 3/16 – 1/4 inch penetration needed to firmly secure our carpet to the hard wood steps while still firing flush. We fired a staple about every 4 inches along the back and sides of the runner. We then wrapped the runner around the nose of the stair and stapled it to the underside of the step. ARROW TIP: Make sure the staple hits between the bound portion and the carpet edge.
We placed the carpet runner on the stair and secured it using the Arrow PT50 Pneumatic Staple Gun and 1/2” staples. We chose 1/2” staples because they provide the 3/16 – 1/4 inch penetration needed to firmly secure our carpet to the hard wood steps while still firing flush. We fired a staple about every 4 inches along the back and sides of the runner. We then wrapped the runner around the nose of the stair and stapled it to the underside of the step. ARROW TIP: Make sure the staple hits between the bound portion and the carpet edge.
We continued to secure the carpet treads to all of the steps until the staircase was complete.
We continued to secure the carpet treads to all of the steps until the staircase was complete.
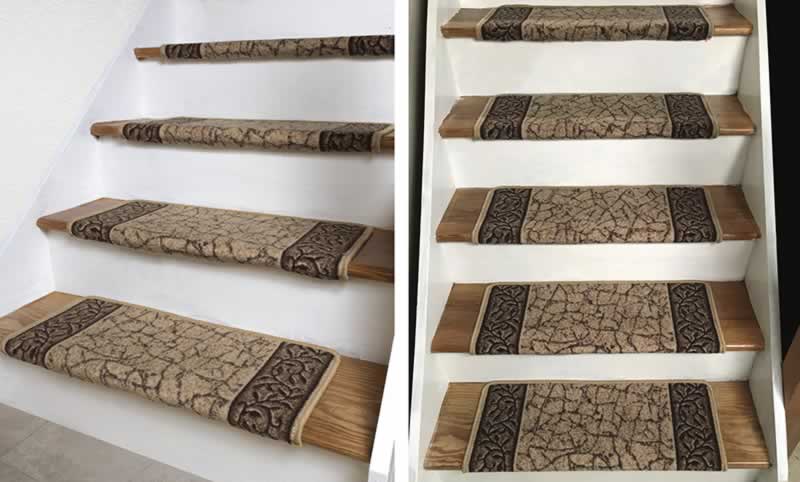
When we finished, we stepped back and admired the beautiful staircase. It made a huge difference in the entrance to our basement.
When we finished, we stepped back and admired the beautiful staircase. It made a huge difference in the entrance to our basement.
We’d love to see how your staircase makeover turned out! Share your project pictures on Facebook, Instagram or Twitter by using #MadeWithArrow or tagging Arrow Fastener.
Get Arrow tips, tricks, projects and promos in your inbox!
Hey there! We’ve updated our Privacy and Cookie Policies at the request of some of our friends in Europe. Click Accept to let us know you’re okay with the updates. Thanks!
View Cookie Policy Accept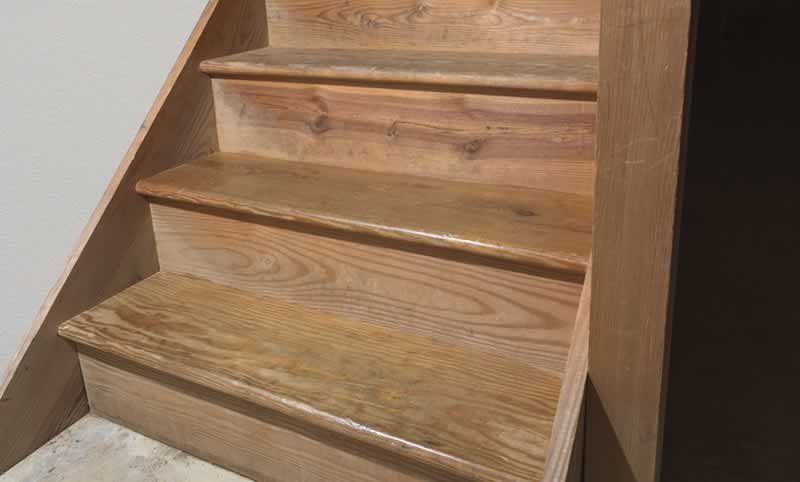